Install Windows Server 2022 Core: A Step-by-Step Guide
In this article, we will demonstrate how to download and install Windows Server 2022 Core using the latest ISO installation media. When it comes to installing Server 2022 on a VM, the server core is the default installation choice.
According to Microsoft, the Server Core option is a minimal installation option that is available when you are deploying the Standard or Datacenter edition of Windows Server. Server Core includes most but not all server roles. Because of its smaller code base, Server Core has a smaller disk footprint and, as a result, a smaller attack surface.
You should install Windows Server 2022 using the Server Core option whenever possible. Windows Server 2022 includes new features and is the most secure version of Windows Server currently available.
A Server Core is a smaller installation that includes the core components of Windows Server and supports all server roles but does not include a local graphical user interface (GUI). It is used for “headless” deployments that are managed remotely through Windows Admin Center, PowerShell, or other server management tools.
Also Read: Windows Server Core as SCCM Distribution Point
Server Core 2022 without Desktop Experience
The Server Core option removes all code associated with the Desktop Experience server role and has a small disk footprint. Because of the smaller code base, the attack surface is significantly reduced, and Windows Server Core requires fewer reboots because there are fewer security patches each month.
The Windows Server Core 2022 doesn’t include the following packages when installed:
- Microsoft-Windows-Server-Shell-Package
- Microsoft-Windows-Server-Gui-Mgmt-Package
- Microsoft-Windows-Server-Gui-RSAT-Package
- Microsoft-Windows-Cortana-PAL-Desktop-Package
In addition to the above packages, the following features are not included with the Windows Server 2022 Core installation:
- Server Core does not have any accessibility tools
- No OOBE (out-of-box-experience) for setting up Server Core
- No audio support
See Also: How to Enable Remote Desktop on Windows Server Core
Prerequisites
Take a look at some prerequisites for installing Windows Server 2022 Core:
- You can install Windows Server 2022 Core on a physical server or deploy it on a virtual machine.
- You’ll need to download the Server 2022 core installation media (.ISO file) before you can install it. Furthermore, you can get the installation media from Microsoft VLSC or Visual Studio Subscriptions.
- If you don’t prefer a physical server, the Windows Server 2022 installation can be done using either Hyper-V or VMware Workstation.
- The following section discusses the hardware requirements for installing Server 2022.
Related Article: Find Who Restarted Windows Server Core – Bonus Guide
Download Core Edition of Windows Server 2022
There are two ways to download the Server Core 2022 ISO for installation.
- Get the Server 2022 Core from Microsoft VLSC
- Download the Server 2022 Core from Visual Studio Subscriptions
- Download the Windows Server 2022 Core from the Microsoft Evaluation Center.
To get the server 2022 Core ISO media from the download locations listed above, you will need a valid account to access the portal. If you don’t have access to either of the portals, you can go to the Microsoft Evaluation Center (Download Link) and download the latest version of Windows Server 2022 Core.
Please note that when you download the Server 2022 Core ISO from the evaluation center, the evaluation edition expires in 180 days. To avoid automatic shutdown, evaluation versions of Windows Server must be activated via the internet within the first 10 days.
The Microsoft Evaluation Center offers the following options when you download the installation media for Server Core 2022:
- Try Windows Server on Azure
- Create a Virtual Machine in Azure
- Download the ISO
- Download the VHD
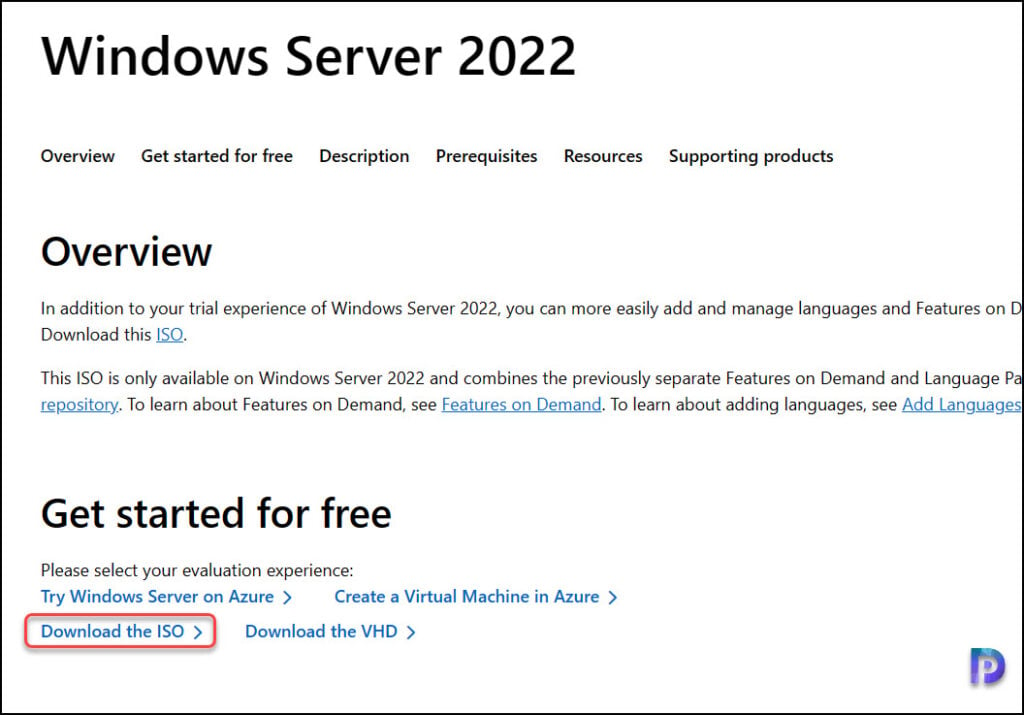
In this article, we will use the Server 2022 ISO media downloaded from the Visual Studio subscriptions for installation.
Also Read: How to Join Windows Server Core to AD Domain (Active Directory Domain)
Server Core FoD Download
According to Microsoft, listed below are some ways to get the Server 2022 Core FoD.
- If you have active Software Assurance, you can get later Windows Server (SAC) FoD from your local MS Licensing Center. You’ll need a Microsoft Work or School Account enrolled in VLSC or Business Center to access the FoD download.
- Alternatively, you might have access to a Visual Studio Subscription. To access the FoD download, you must have a Microsoft Home, Work, or School account and an active Visual Studio subscription.
- Latest Server Insider FoD. This can be downloaded from the Server Insider website. To access the FoD download, you must have a Microsoft Home, Work, or School account that is enrolled in the Insider Program.
Note: In this guide, we will use the Windows Server Core ISO file downloaded from the Visual Studio Subscriptions. The steps for installing Server Core 2022 are the same regardless of where you obtain the installation media.
Also Read: Switching Between GUI and Server Core in Windows Server 2012
Windows Server 2022 Core Hardware Requirements
You can install Windows Server 2022 Core only on supported hardware. The table below provides a detailed breakdown of the minimum hardware requirements set forth by Microsoft for installing the Server 2022 Core.
| Windows Server 2022 Server Core Hardware Requirement | Description |
|---|---|
| Processor | 1.4 GHz 64-bit processor, 512 MB |
| Memory/RAM | 2 GB |
| Disk Space | At least 32 GB free space |
| Display | Graphics device and monitor capable of Super VGA (1024 x 768) or higher-resolution |
| Network | A wireless adapter that supports 802.11, or An Ethernet adapter capable of at least 1 GB per second throughput, or NIC card with a minimum bandwidth of 1 GB |
| BIOS | UEFI 2.3.1c-based system and firmware that supports secure boot |
| TPM | Trusted Platform Module (TPM) 2.1 or later |
Install Windows Server 2022 Core
We will now go through the steps of installing Windows Server 2022 core on a virtual machine. If you are using Hyper-V or VMware Workstation, all you need to do is create a Virtual Machine using the hardware specifications listed in the above table.
Although the process of creating a VM for Server 2022 Core is not covered in this guide, we believe the steps to follow are straightforward. To begin the installation, we’ll mount the Server Core ISO media in the VM Settings and boot the VM from the mounted file.
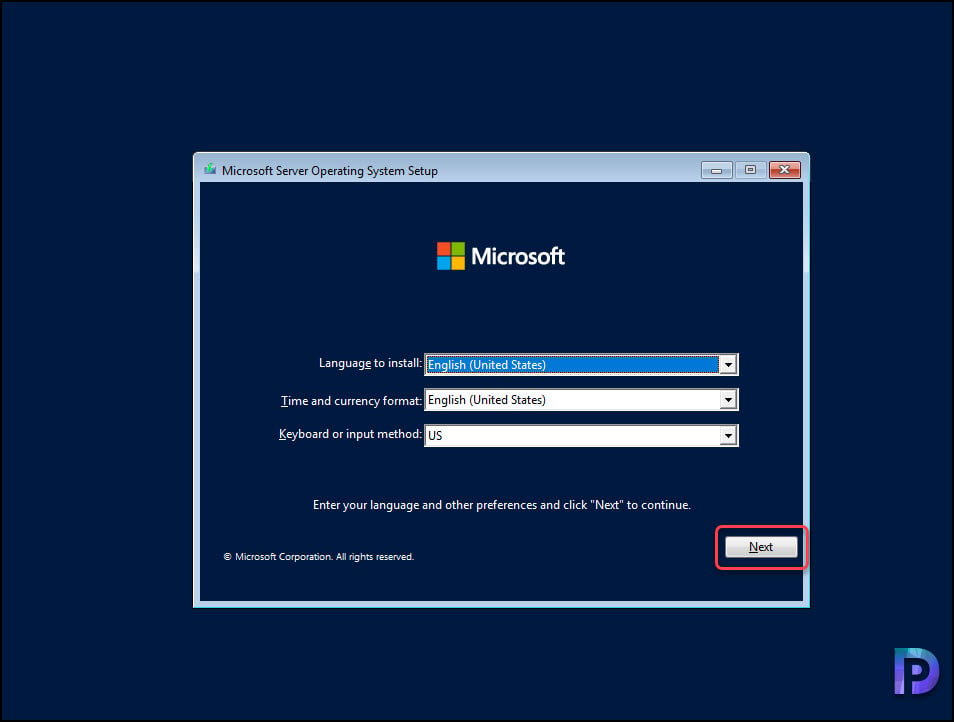
The first screen that you see is Microsoft Server Operating System Setup, which basically lets you choose the following:
- Language to Install: Use the drop-down and select the OS language.
- Time and Currency Format: Click the drop-down and select the time and currency format of your region.
- Keyboard or Input Method: Select the keyboard type based on the region.
Click Next to continue.
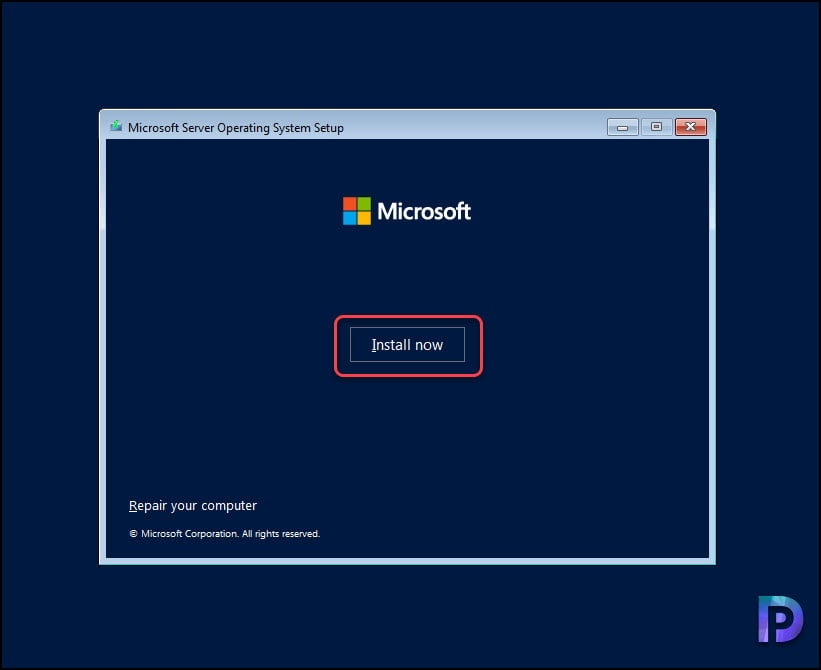
To proceed with configuring the Server Core installation, click Install Now.
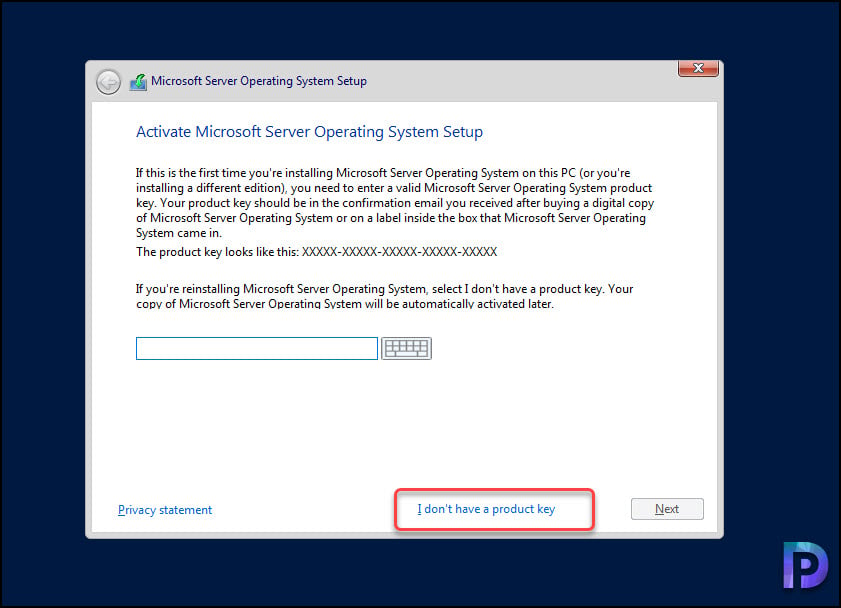
On the Activation page, enter the product key for your Server Core 2022. Select I do not have a product key if you do not have one or if you want to activate the OS later.
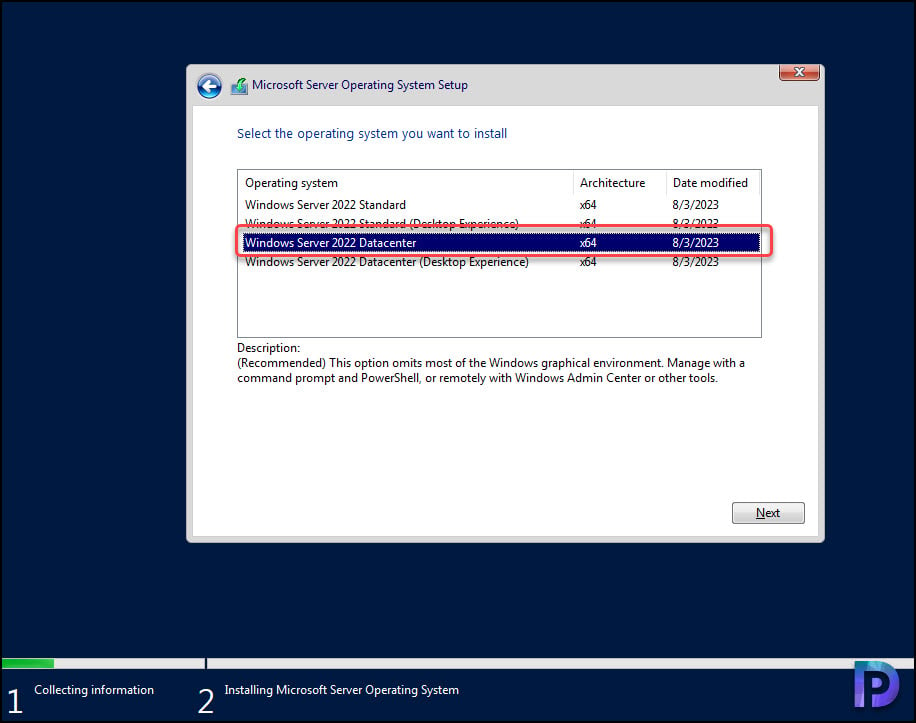
The setup wizard lists the install options below. In this list, editions without Desktop Experience are the Server Core install options:
- Windows Server Standard
- Windows Server Standard with Desktop Experience
- Windows Server Datacenter
- Windows Server Datacenter with Desktop Experience
Choose the operating system you would like to install, which in this case is Windows Server 2022 Datacenter. Depending on the license that you have, you may select Windows Server 2022 Standard as well. The options with the suffix Desktop Experience should not be selected because they will not install the Server Core edition.
Click Next.
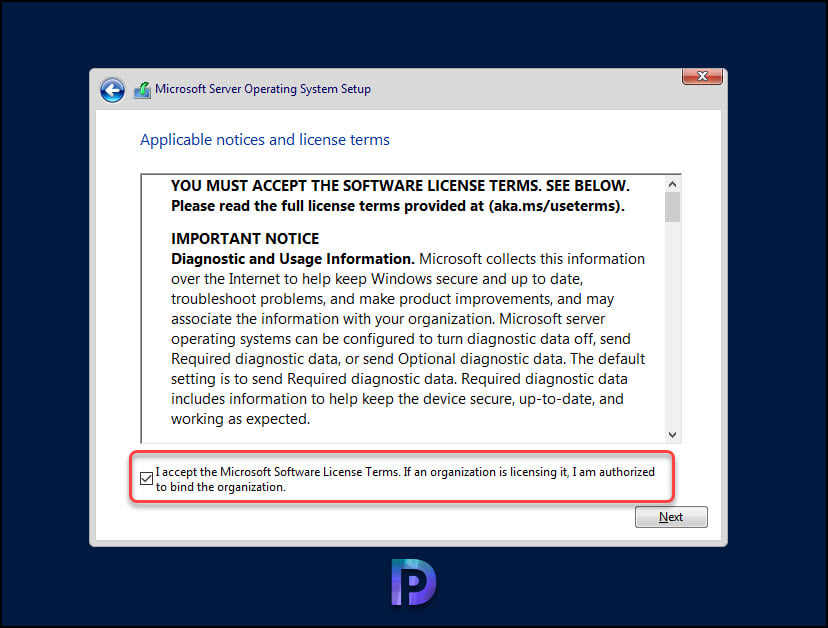
Accept the License Terms for Windows Server Core 2022. Click Next.
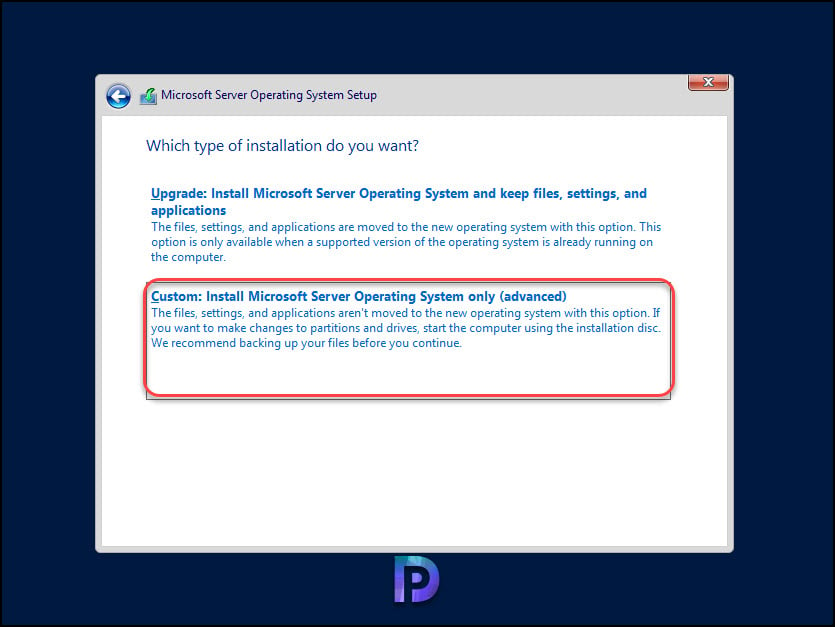
Select the Server Core Installation Type: Upgrade or Custom. Selecting Upgrade will upgrade the existing server to the core edition. Since we are installing Windows Server 2022 Core on a VM, select Custom.
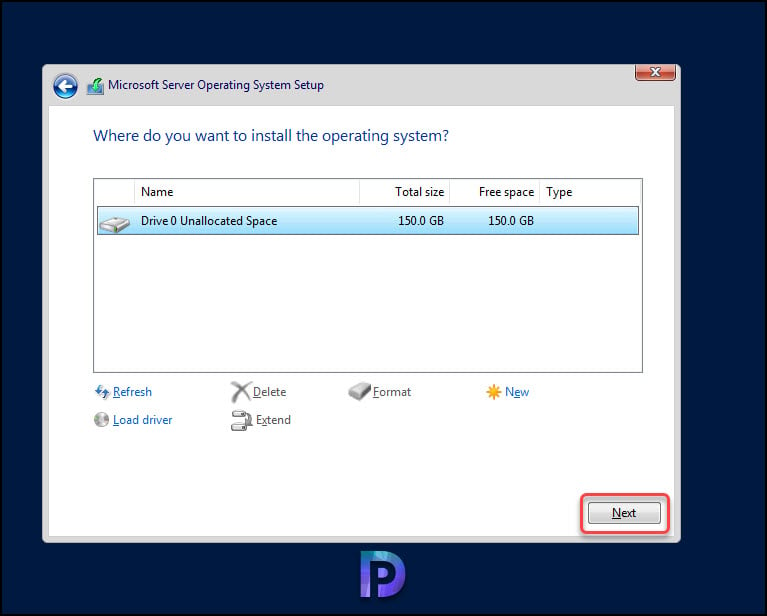
Select the Disk for installing Windows Server 2022 Core. In the screenshot below, we only have one disk, and it is selected for installation of Server Core. Click Next.
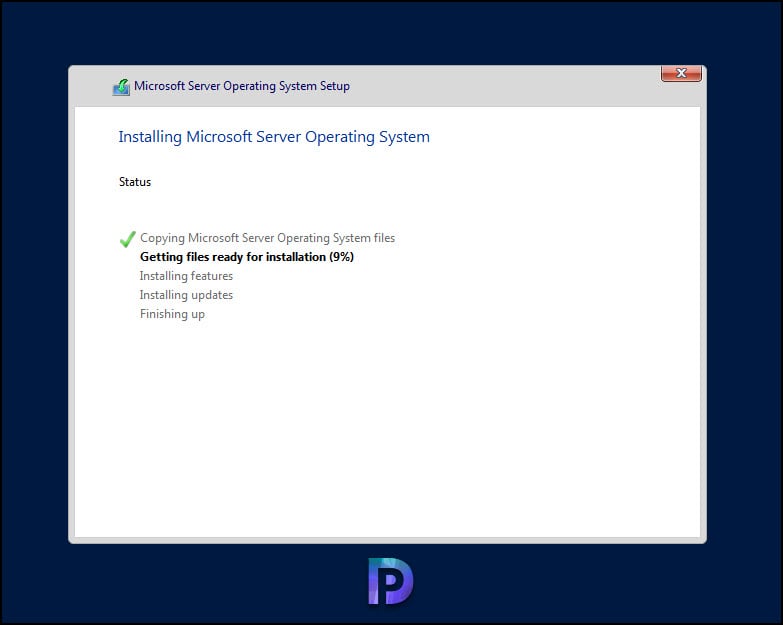
Windows Server 2022 Core Installation begins now. All you need to do is wait a few minutes to complete the installation. While the installation is in progress, if you’re feeling too sleepy, why not grab a cup of coffee?
The Server 2022 installation should be quick, with the entire process taking no more than 5-10 minutes. This completes the steps to install Windows Server 2022 Core.
Setting up Administrator Password on Server Core 2022
After completing the Windows Server 2022 Core installation, you must change the administrator password for security reasons. Because we did not specify the default administrator password during installation, it is now time to create a complex password for the Administrator account.
To configure the administrator account password, select OK.
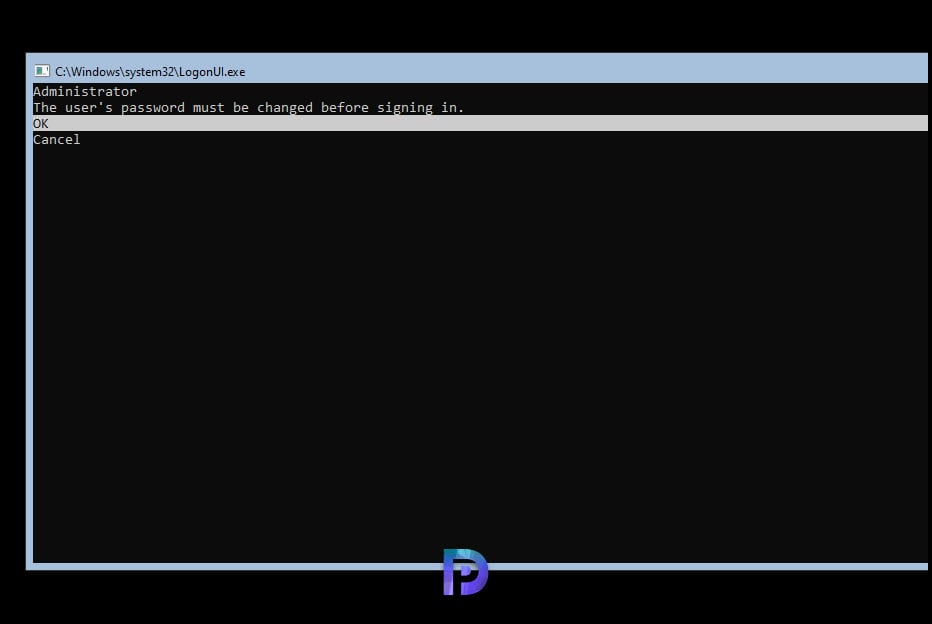
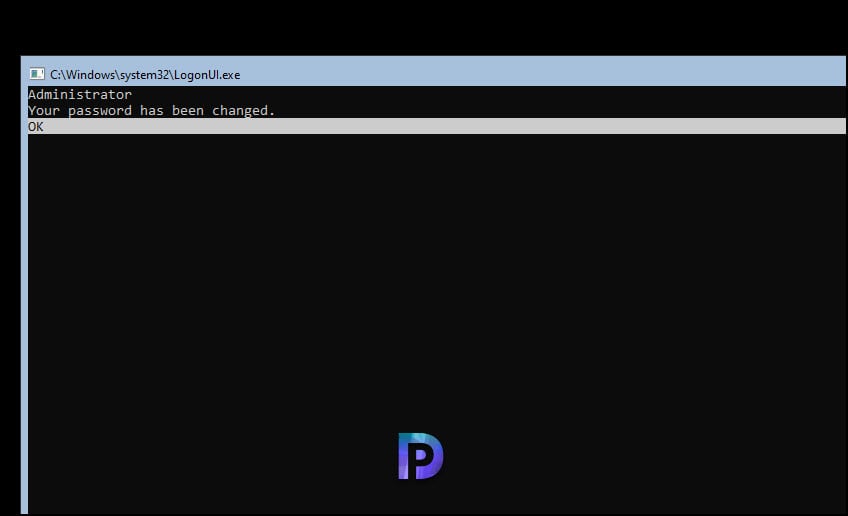
Enter the password twice and select OK. You’ll see a confirmation message saying, “Your password has been changed“.
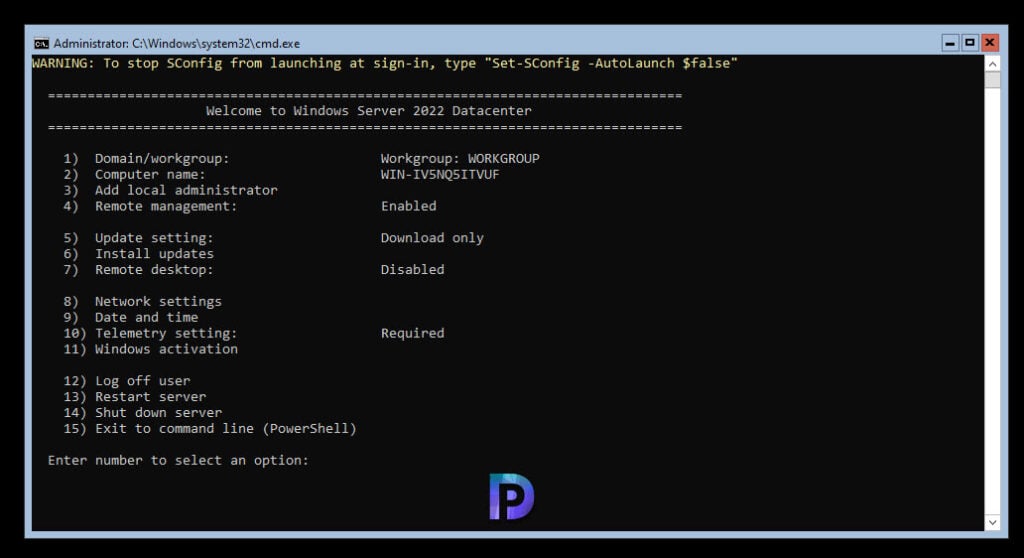
That is it; the Windows Server 2022 Core has been installed and configured. You see a Sconfig screen that displays different options to manage Server Core. Take a look at our guide for more information on Sconfig options and how to configure them.
Perform Windows Update on Server Core
After installing Server Core 2022, make sure to install the latest updates and patch the Server installation. Use our guide to learn how to patch Server Core with the most recent Windows updates.
Install VMware Tools on Server Core 2022
Without VMware Tools installed in your guest operating system, guest performance lacks important functionality. If you have installed Windows Server Core 2022 on a virtual machine, ensure you install the additional tools. Use the following guide to Install VMware Tools on Windows Server Core VM.
