Windows Server Core as SCCM Distribution Point
This post is about installing SCCM distribution point role on Windows Server core. I will take you through the steps to prepare the server for installing DP role as well.
Yes, you can install Configuration Manager distribution point role on Windows Server core OS. In this post I will be installing the DP role on Windows Server 2019 core, so let’s get started.
Since last few months, I have been working on Configuration Manager current branch deployment. With the SCCM 2012 R2 still present in the setup, we decided to spin a 1910 current branch instance with a new site code. We migrated the data from old to new setup. I am currently working on setting up new DP’s across the globe.
One of the challenges we face in remote sites is the lack of IT presence, no hardware resources etc. In some sites there are just few users and you think would it be worth spinning up SCCM DP for just few users ?. However you still need a distribution point server to image laptops and deploy applications.
In my previous post, I explained about installing distribution point role on Windows 10. It works well when you don’t have enough resources to install Server OS. The advantage of using Server core OS is it has a smaller disk footprint, and therefore a smaller attack surface due to a smaller code base.
How about installing distribution point role on Server Core OS ?. Yes that is supported and it would be really interesting to do that. So let’s begin.
Table of Contents
SCCM Distribution Point on Windows Server Core
Installing the DP role on Windows Server core is easy. However you need to prepare the Server in order to install SCCM distribution point role. Hence let’s go step by step and do this neatly.
DP role Prerequisites
Ensure you read the below points as they are important before you install DP role.
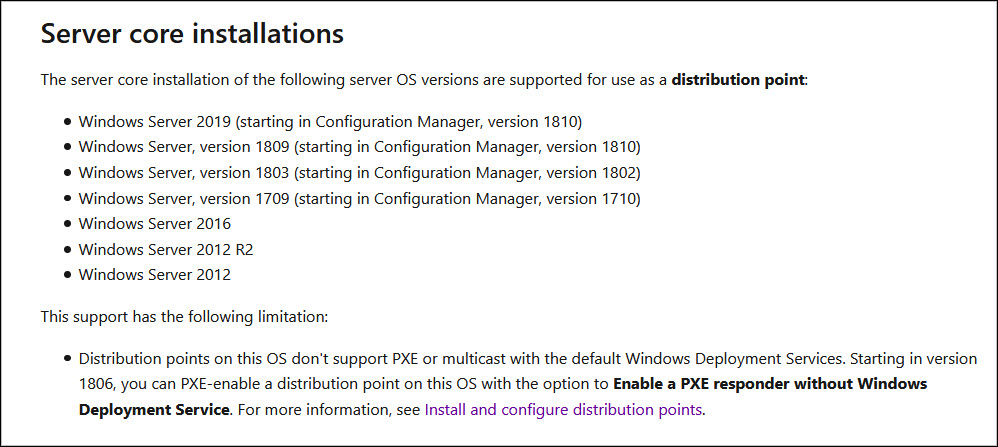
- The following Server Core OS versions are supported for use as a SCCM distribution point. Ensure you are installing a supported Windows Server core OS. The below screenshot lists supported Windows Server core OS versions for distribution point role.
- Distribution Points on Server core OS don’t support PXE or Multicast with Windows Deployment Services. Therefore you PXE-enable a distribution point and enable a PXE responder without Windows Deployment Service.
- The distribution point must have the following inbound rules configured in the Windows firewall :-
- Windows Management Instrumentation (DCOM-In)
- Windows Management Instrumentation (WMI-In)
Install Windows Server Core OS
Installing Windows Server core is pretty simple and straight forward. You can install the core OS either on a virtual machine or a physical server. I won’t be covering the installation here because it is too basic. You can go with datacenter or standard edition. If you still need a guide on installing the core OS, let me know in the comments section.
Prepare the Windows Server Core
Before you install DP role, you must rename the computer, join the server core to domain. I will list two links below that will help you to achieve that.
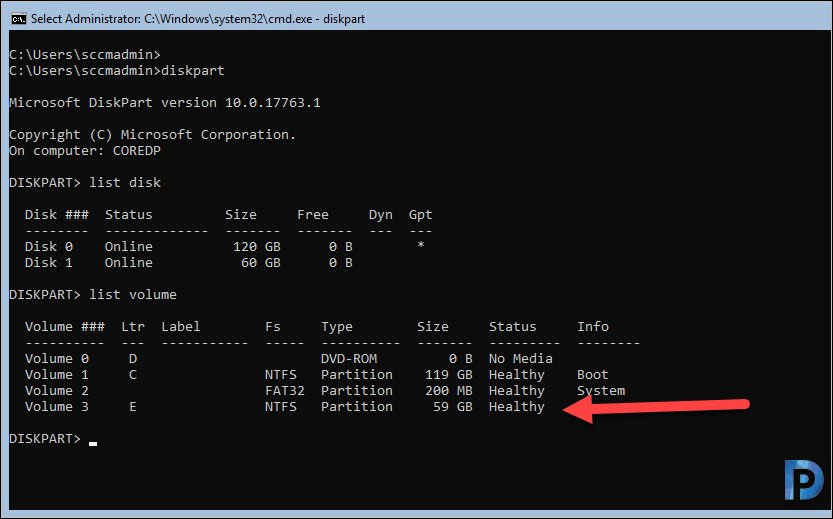
We will also prepare our OS so that we can install DP role. In my lab, I have a VM that is installed with Windows Server 2019 Core datacenter. I have added 60 GB of hard drive space for content library.
Since this is core OS, you must use DiskPart commands to manage your PC’s drives (disks, partitions, volumes, or virtual hard disks). I have assigned drive letter E to the Volume and this will the primary content library location and primary package share location.
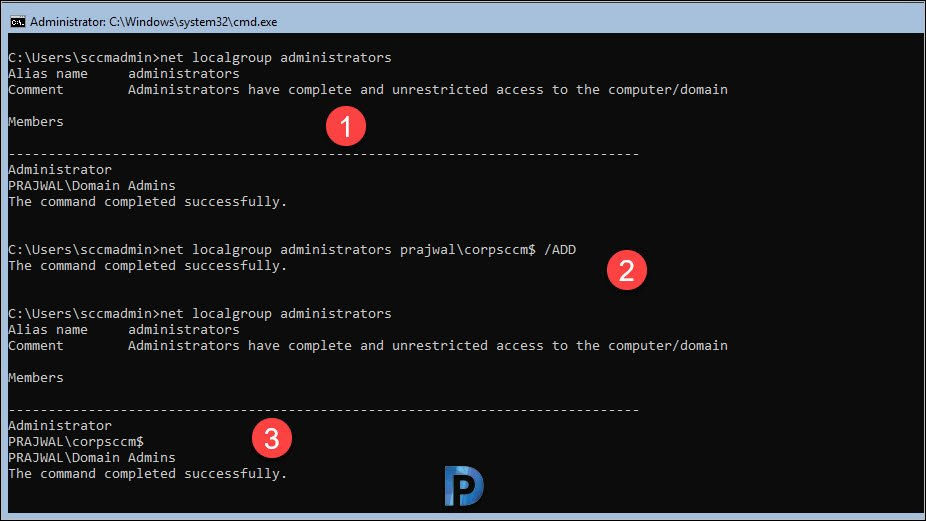
Next, you must add the SCCM site server computer account to the Local Administrators group on Windows Server Core OS. This step must be done before you install distribution point role else the DP role installation fails.
- Check the local administrators group members using net localgroup administrators command.
- Add the site server computer using the below command.
net localgroup administrators domain\computername$ /ADD
After you add the site server computer account to administrators group, run the first command again and check the members.
Add SCCM Distribution Point Role
In this step we will add or install distribution point role on our Windows Server Core OS.
- Launch Configuration Manager console.
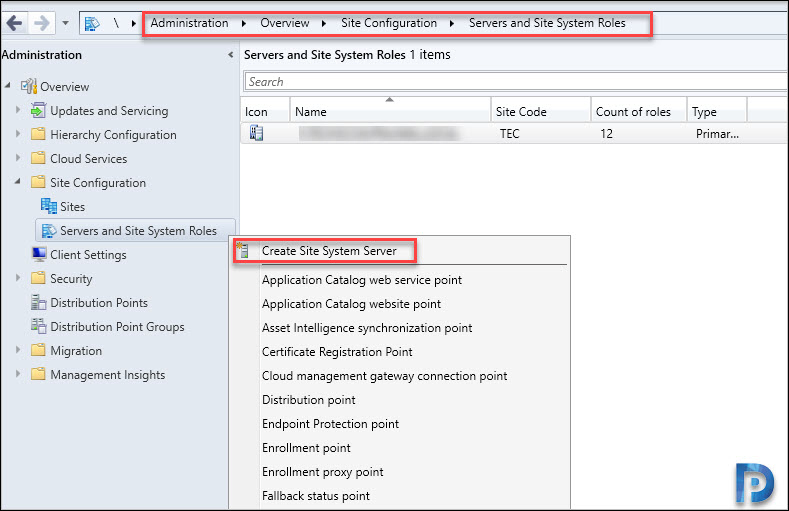
- Go to Administration > Overview > Site Configuration.
- Right click Servers and Site System Roles and click Create Site System Server.
- In the next step, select Windows Server Core computer and install distribution point role.
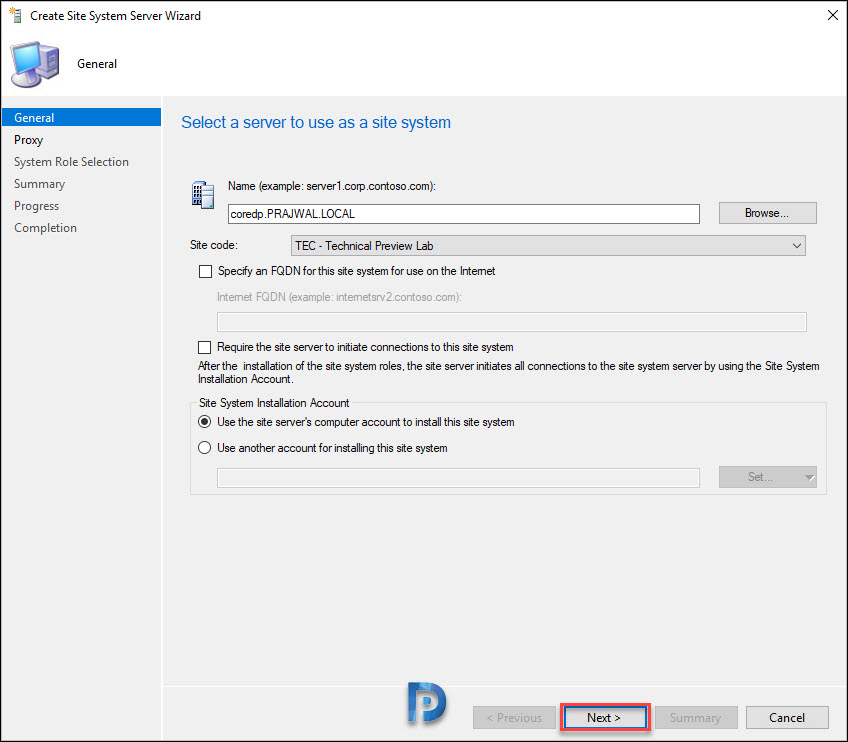
On the General page, click Browse and select the server. Select the site code and click Next.
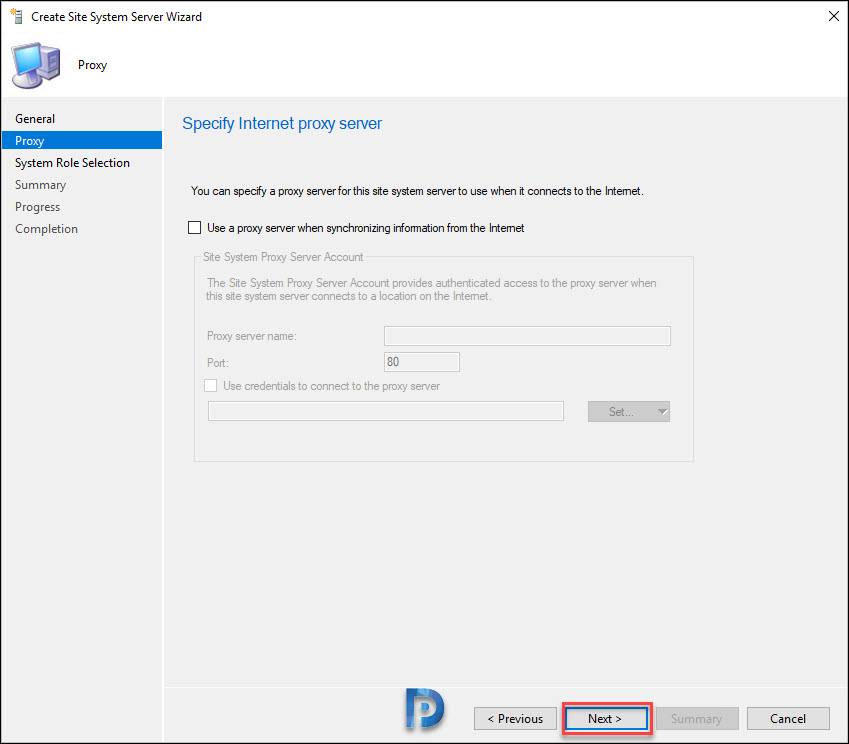
You can specify the internet proxy server here. Click Next.
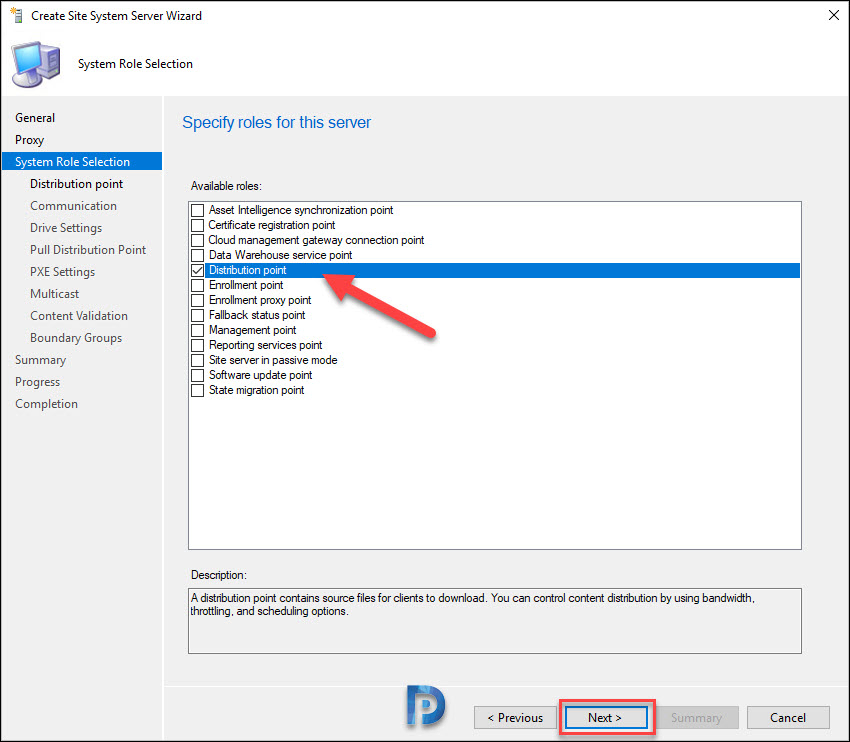
On the System Role Selection page, select Distribution Point and click Next.
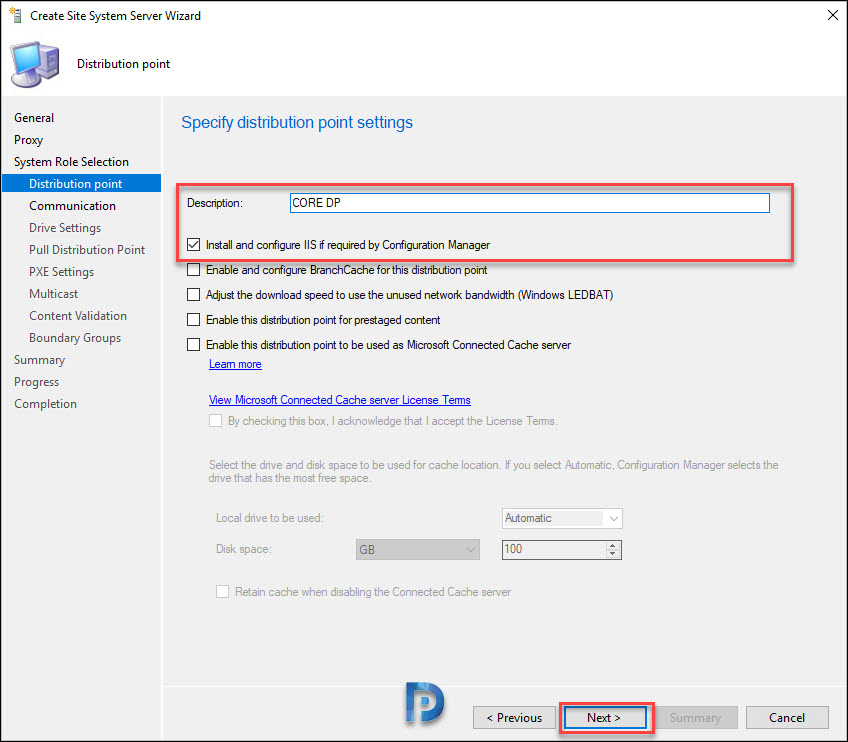
Add a description about the distribution point. Check the box Install and configure IIS if required by Configuration Manager. Click Next.
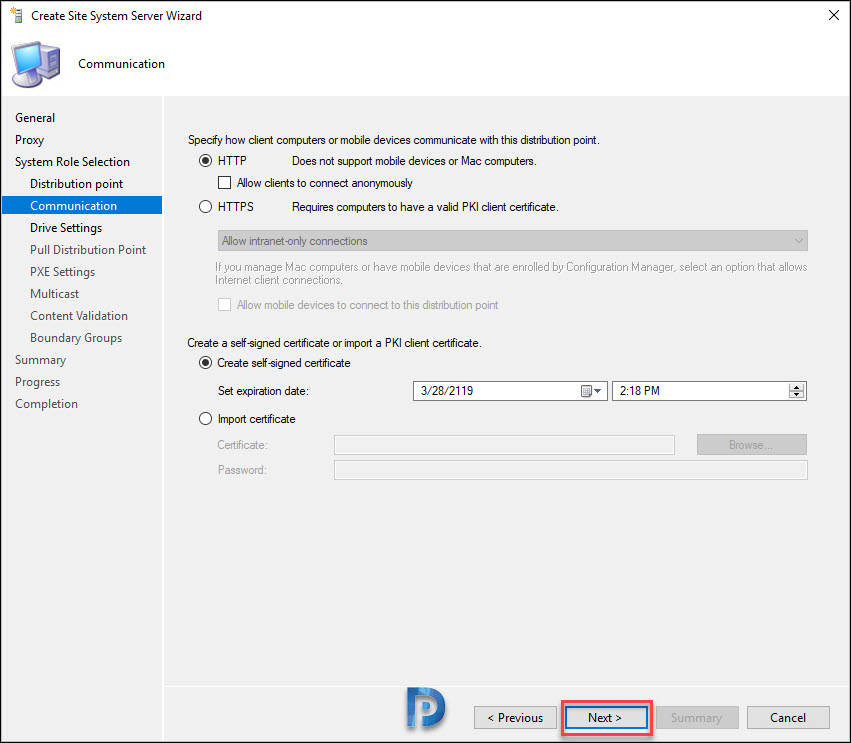
On the Communication page, click Next.
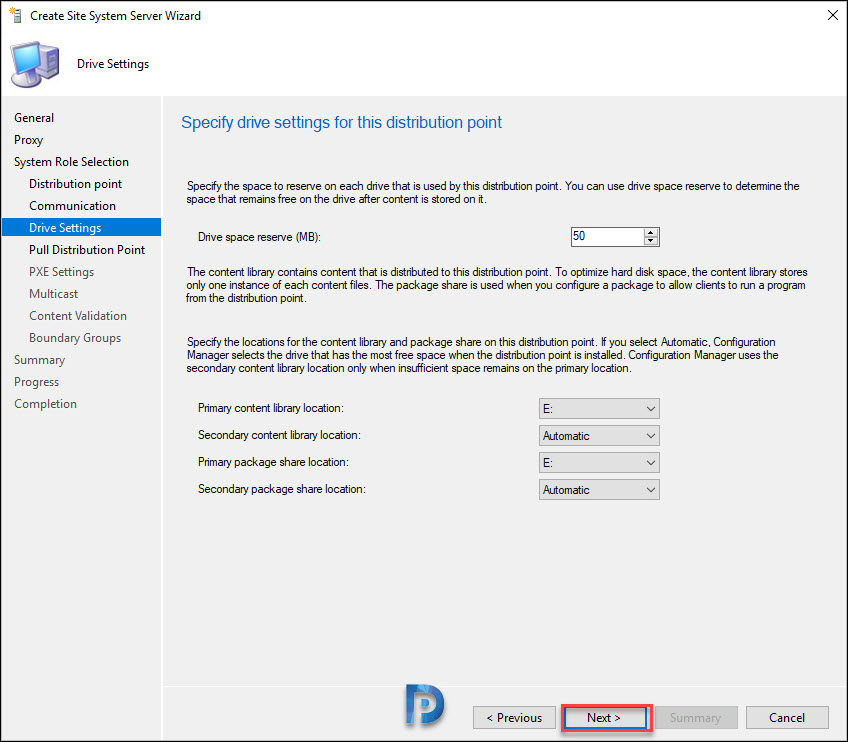
On Drive Settings page, set drive space reserve space. Set the drive letter for Primary content library location and Primary package share location. Click Next.
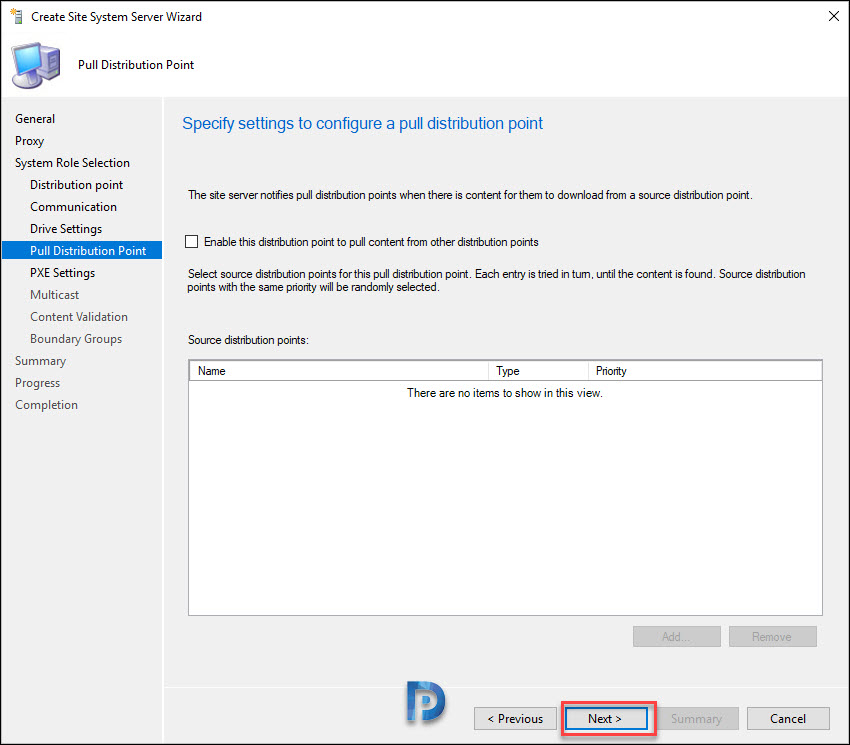
Click Next.
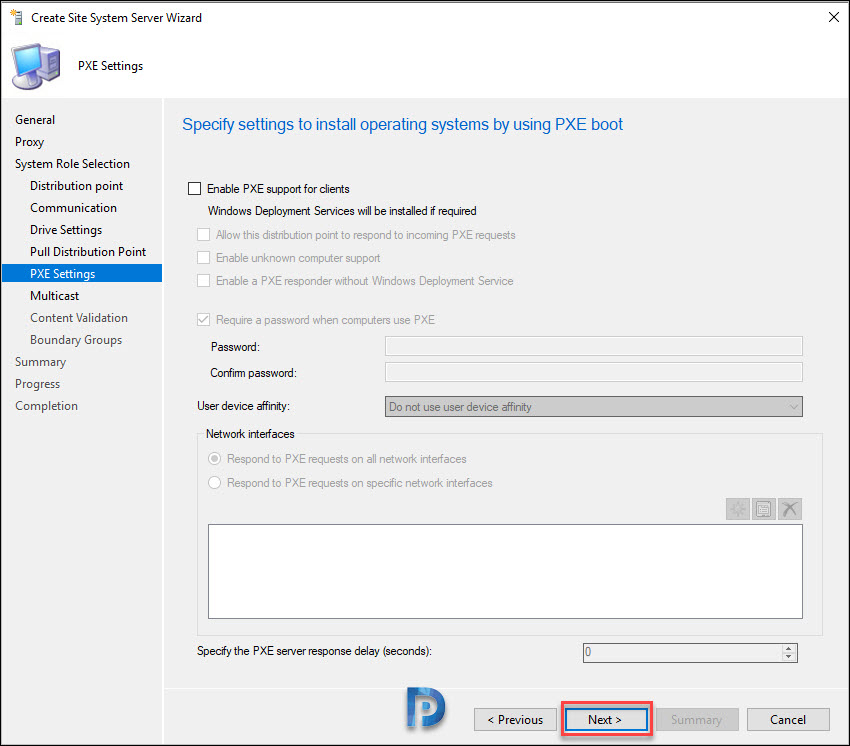
If wish to enable PXE you can do so but you must do that with the option enable PXE responder without Windows Deployment Service. In this post I won’t enable PXE, I will cover it in another post (Probably in my next post). Click Next.
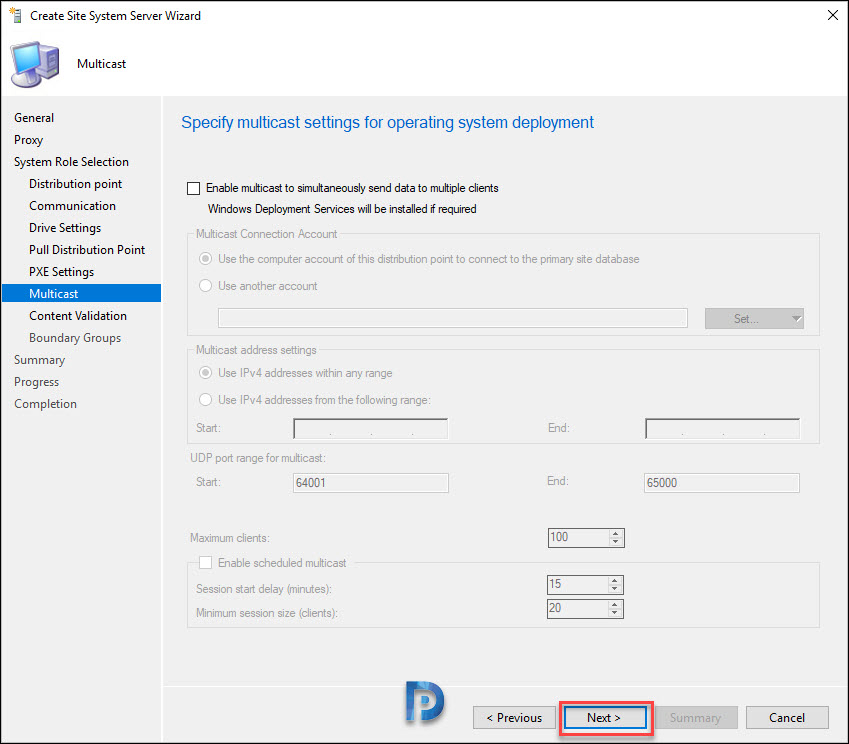
Do not enable Multicast option, click Next.
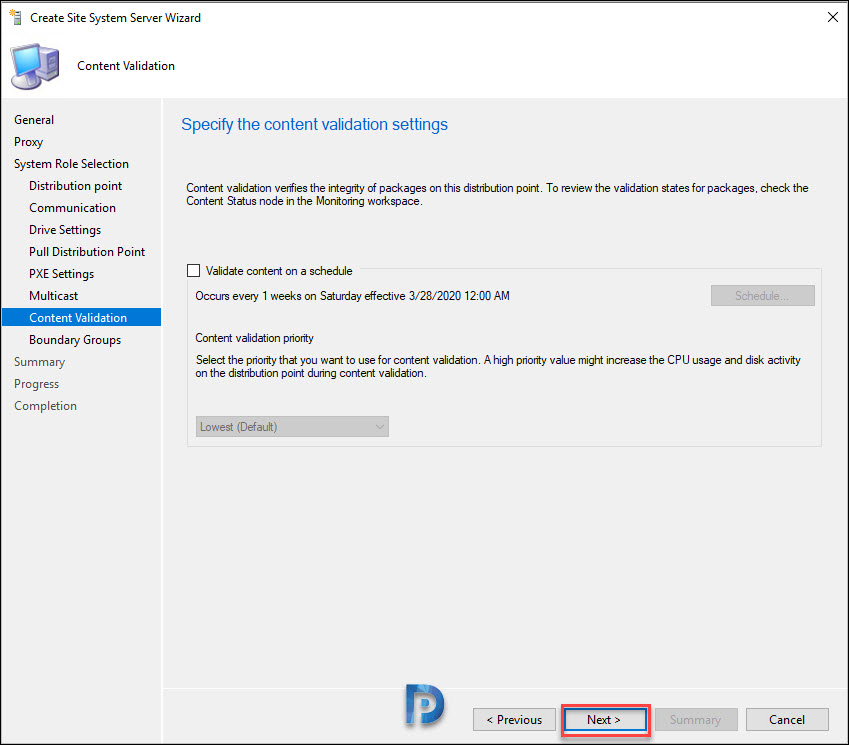
Click Next.
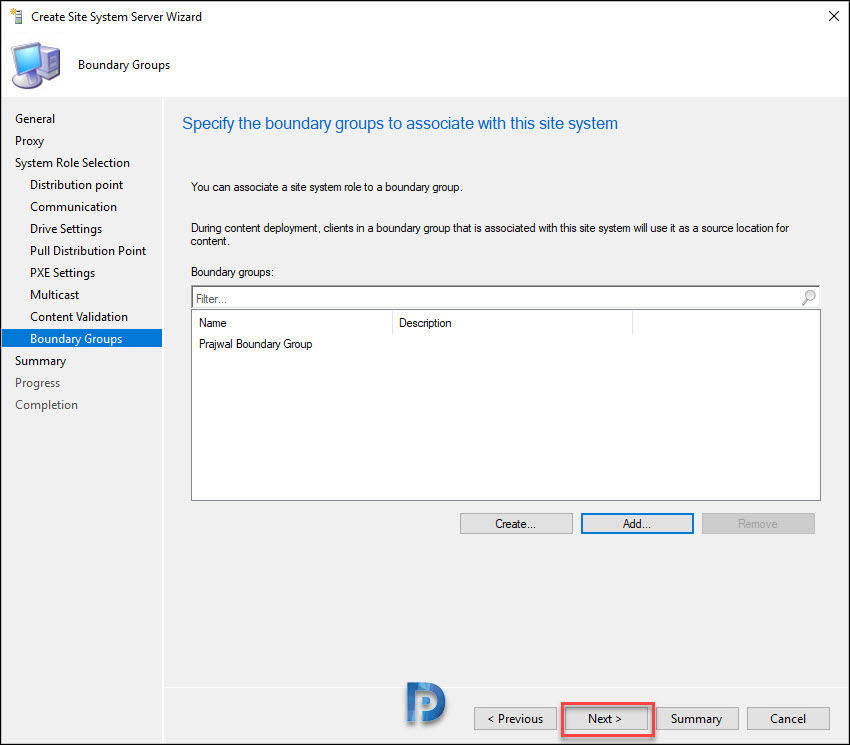
You may associate this DP to a boundary group. This can be done later as well. Click Next.
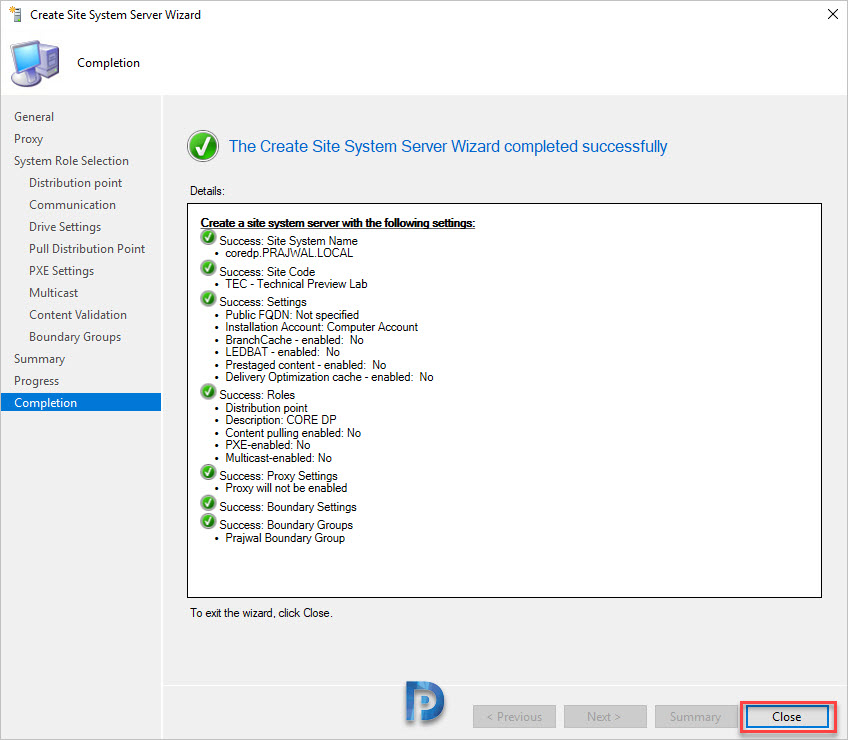
Finally on the Completion page verify the details, click Close. This completes the SCCM distribution point role installation on Windows Server core OS.
Monitor DP Role Installation
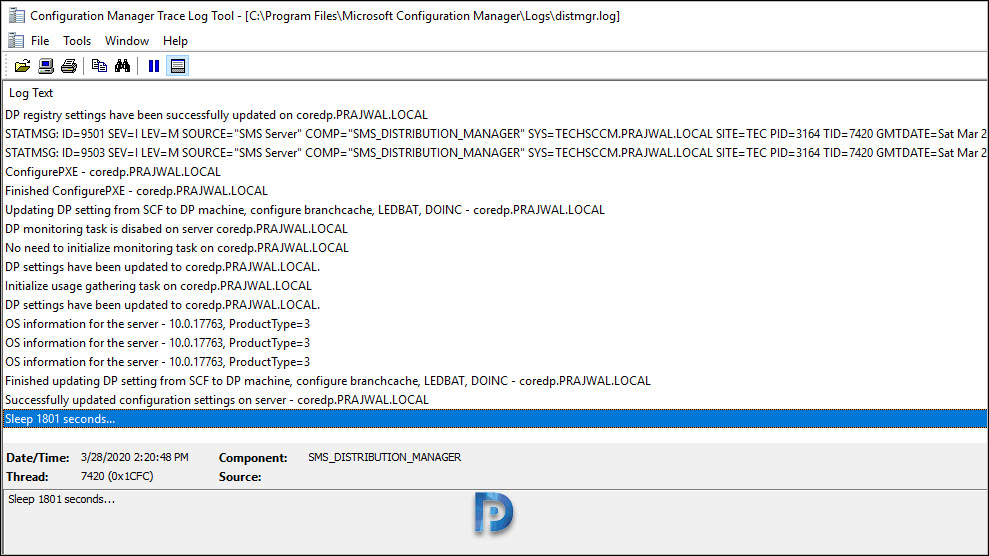
After we install the distribution point role, it’s time to check the progress of installation. On the site server you can open distmgr.log file. If you don’t see any errors, you have done great. If you see any errors, make a note of those errors and start troubleshooting.
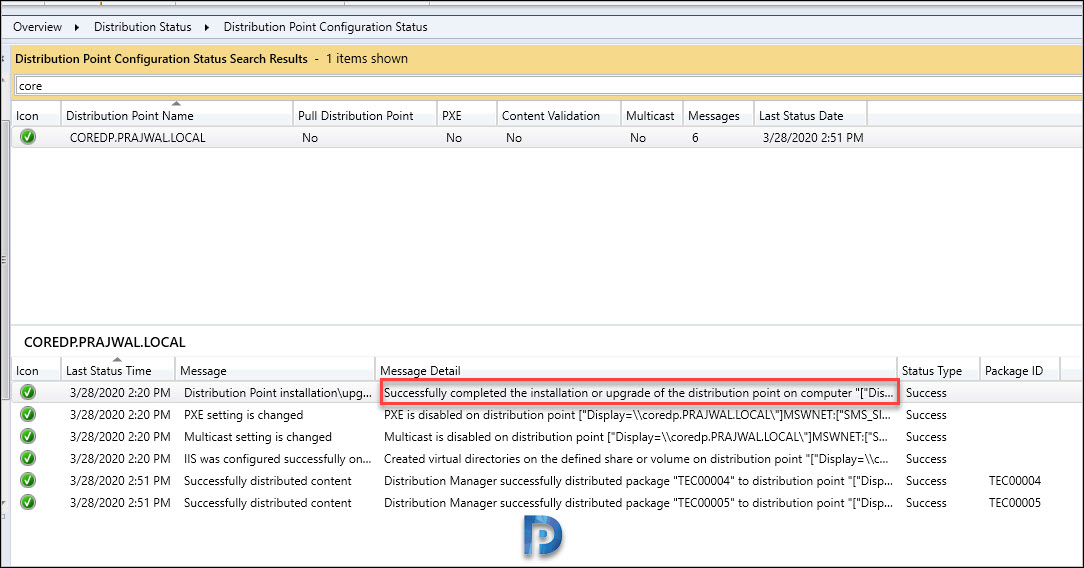
You can also go to Monitoring > Distribution Status > Distribution Point Configuration Status. Select the DP and look for details in the bottom pane.
Wait patiently until the DP role installation is complete. In the below screenshot you can see the message Successfully completed the installation or upgrade of the distribution point on computer.
 In my next post, I will enable PXE on this distribution point server and test the operating system deployment.

I have Windows 2019 Standard (Core) installed, I went through the exact process, unfortunately I get the following error “Failed to verify disk” The logs come up with the following error