Windows Server Core – Enable PXE Responder Without WDS
In my previous post I covered the steps to install distribution point role on Windows Server core. In this post we will enable PXE responder on Server Core DP and test the operating system deployment.
This post is a continuation of my previous post, so ensure you read it before you proceed – https://www.prajwaldesai.com/windows-server-core-as-sccm-distribution-point/
Starting with SCCM 1806, you can enable PXE responder on a distribution point server and get rid of WDS as it isn’t required anymore. Most of all this is a great feature as the PXE-enabled distribution point can now be either a client or server OS.
You can also install SCCM distribution point role on a Windows 10 computer and I have covered it here.
Tip – Microsoft Server OS versions supported for use as a ConfigMgr distribution point are listed here.
Enable PXE Responder on Windows Server Core
On Windows Server core, you can enable PXE responder without WDS.
- Launch Configuration Manager console.
- Navigate to Administration > Overview > Distribution Points.
- Right click Distribution Point server and click Properties.
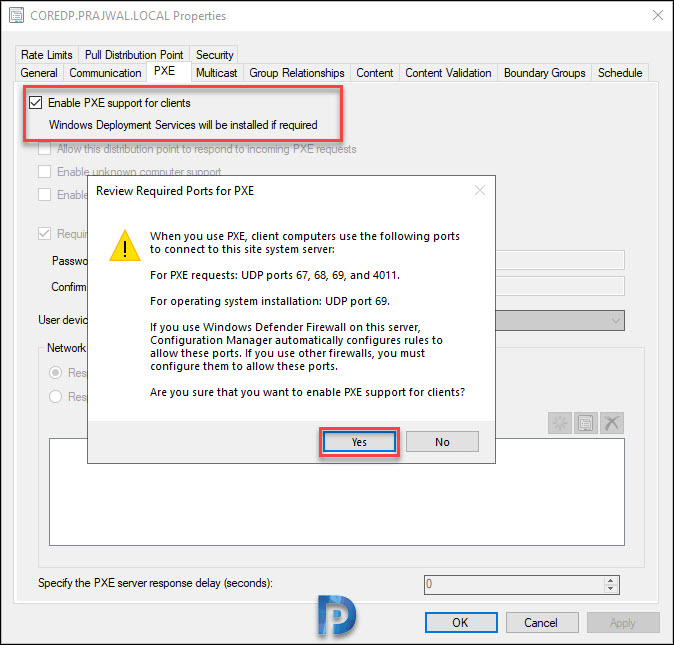
- Click PXE tab and select Enable PXE support for clients. Click Yes on the warning box.
- Finally enable PXE responder without Windows Deployment Service.
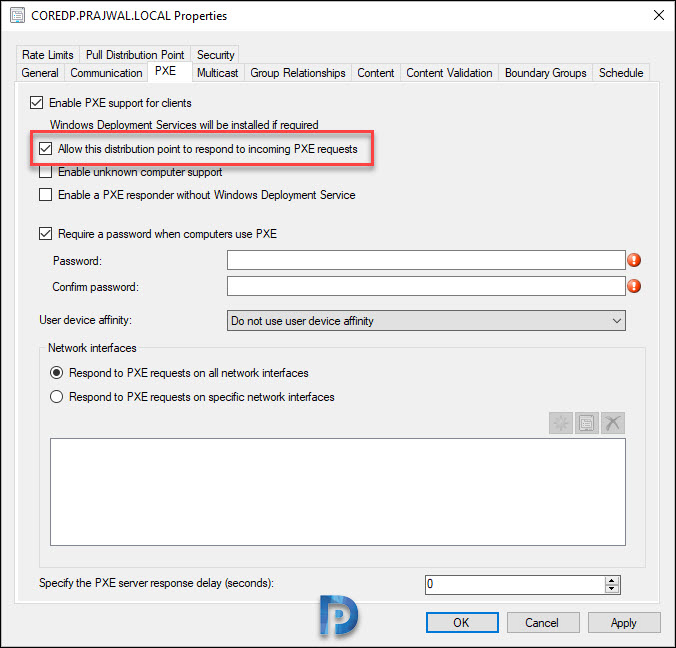
Select Allow this distribution point to respond to incoming PXE requests.
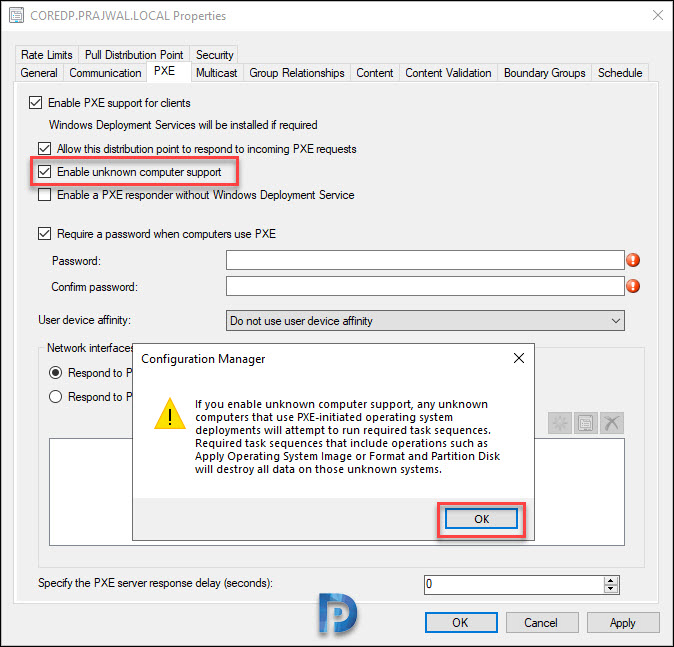
Check the box – Enable unknown computer support. On the warning box, click OK.
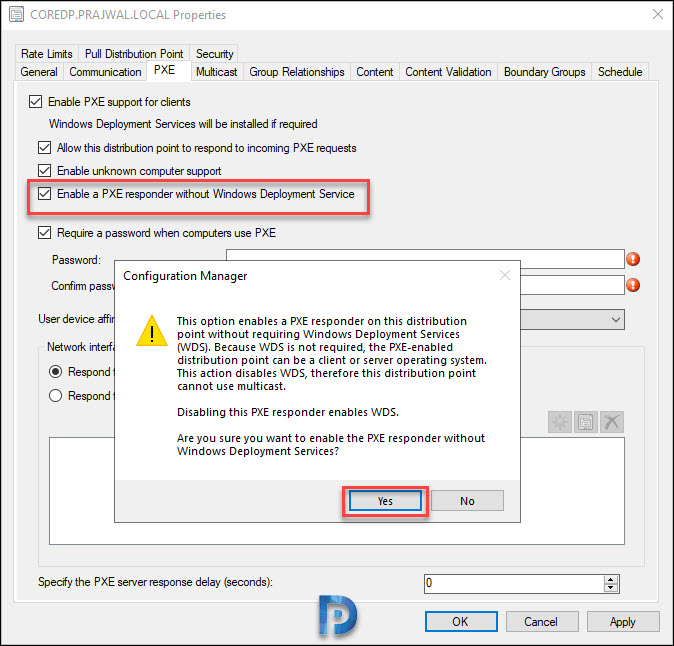
Finally check the box – Enable a PXE responder without Windows Deployment Service. On the warning box, click Yes.
You may set PXE password (this is not mandatory, but recommended). Click Apply and OK.
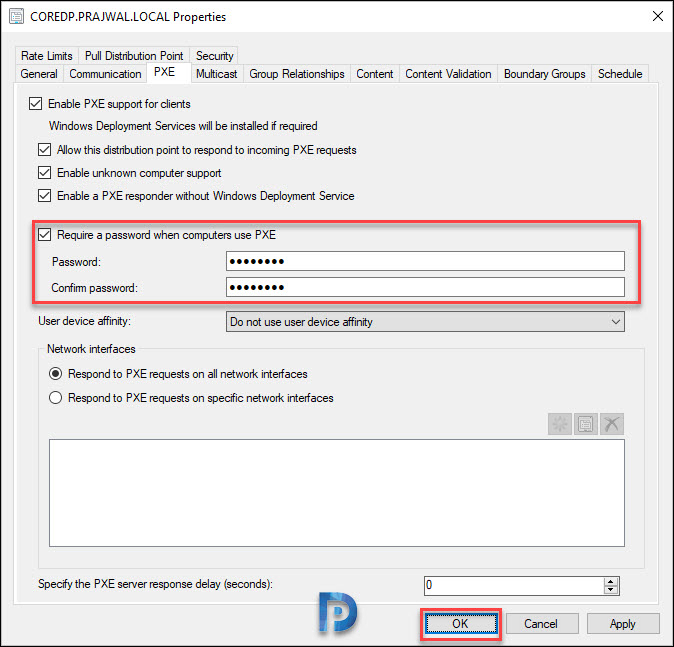 This completes the process of enabling PXE on Windows Server core distribution point. Now you need to wait for the ConfigMgr PXE service to install.
While the Windows Server core doesn’t have GUI, you can access the content library drive via your site server or any other computer.
When you enable PXE responder service on Windows server core, there is no RemoteInstall folder created. Its the sccmpxe.exe executable that responds to PXE requests.
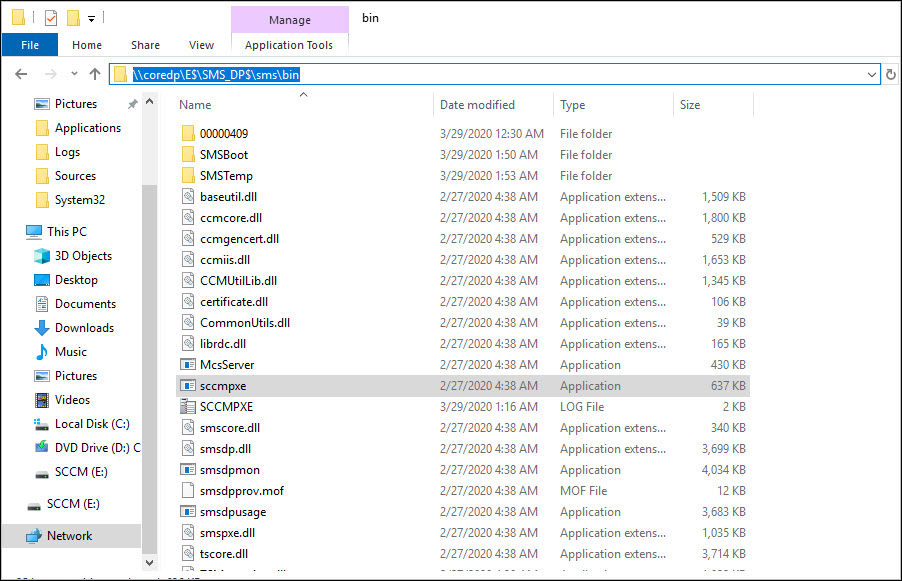
If you are looking for the Boot Images and content, they are in the SCCMContentLib folder. To be precise, the SCCMPXE executable is located in SMS_DP$\sms\bin folder path. In addition, the boot images can be found inside the SMSBoot folder.
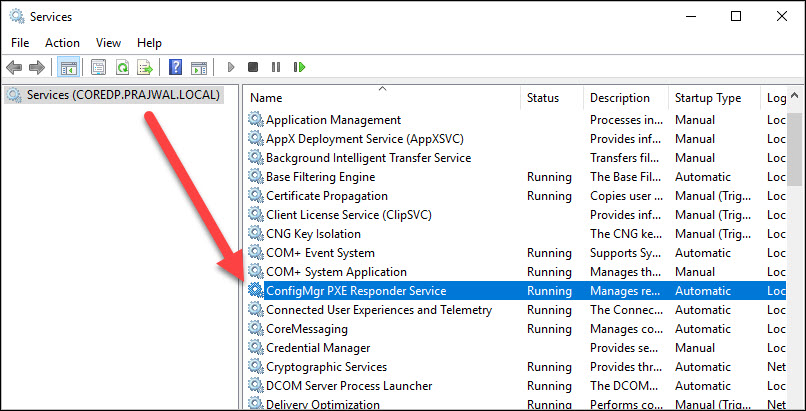
To verify the ConfigMgr PXE Responder Service status, open Services console on your site server. Then connect it to Server Core DP. Locate the ConfigMgr PXE Responder Service and check it’s status.
Before you test the PXE boot :-
- Distribute the boot images and task sequence content to the distribution point.
- Associate the DP to boundary group (if you have not done it).
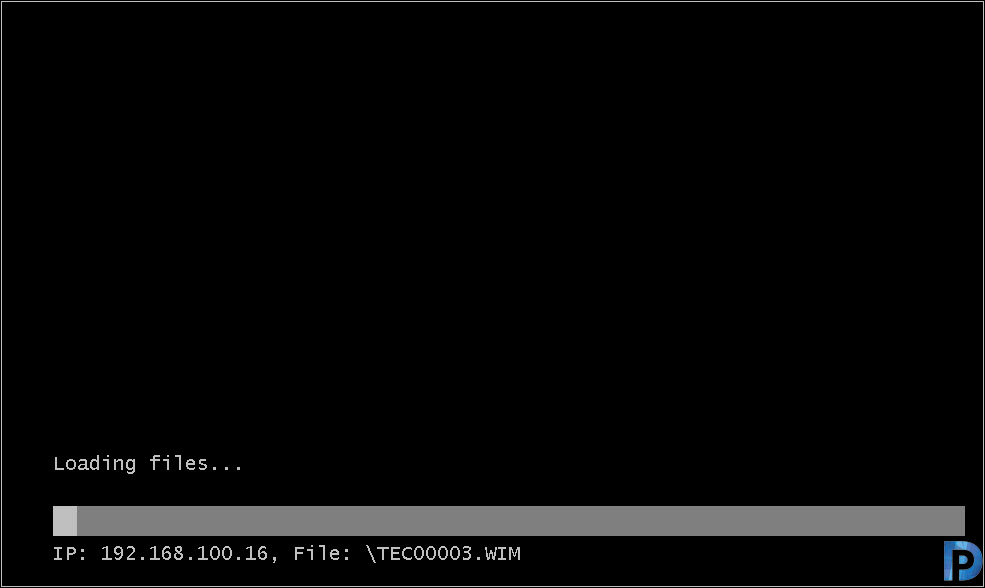
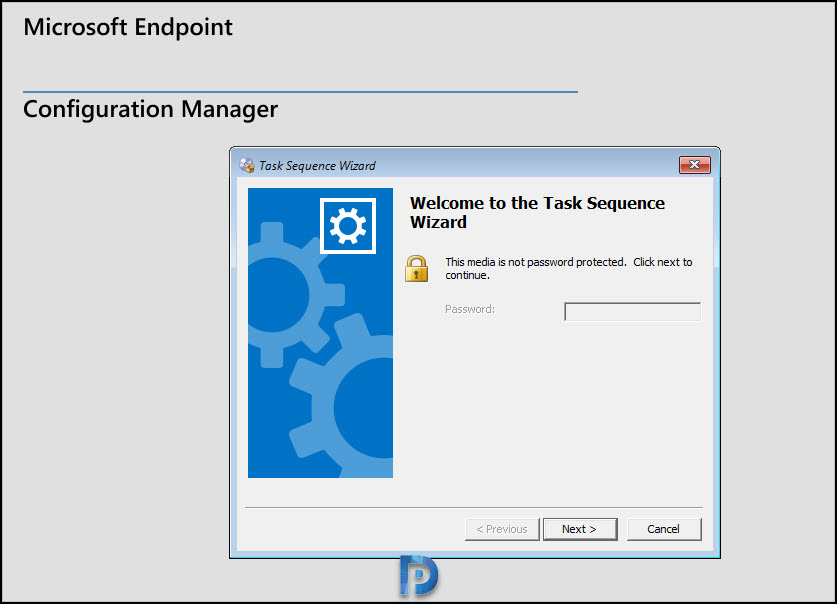
Spin up a VM and PXE boot it. When the VM loads the boot image, check the IP address and that should be match with the Server core DP.
So you can now use this core DP to image your computers.

Hi there,
If I use this Method do I still need to use Option 66 and 67 in DHCP?
What do I need to write in option 67 for boot filename?
Currently, we use Usc stick to the re-image the system. I am trying to change and migrate to PXE boot using ethernet.
We got over 6 DHCP servers for each location and SCCM and WDS are in 1 DHCP Zone and I in diffrent locaiton so I am using PXE option 66 and 67. I have sucessfully tested a VM with Non UEFI opton but with UEFI VM and Laptop I cant make it work no matter what I use ie. wdsmgfw.efi or bootmgfw.efi or even your “PXE Responder” method