Deploy Windows 10 2004 using SCCM | Configuration Manager
This post covers the steps to deploy Windows 10 2004 using SCCM. Using Endpoint Configuration Manager, it’s very easy to deploy Windows 10 2004.
If you are planning for an in-place upgrade to Windows 10 2004, yes you can also upgrade to Windows 10 2004 using Configuration Manager. However I will be covering the in-place upgrade steps in a separate post.
Using the Configuration Manager task sequence, we will completely automate the Windows 10 2004 deployment process. I know Windows 10 2004 is very new and it takes some time for organizations to test and deploy this OS.
In this post I will be first importing Windows 10 2004 wim file into SCCM and then deploying it to a virtual machine.
Important – Before you roll out Windows 10 2004 in your setup, it’s a good idea to test it first on isolated setup. That’s because even if you encounter errors, you get enough time to fix them and ensure they don’t occur in prod setup.
Table of Contents
Prerequisites
Before you deploy Windows 10 2004 using Configuration Manager, some points to note.
- Ensure you’re running the latest version of Configuration Manager. In my case I am using Configuration Manager 2002 to deploy Windows 10 2004.
- Enable PXE on the distribution point. This is important and I assume you have configured PXE on your distribution point.
How to get Windows 10 2004 update
Windows 10 2004 also known as May 2020 update, and it is available for all the customers. Most of all to get the Windows 10 May 2020, open your Windows Update settings (Settings > Update & Security > Windows Update). Select Check for updates. Once the update appears, you can select Download and install.
Most interesting part would be what’s new for IT pros in Windows 10, version 2004. There are lots of new features in version 2004 and you can probably try or test them out after installing the OS.
Download Windows 10 2004 ISO
Since we want to deploy Windows 10 2004 OS using Configuration Manager to a new device, we need a .ISO file. Therefore download Windows 10 2004 ISO file first. To get the ISO file, you can either download it from MSDN or VLSC.
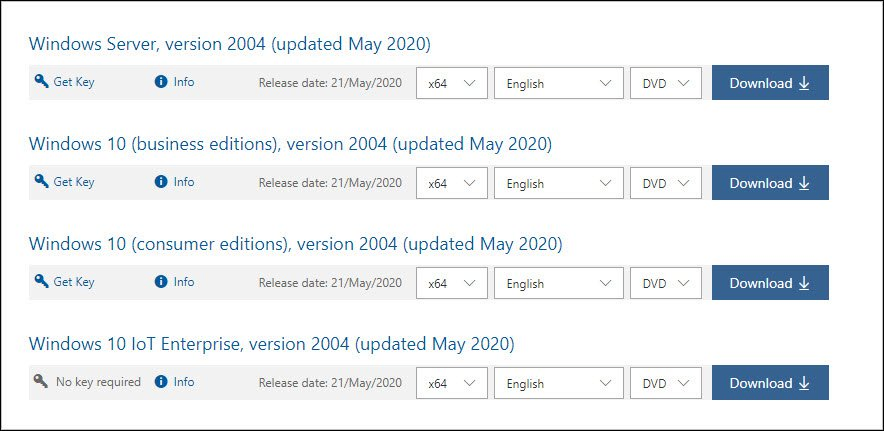
If you don’t have access to MSDN or VLSC, you can visit the following link to download Windows 10 2004. Once you have the ISO file downloaded, proceed to next step.
Extract Windows 10 2004 ISO
Before you import the Windows 10 OS into SCCM, extract the Windows 10 ISO to a folder. When I say extract, you could mount the ISO file and copy the contents to a folder.
You could also use 7zip or WinRAR to etract the ISO to a folder. In my case I have downloaded the Windows 10 2004 ISO from MSDN and I have extracted Windows 10 setup files to a folder.
Add or Import Windows 10 2004 OS in SCCM
The first step involves adding or importing Windows 10 2004 (WIM File) operating system in SCCM.
- Launch the Configuration Manager console.
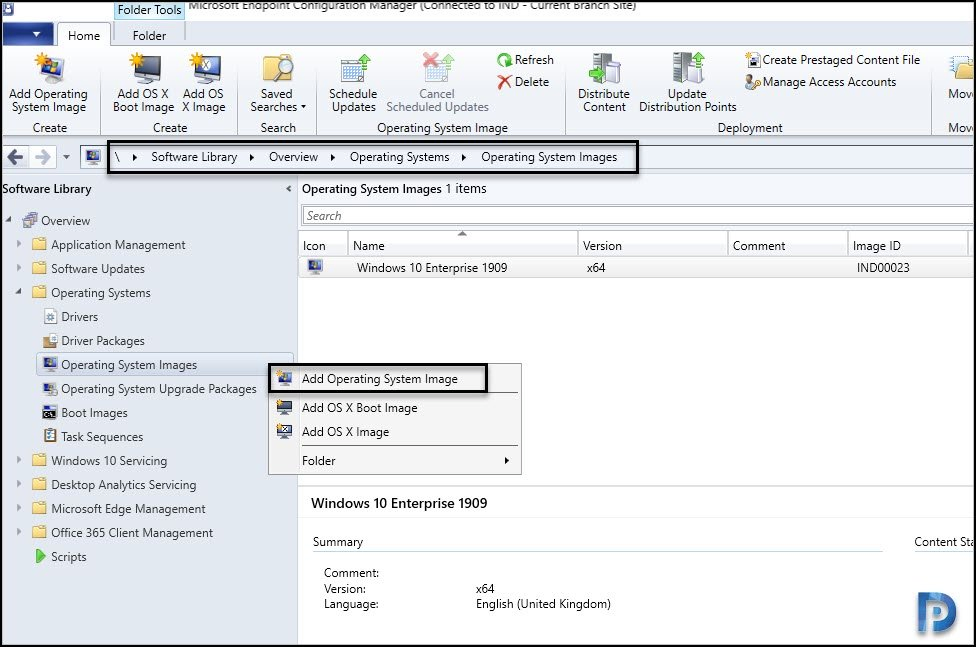
- Navigate to Software Library > Overview > Operating Systems.
- Right click on Operating systems images and click on Add Operating System Image.
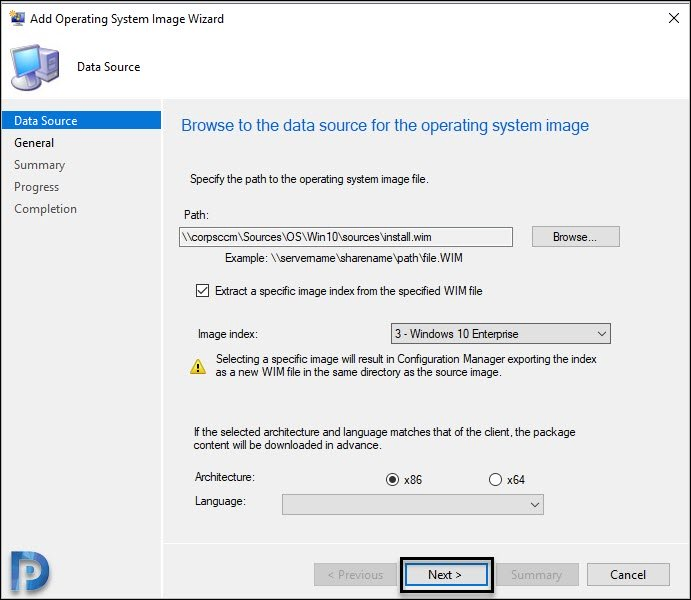
On the Data Source page, specify the path to Windows 10 2004 install.wim file. This file is located within sources folder.
One good option that I see here is you can extract a specific image index from the WIM file. For example, you want to deploy Windows 10 enterprise, so you can extract only Windows 10 enterprise out of WIM file.
Check that box and select Windows 10 Enterprise as Image Index. Click Next.
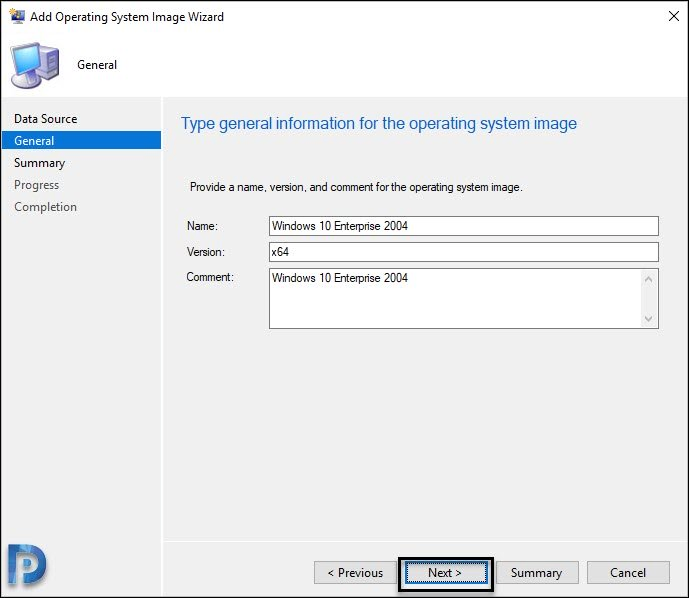
On the General page, specify OS image information such as Name, version and comment. Click Next.
On the Summary page, click Next.
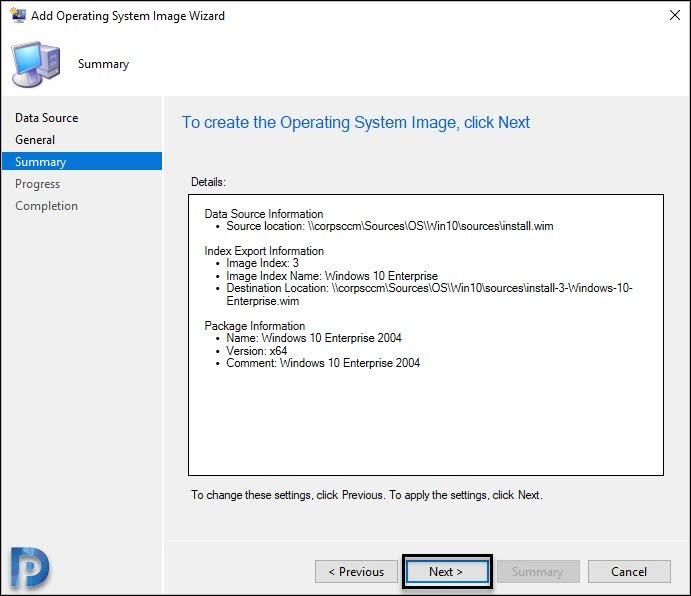
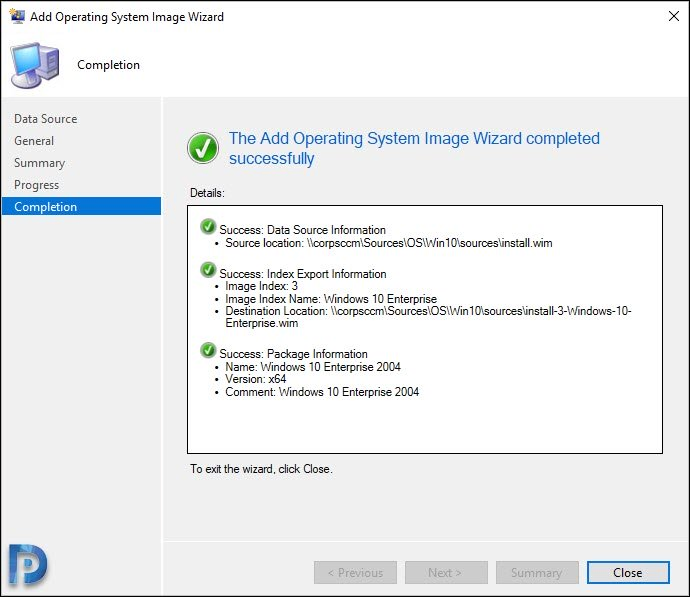
Close the Add operating system image wizard.
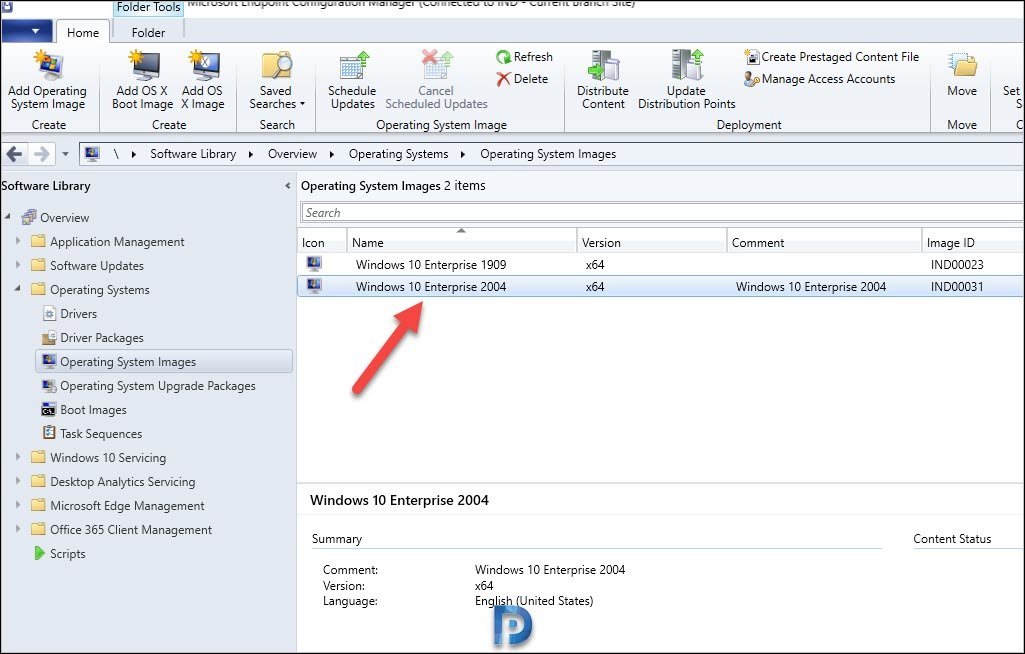
You should now find Windows 10 Enterprise version 2004 when you click Operating System Images. This also confirms you have successfully imported it in SCCM.
Create SCCM Task Sequence to deploy Windows 10 2004
Let’s create a new SCCM task sequence to deploy Windows 10 version 2004.
- Launch the Configuration Manager console.
- Go to Software Library > Overview > Operating Systems > Task Sequences.
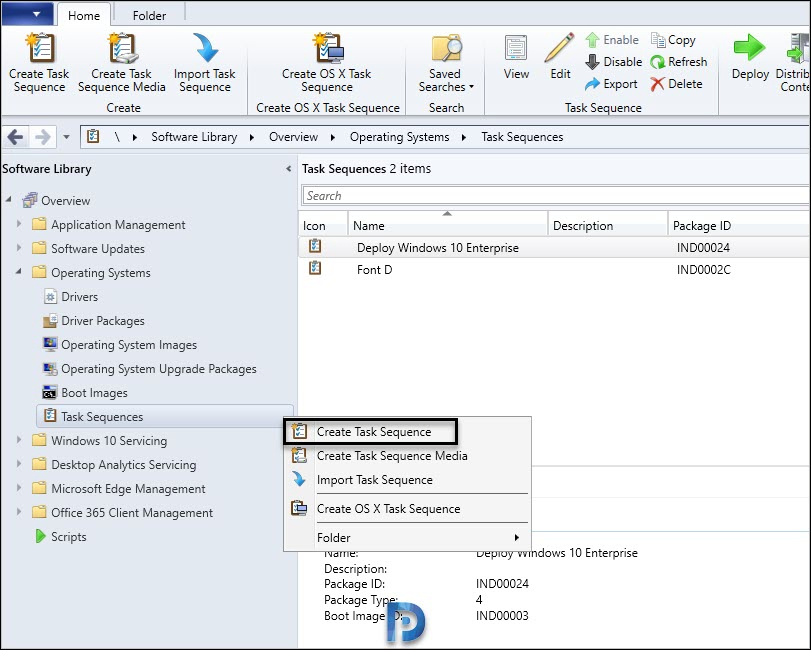
- Right click Task Sequences and click Create Task Sequence.
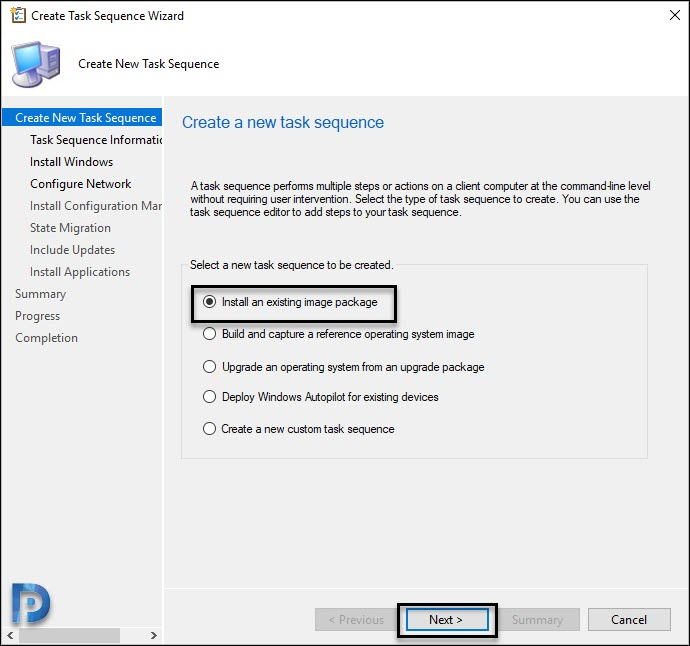
On the Create New Task Sequence wizard, select Install an existing image package. Click Next.
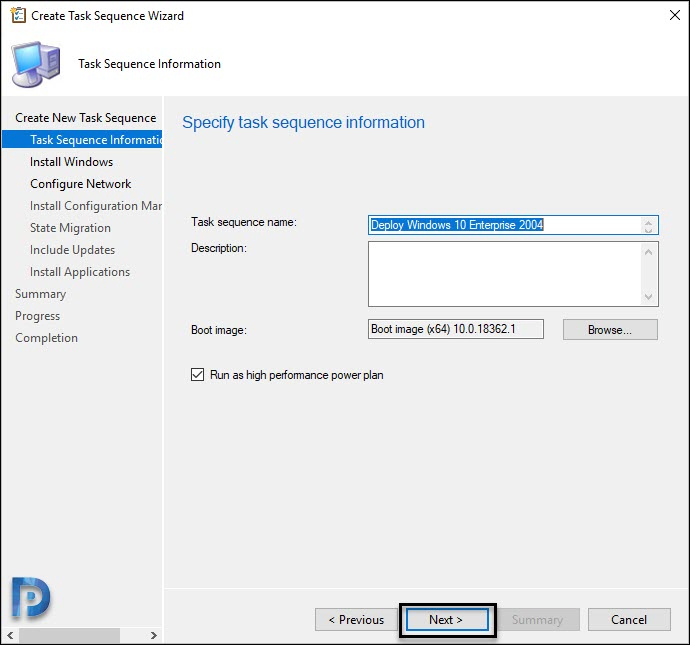
Specify Task Sequence Information
Specify task sequence name. You must select a boot image. Click Browse and select 64 bit boot image. You may select Run as high performance power plan. While this is completely optional, I will still select this for my deployment.
Click Next.
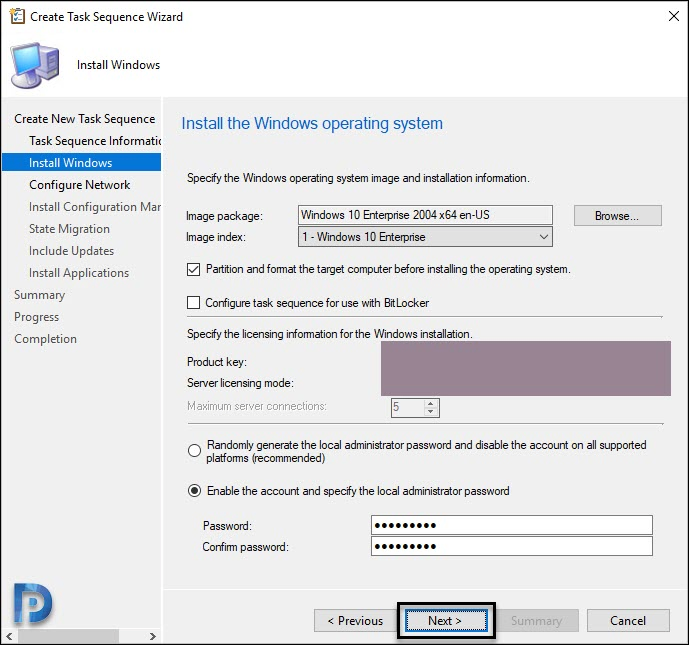
Windows Operating System Image and Install Information
On the Install Windows page, click Browse and specify Image package. Check the box Partition and format target computer before installing the operating system.
If you have a product key, specify it here. If your organization has got KMS server that activates the OS, you can enter the KMS key here.
Next, you may set a local administrator password for this OS or use the randomly generate local admin pass option. Click Next.
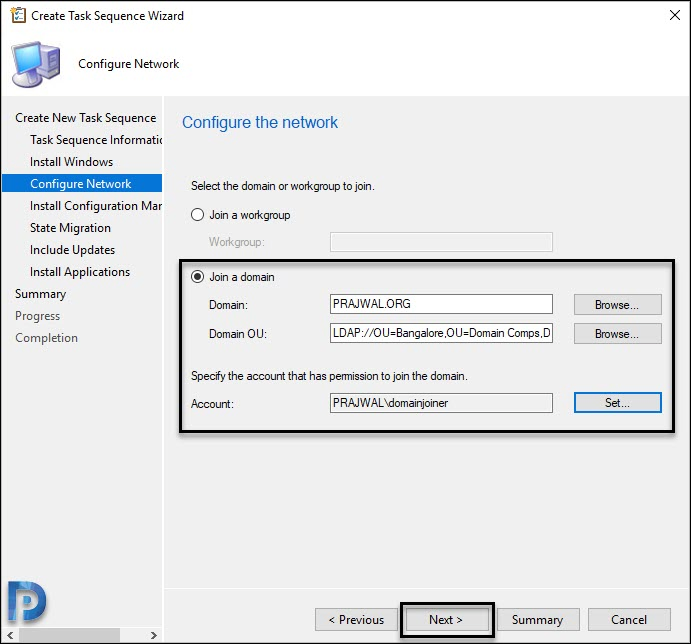
Configure Network Options
On the Configure Network page, select if you want the machine to be part of domain or workgroup. Select Join a domain and click Browse and specify Domain, Domain OU.
You must also specify an account that has enough permissions to join the machine to domain. For more information on that refer the following post – https://www.prajwaldesai.com/allow-domain-user-to-add-computer-to-domain/.
Click Next.
Install Configuration Manager Client
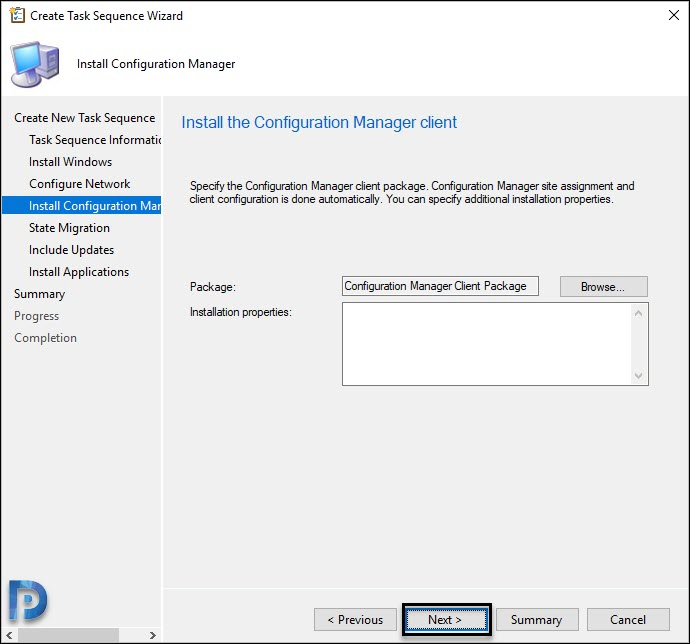
The Configuration Manager client package is automatically selected. You may specify additional installation properties if you wish to. Click Next.
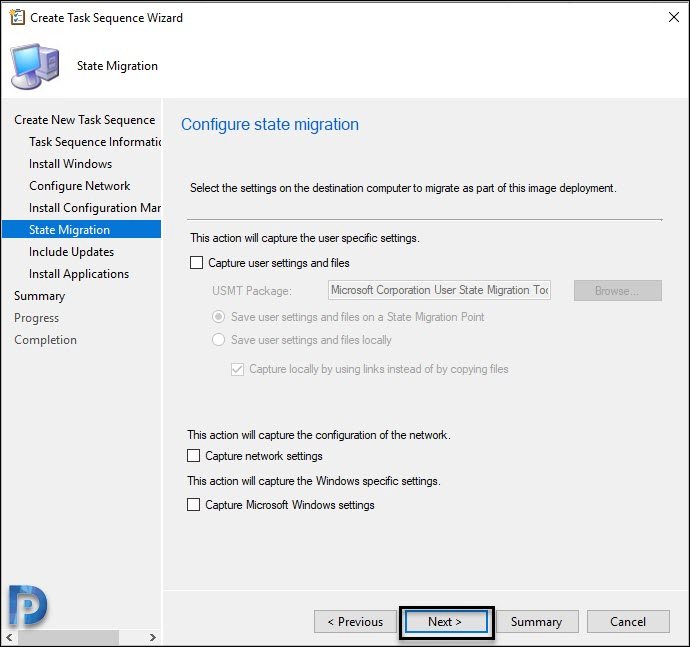
Uncheck all the options on Configure State Migration page and click Next.
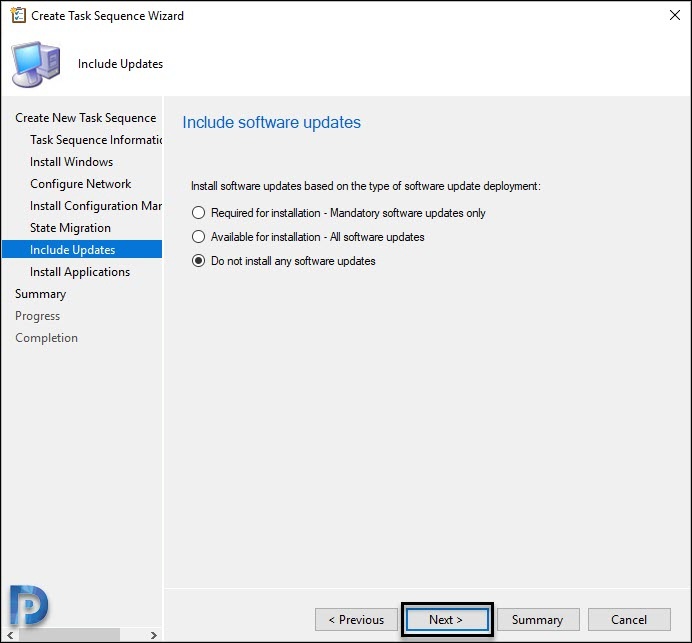
Decide if you want to include software updates during deployment. Since this is a newly released Windows 10 OS, I am going to select Do not install any software updates. Click Next.
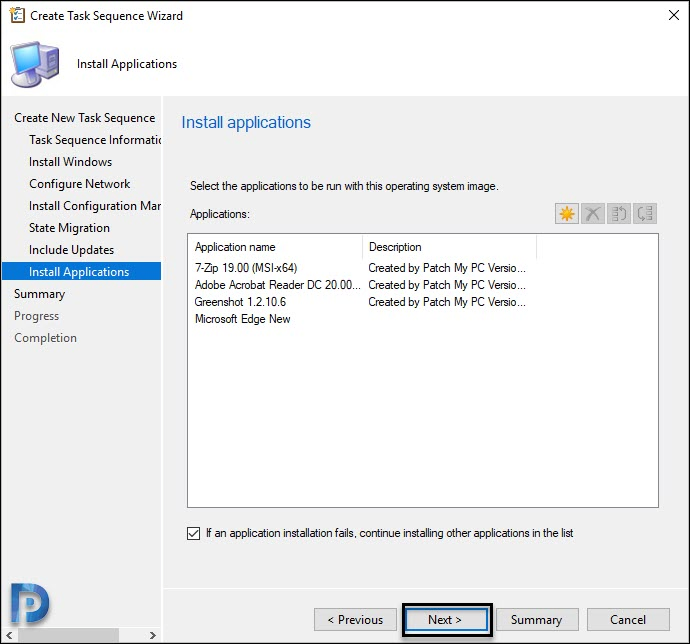
On the Install Applications page, you may add apps that will install along with OS. You may also add it later by editing the task sequence.
I am going to select some apps for installation. Click Next.
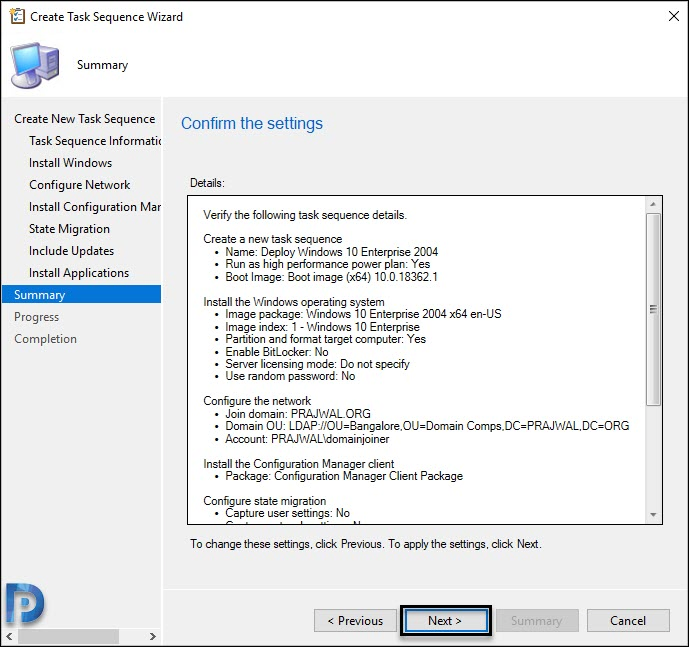
Review the settings on Summary page. Click Next.
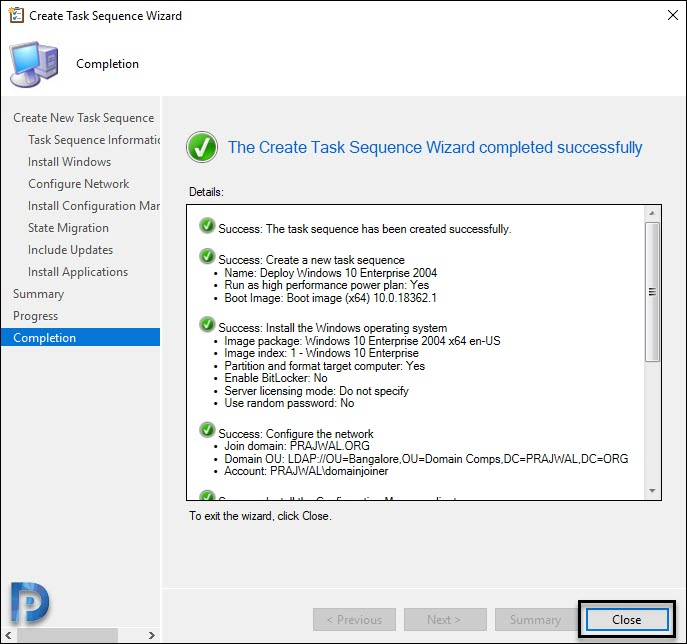
Finally on Completion page, click Close.
Edit SCCM Task Sequence
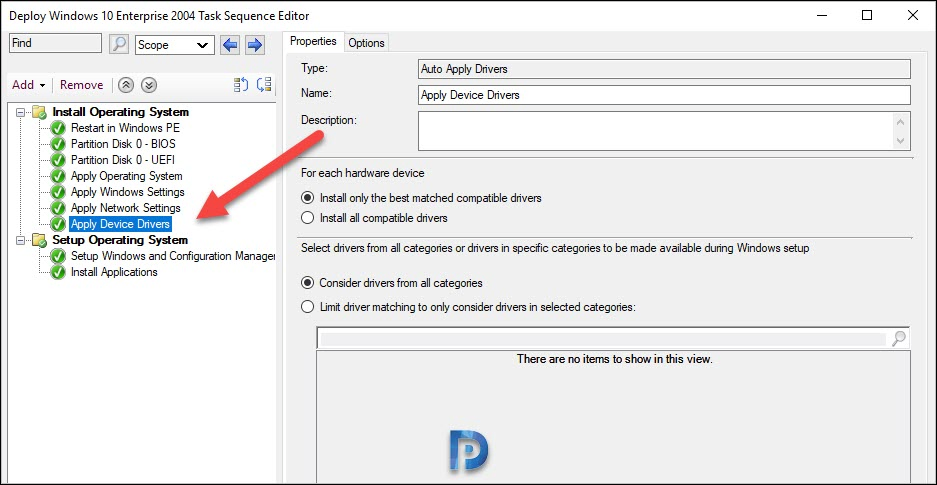
If you want to add or customize the task sequence, right click TS and click Edit. In the task sequence editor, you can add or modify the steps.
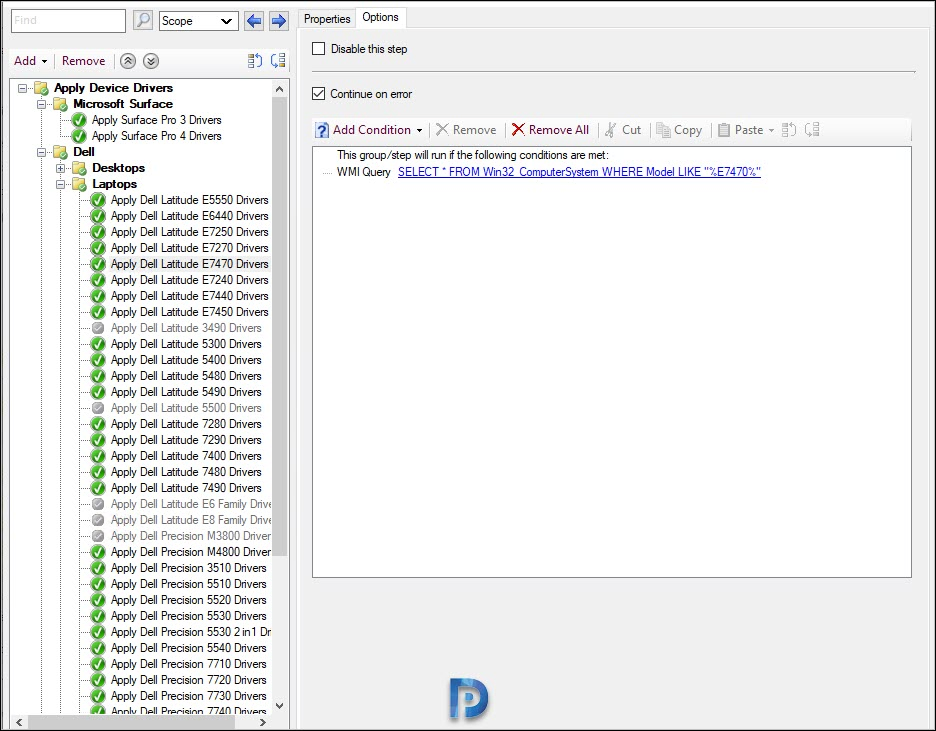
For example, if you are deploying the Windows 10 2004 TS to laptops, you can add drivers for that laptop model.
In addition, you can also use a nested task sequence which installs just the drivers by detecting the model. Then call or reference this nested TS in main TS.
Task Sequence – Distribute Content
After your Task Sequence is configured with all the steps, it’s time to distribute the task sequence content to distribution point(s).
- Launch the Configuration Manager console.
- Navigate to Software Library > Overview > Operating Systems > Task Sequences.
- Right click Windows 10 Enterprise 2004 TS and click Distribute Content.
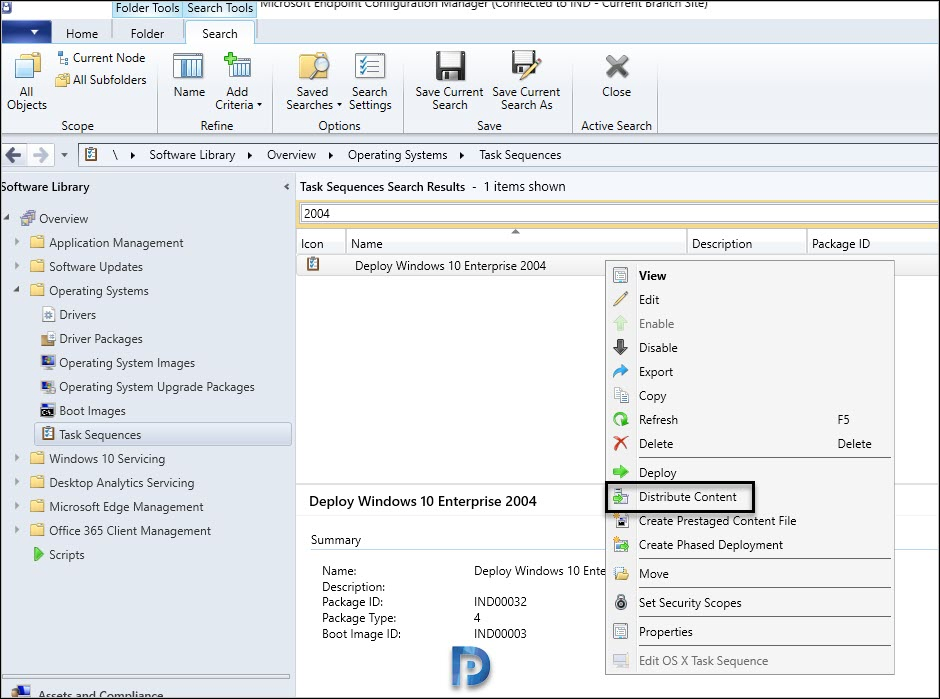
The distribute content wizard is very simple and straightforward. Click Next.
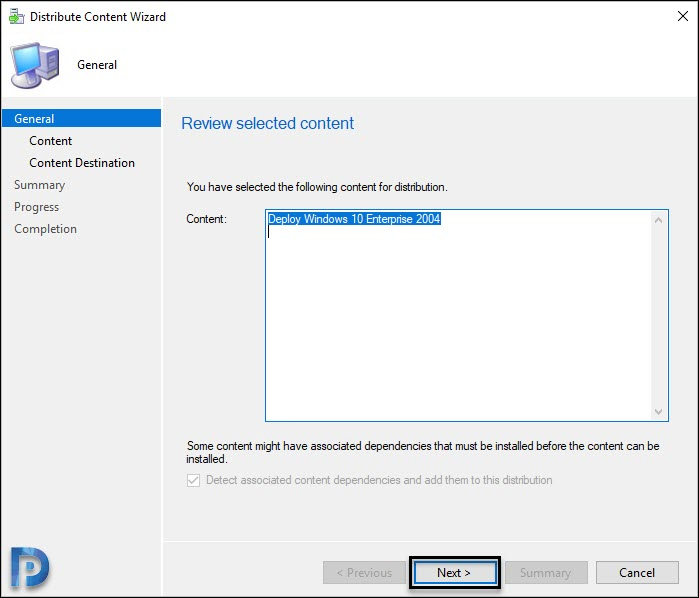
This page shows the task sequence contents, click Next.
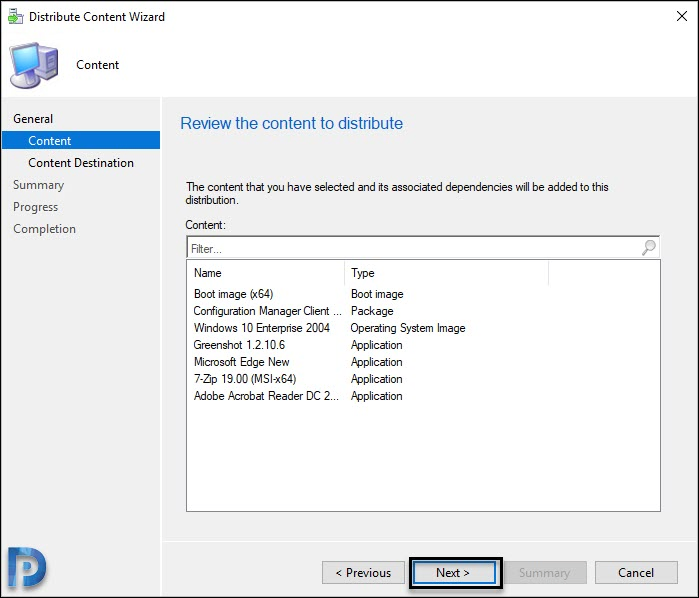
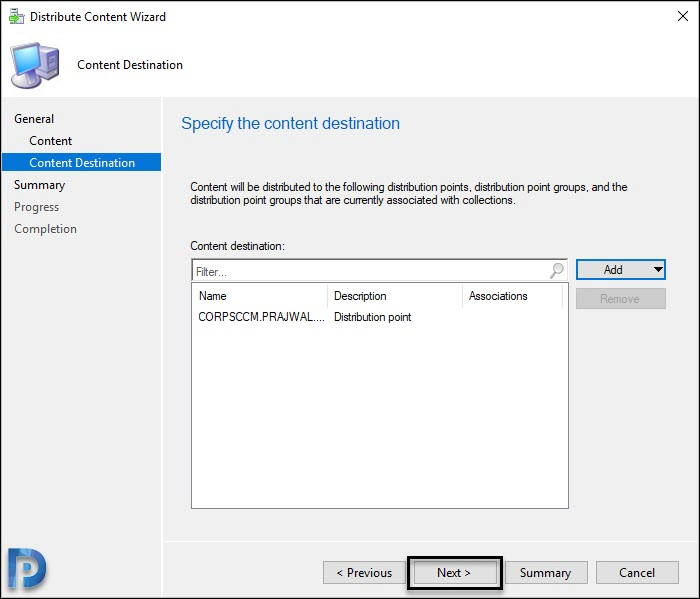
On the Content Destination page, click Add button. Choose or select the Distribution Points that you want to distribute the content to. Click Next.
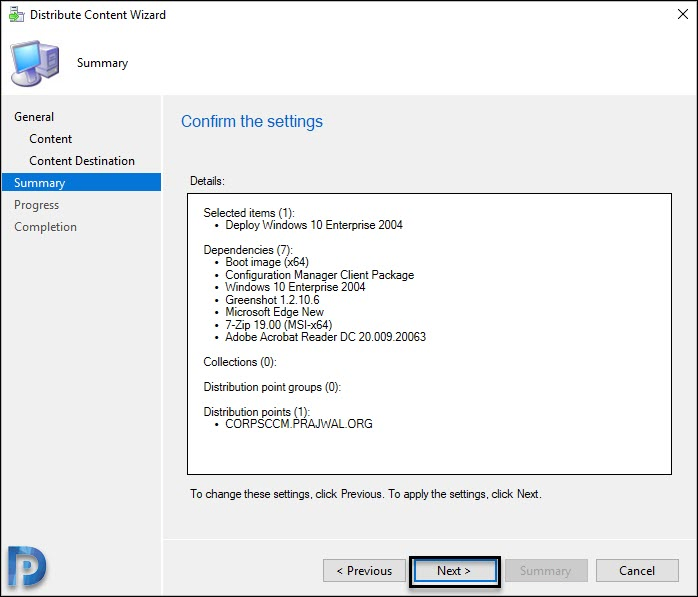
Review the info on Summary page, click Next.
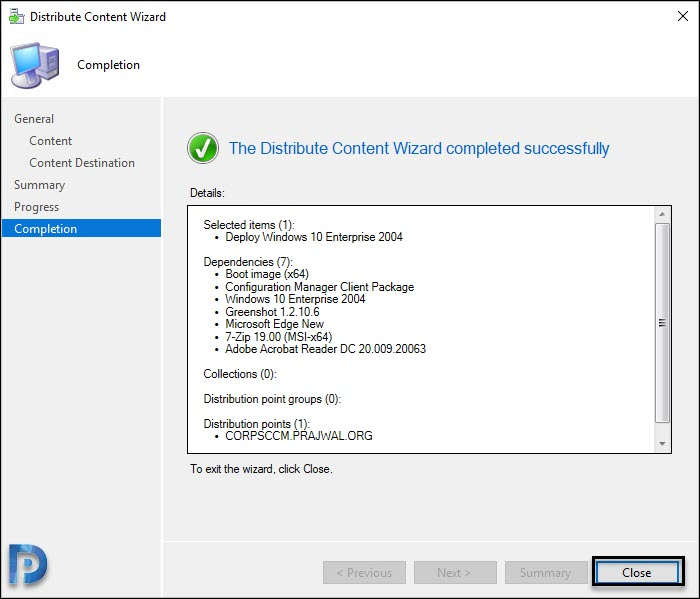
On the Completion page, click Close.
Deploy Windows 10 2004 using SCCM
Our Windows 10 2004 task sequence is now ready. Let’s deploy it using SCCM.
- Launch the Configuration Manager console
- Go to Software Library > Overview > Operating Systems > Task Sequences.
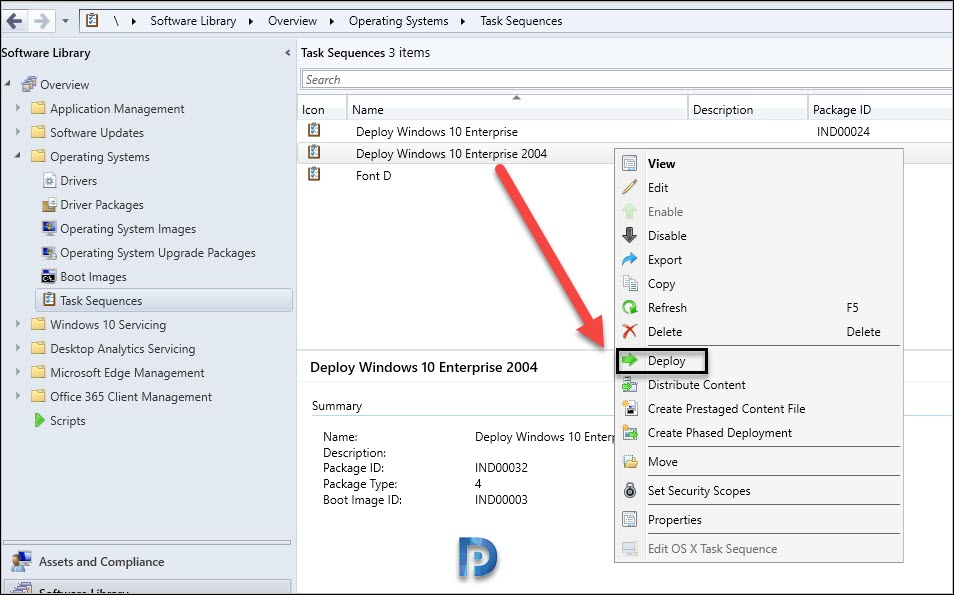
- Right click Deploy Windows 10 Enterprise 2004 task sequence and click Deploy.
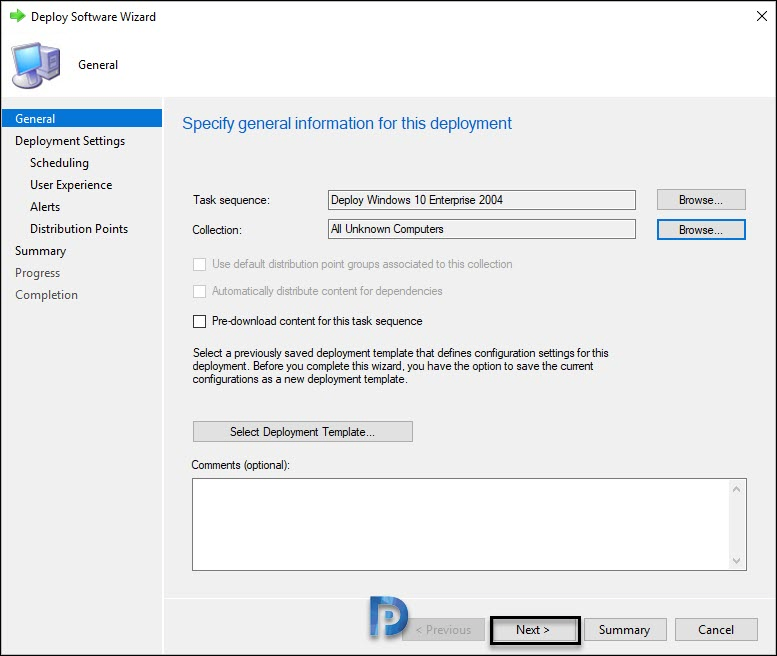
On the General page of deploy software wizard, click Browse and choose a device collection. Click Next.
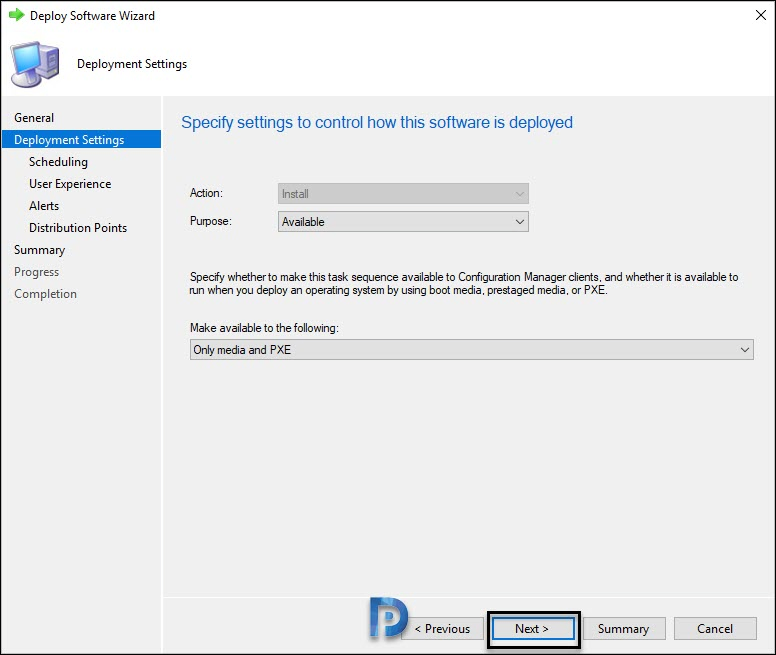
Specify the task sequence deployment settings. Select the purpose as Available. Set Make available to the following to Only media and PXE. Click Next.
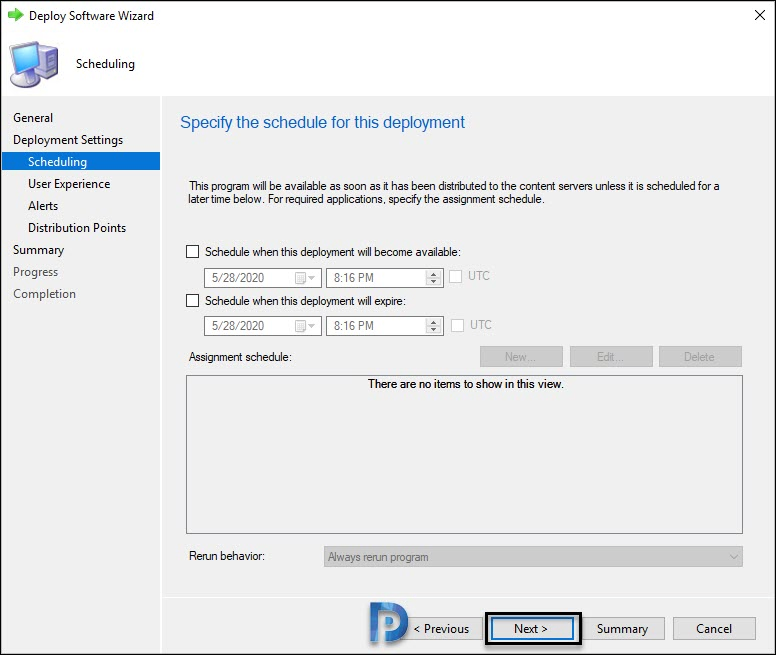
You can schedule the deployment by specifying an assignment schedule. Click Next.
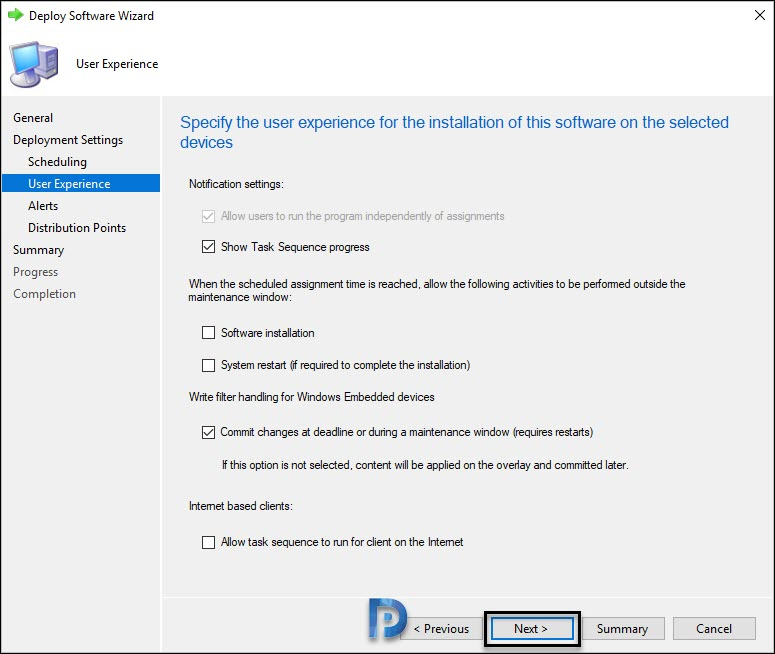
I am not going to change anything on User Experience page, click Next.
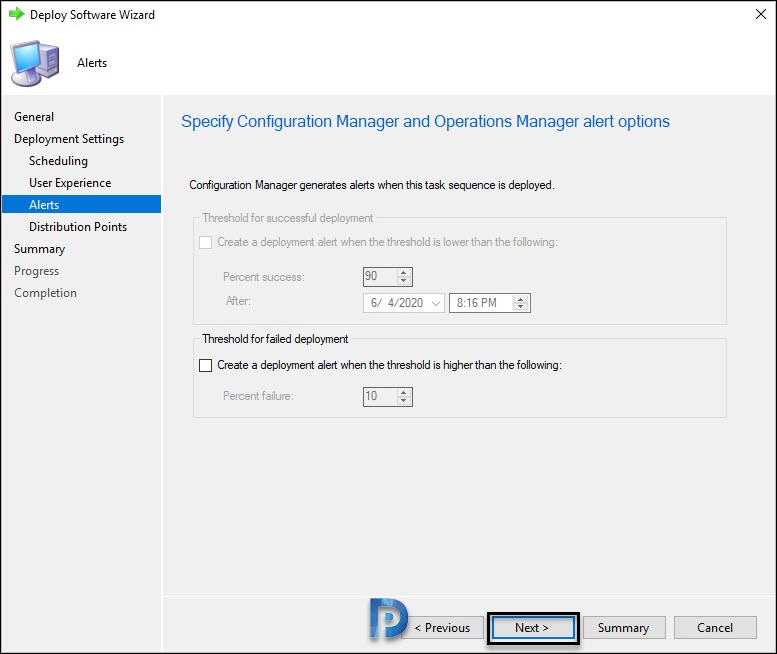
Click Next.
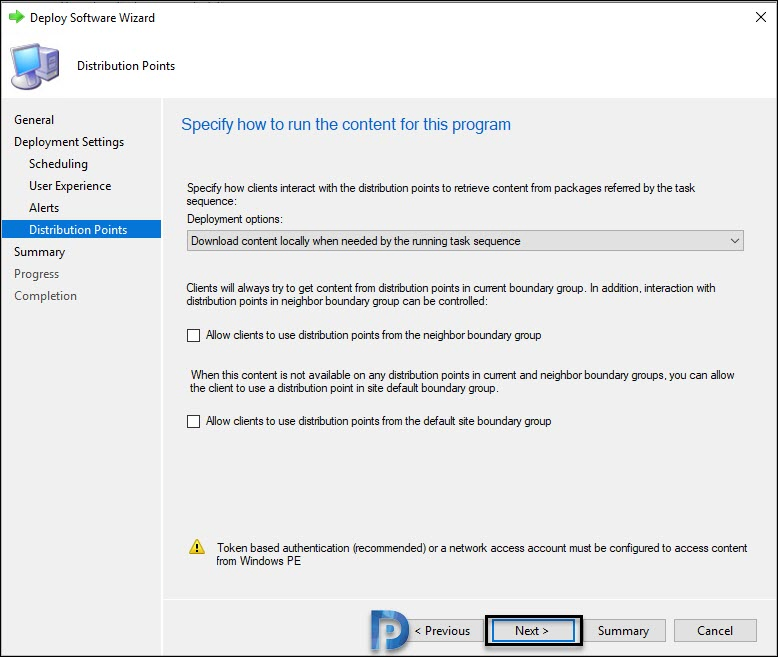
On the Distribution Points page, click Next.
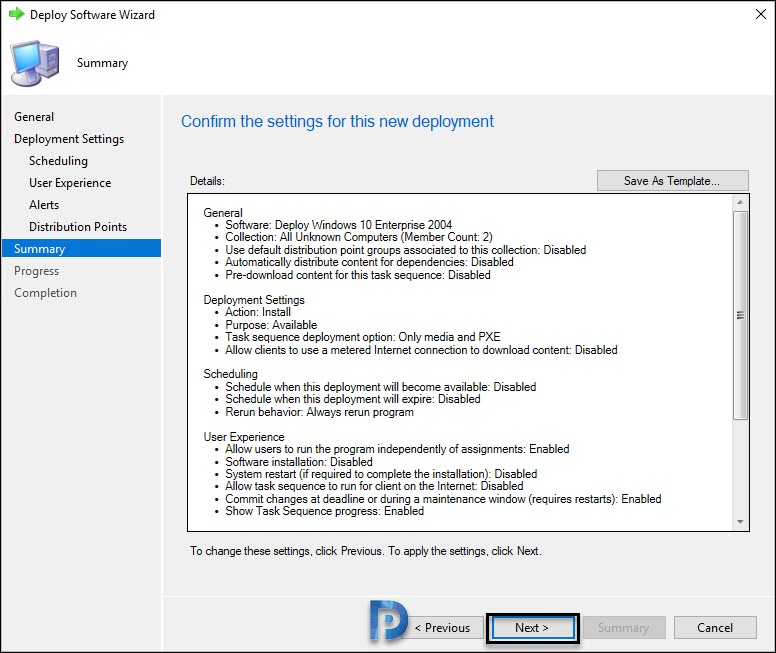
Review the settings on Summary page. Click Next.
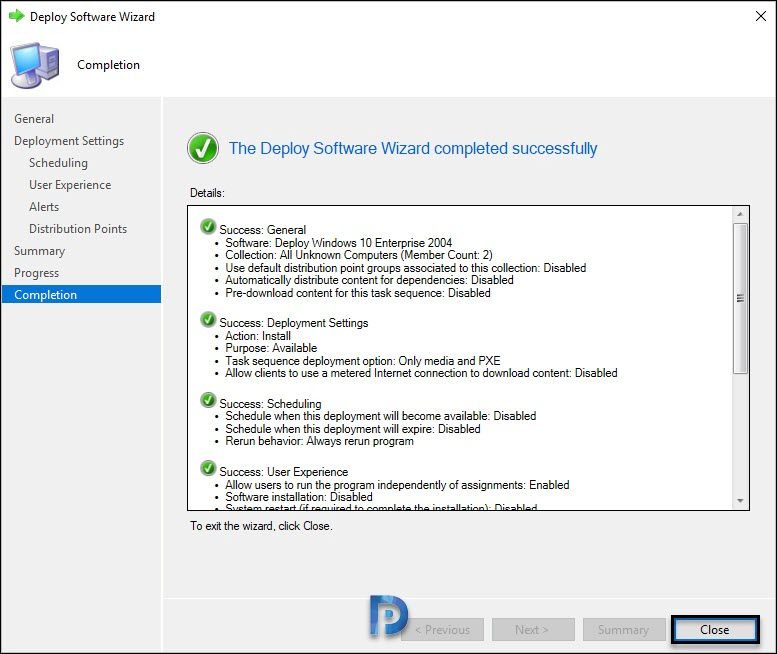
Click Close.
Windows 10 2004 – Operating System Deployment
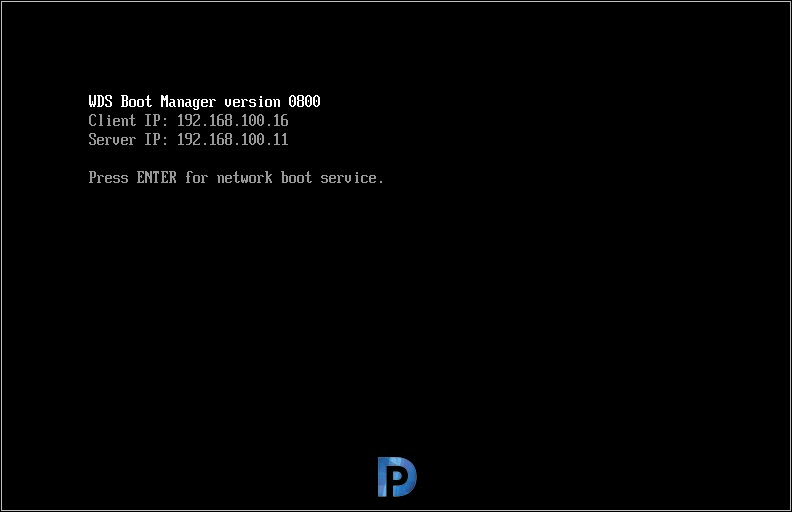
In my lab setup, I am going to test this task sequence on a blank VM. PXE boot the VM and press Enter for network boot service.
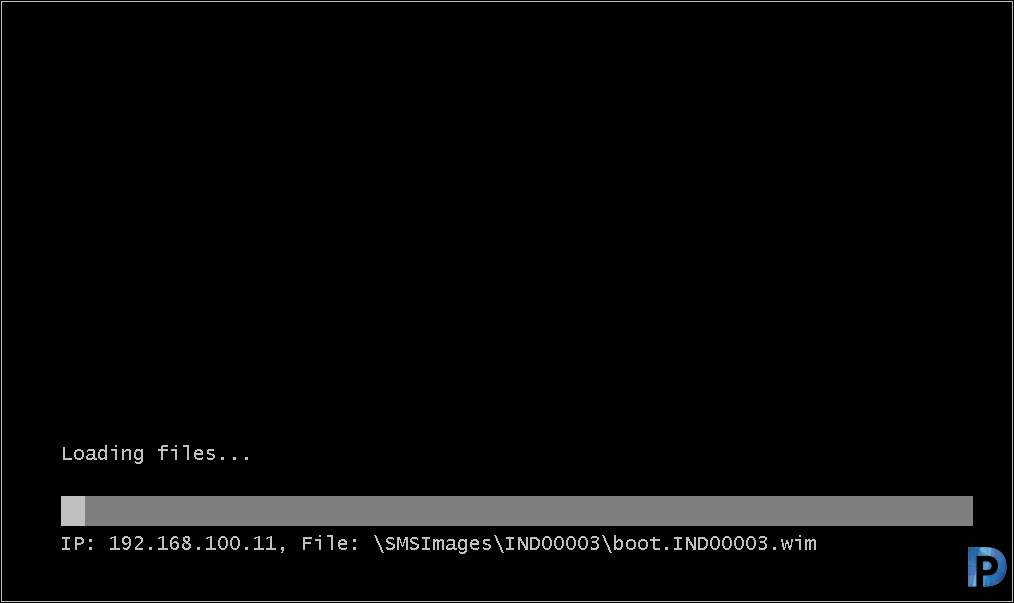
Wait while the boot image loads.
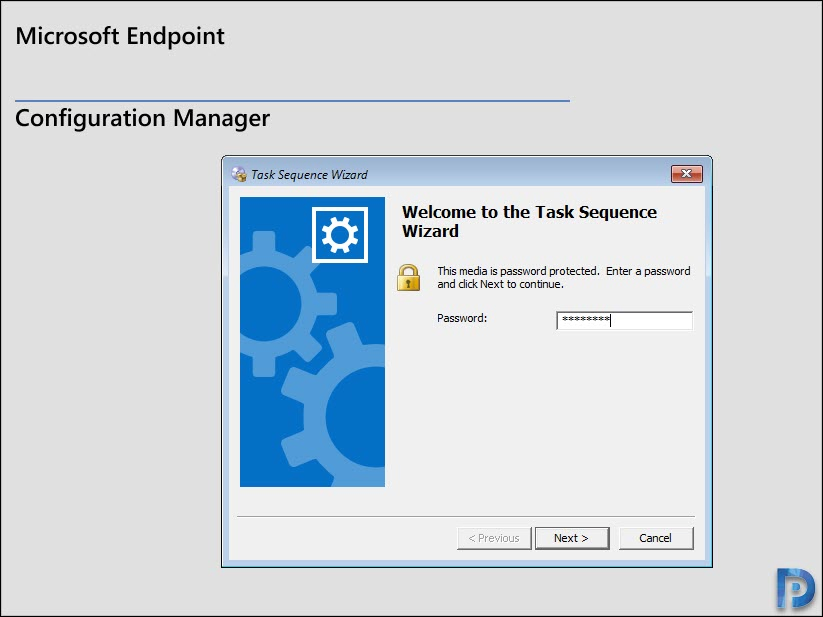
On the Welcome to task sequence wizard screen, enter the password and click Next.
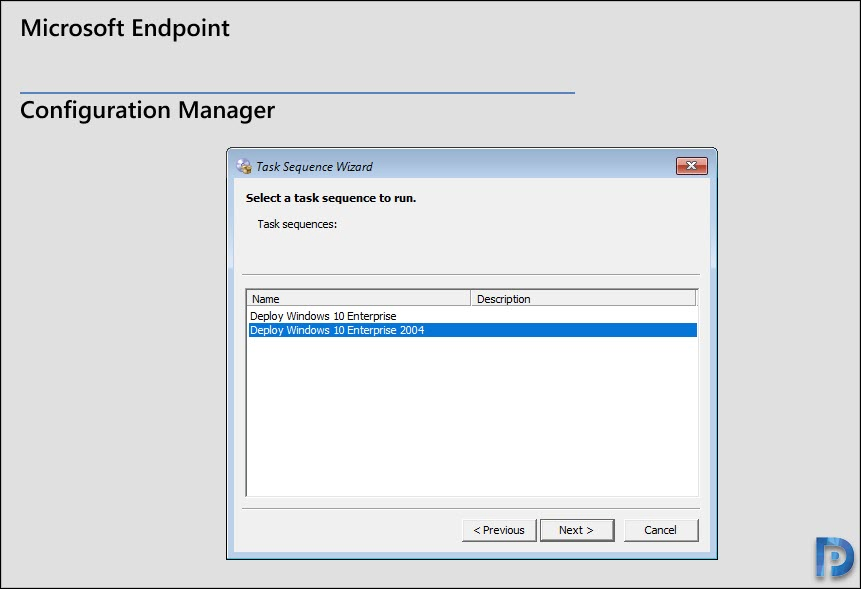
If you have multiple task sequences, select Windows 10 Enterprise 2004 TS and click Next.
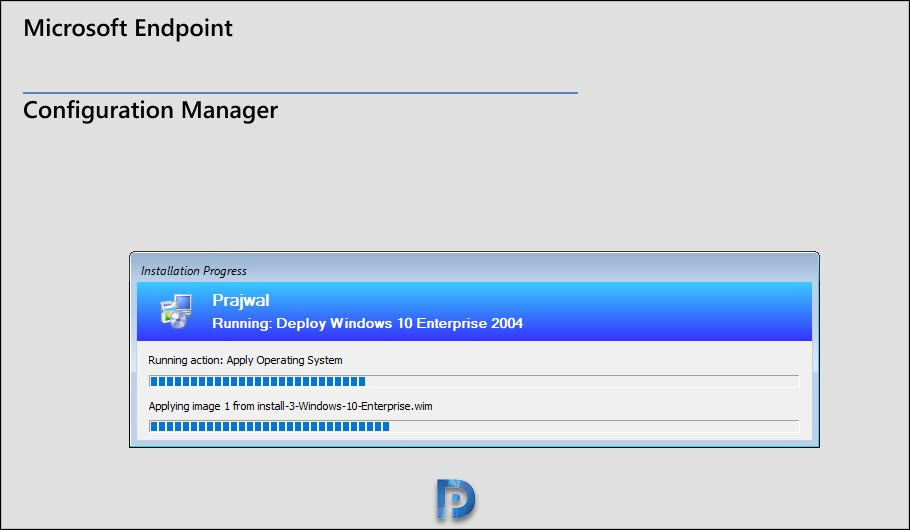
The Windows 10 2004 image installation is quicker compared to previous release. In case your TS fails, you must examine the smsts.log file.
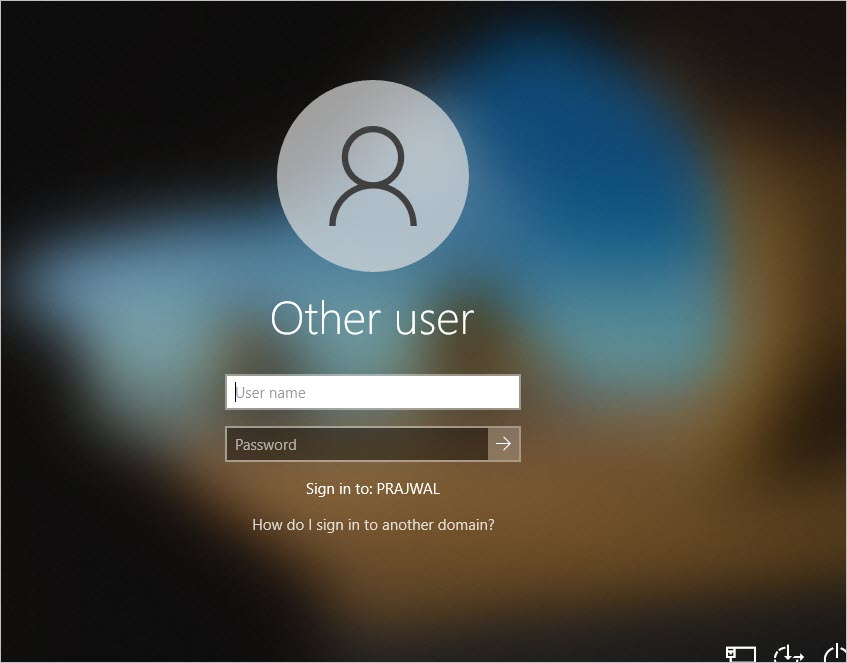
Seems like the OS installation is complete. The machine is joined to the domain. Sign in with the domain user account.
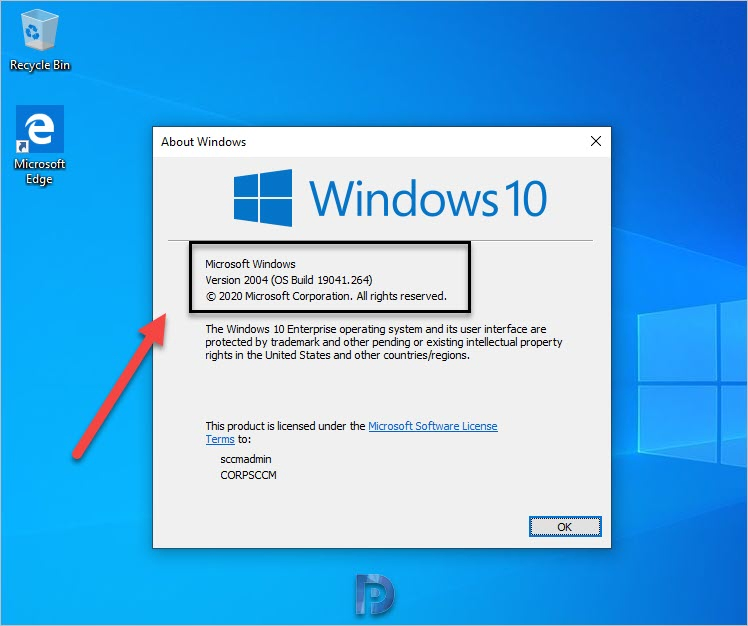
The first thing I did was check the Windows 10 version. It shows Windows 10 Enterprise version 2004, OS Build – 19041.264.
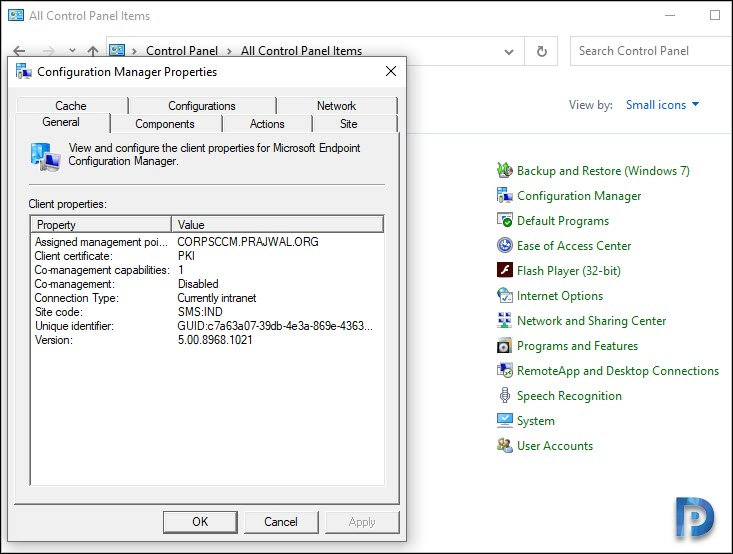
Finally lets do a Configuration Manager client version check. I see the SCCM client agent installed fine and I believe it is fully compatible with Windows 10 version 2004.
I hope the post gives you an idea about deploying Windows 10 2004 using Configuration Manager lab. If you have any questions, post them in comments section.

There is no install.wim file in the downloaded iso file instead of that install.esd is there
If the ISO was created using the Media Creation Tool, you’re likely to have an install.esd, which you won’t be able to open because it’s encrypted.
use the DISM command tool to export the image files and create a “.wim” image from a “.esd” file
SCCM Client doesn’t install during the OSD Task Sequence
Hello Prajwal Desai
Please Create a separate post to deploy Windows 10 2004 to SCCM Windows 10 Servicing Method