Comprehensive Guide to Install SQL Server for SCCM 2012
This post covers the steps to install SQL server for SCCM 2012. The Configuration Manager site database is a SQL Server database that contains data about your SCCM infrastructure and objects. It also contains the information about client systems you manage, and other discovered resources. Before installing SQL server, find out the supported SQL server version for SCCM 2012 here.
This post is a part of SCCM 2012 installation guides. If you need to know what else is required before you install SQL, check the below helpful posts.
- Install Active Directory for SCCM 2012 – Link
- SCCM 2012 Prerequisites – Link
- Create System Management container and Extend AD Schema – Link
Note – The most common question that most of the admins have is, where should I install SQL server?. Should it be local or installed remotely? Most of the SCCM admins believe that the SQL should be installed local. Running SCCM and SQL server on the same server will give you good performance. Remote SQL installations often do not perform much better. Most of all with a remote database, you are adding an extra server and extra complexity into the project.
Install SQL Server for SCCM 2012
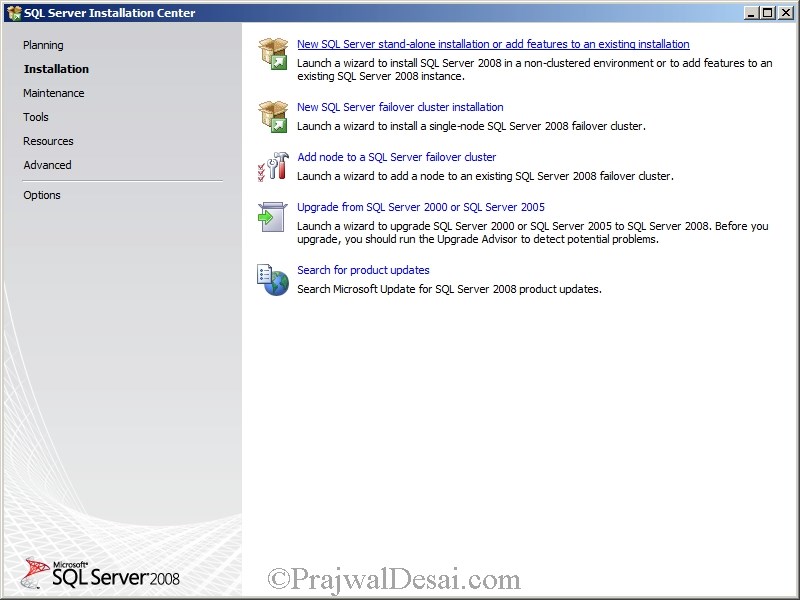
We will look at the steps to install SQL server for SCCM 2012. We are currently installing SCCM 2012. Ensure that you are using a compatible version of SQL Server. Mount the SQL Server ISO and open the SQL Server folder. Run the setup as an administrator. Select Installation and click New SQL server standalone installation.
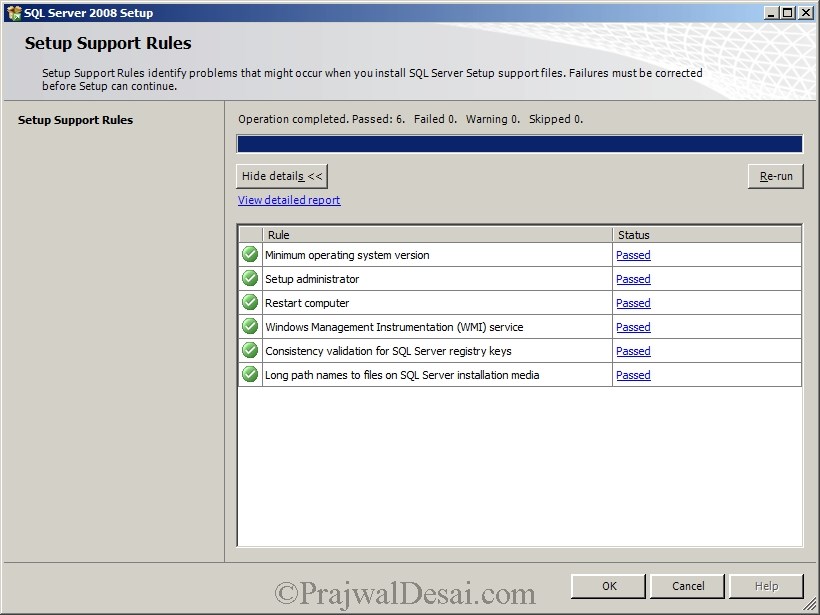
Ensure all the setup support rules show as Passed. Click Next.
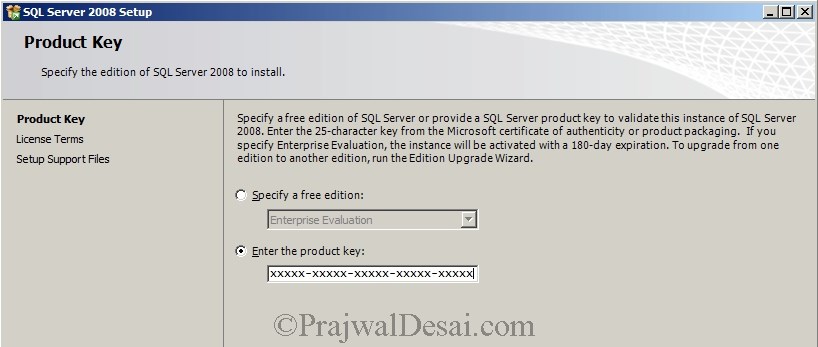
Enter the SQL Server product key. You can also make a note of this product key as it will be required while installing reporting services. Click Next.
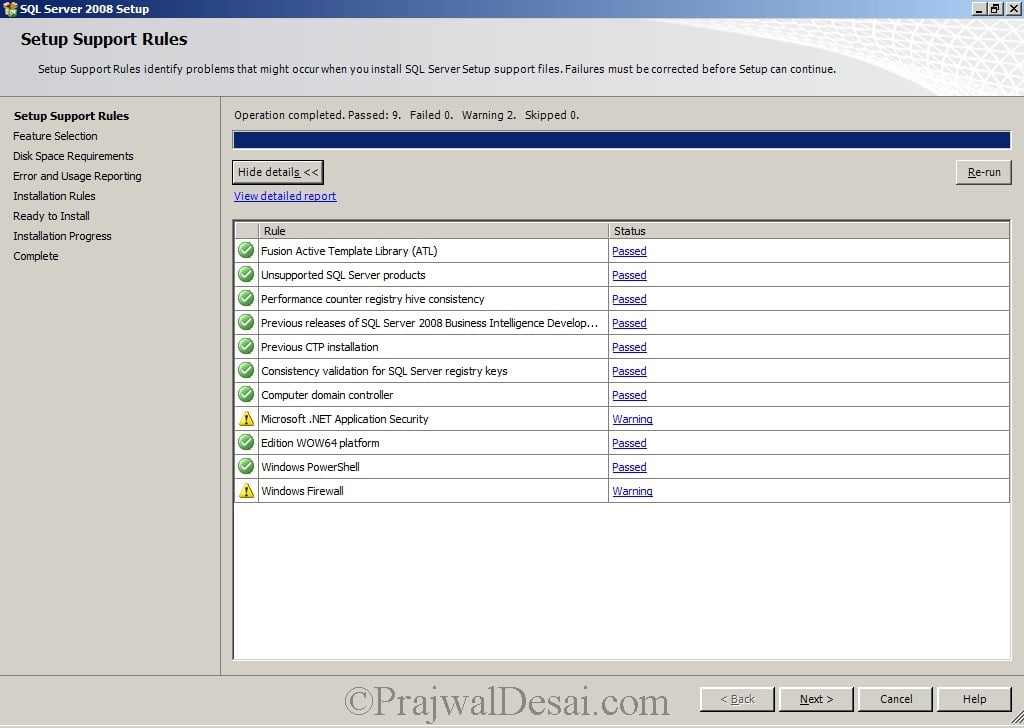
We see the Windows Firewall warning. You can fix this by creating firewall rules to open the SQL ports used by SCCM. I will be covering that in my next post. Click Next.
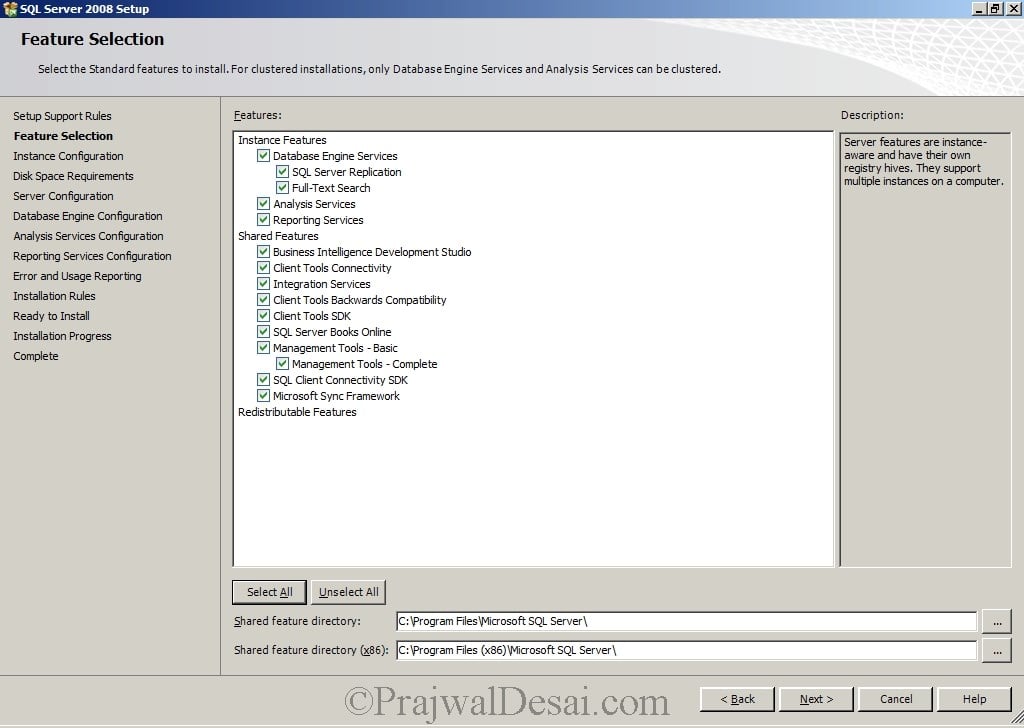
Since I am installing SQL server for SCCM in my lab setup, I am selecting all the features. Ideally you need to select only 3 features :
- Database Engine Services
- Reporting Services
- Management Tools – Basic and Management Tools – Complete.
Click Next.
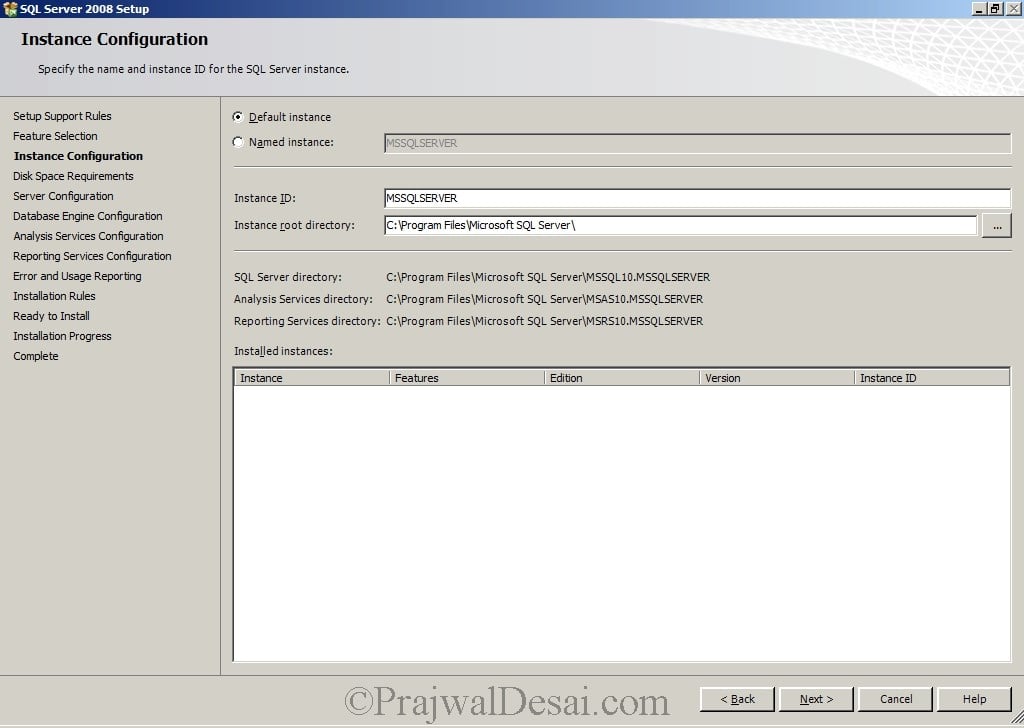
You can either choose default instance or Named instance. I will go with Default Instance. Click Next.
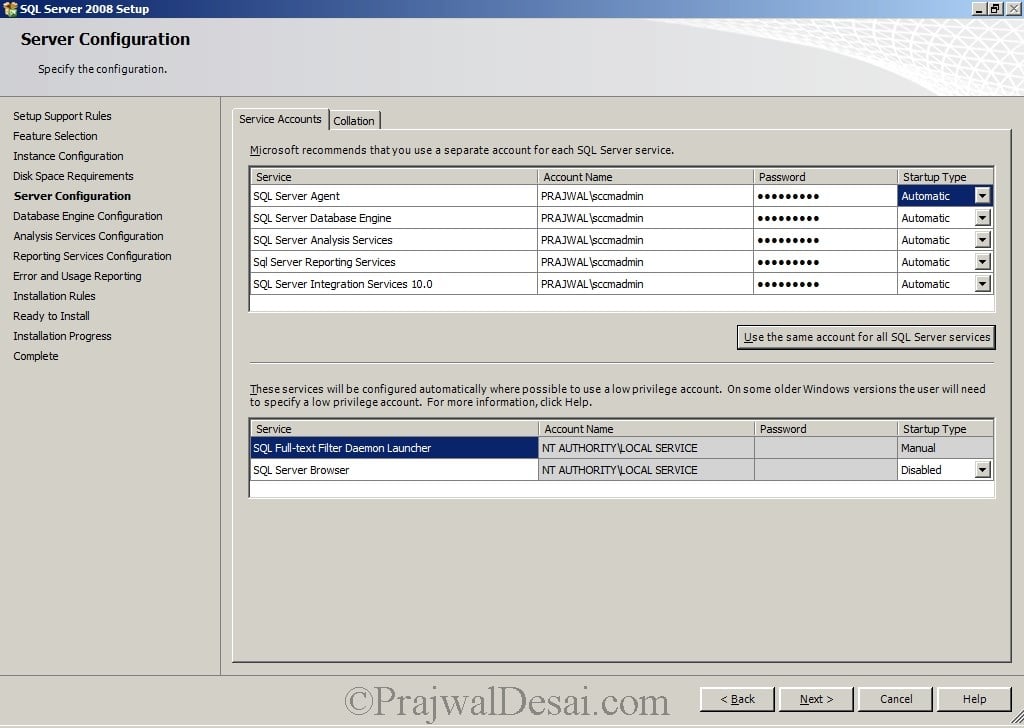
You can create and specify multiple service accounts for each server. However for lab purpose, I am using a single account. Click on Use the same account for all the SQL Server Services.
If you have a created a separate user account for SQL server services specify it here.
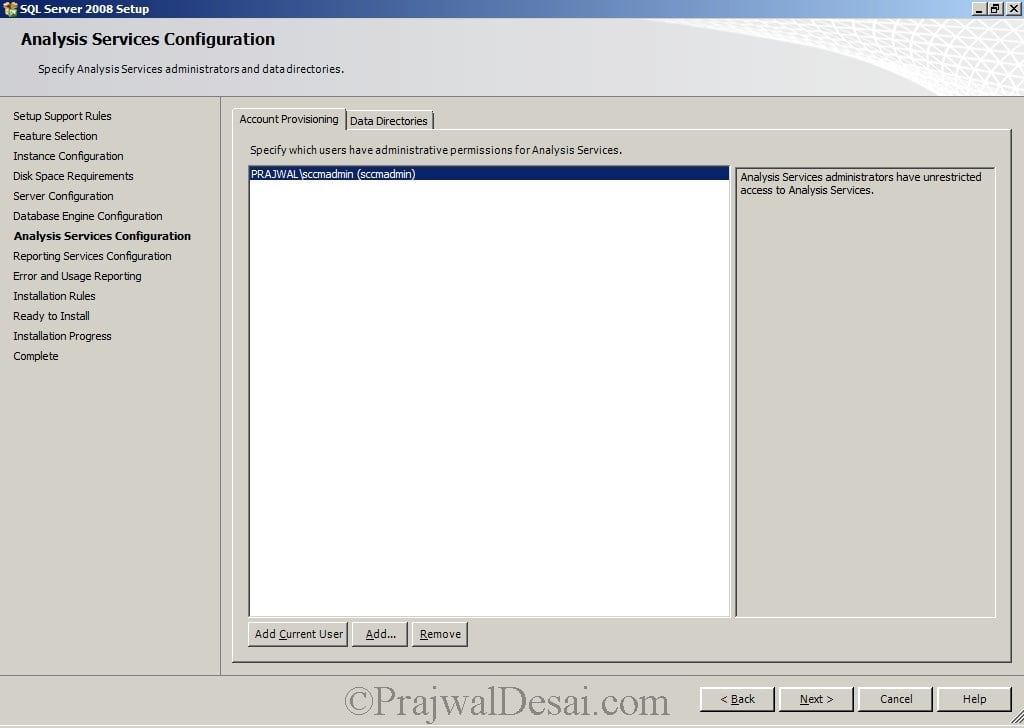
Click Add Current User.
Click Add Current User.
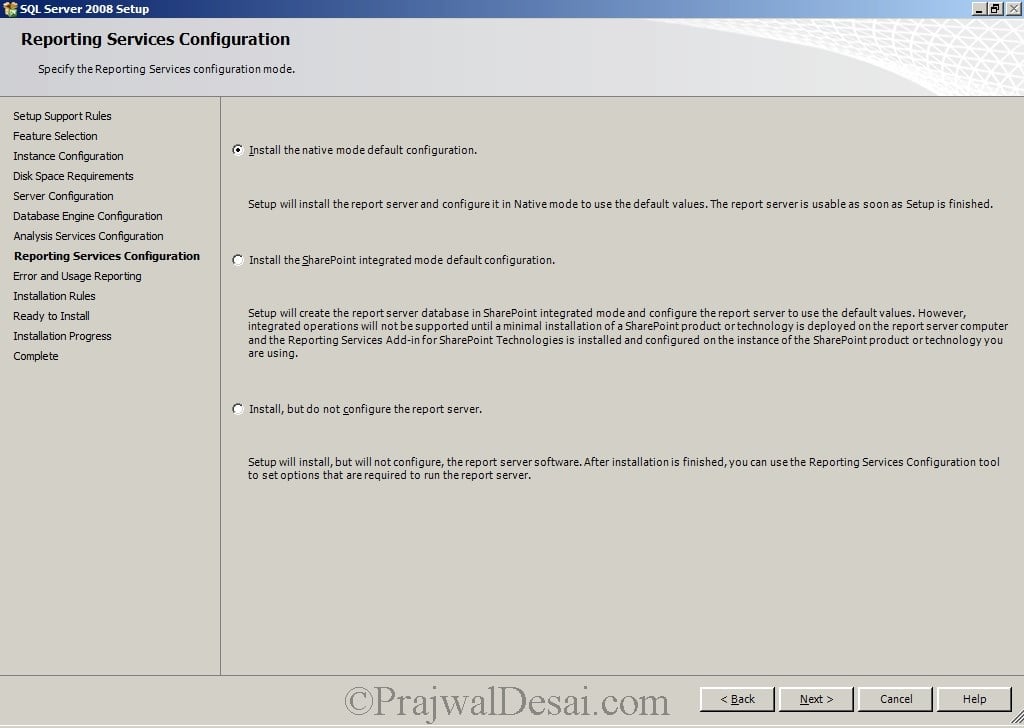
For Reporting Services Configuration select Native mode default configuration.
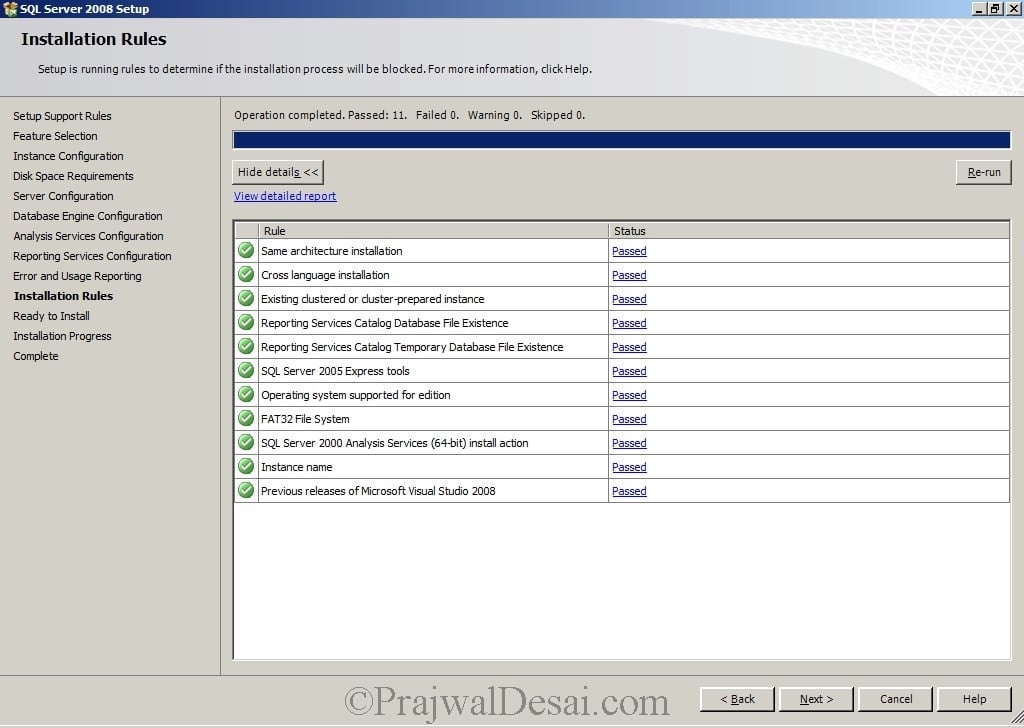
All rules show passed, hence you can proceed with SQL install. Click Next.
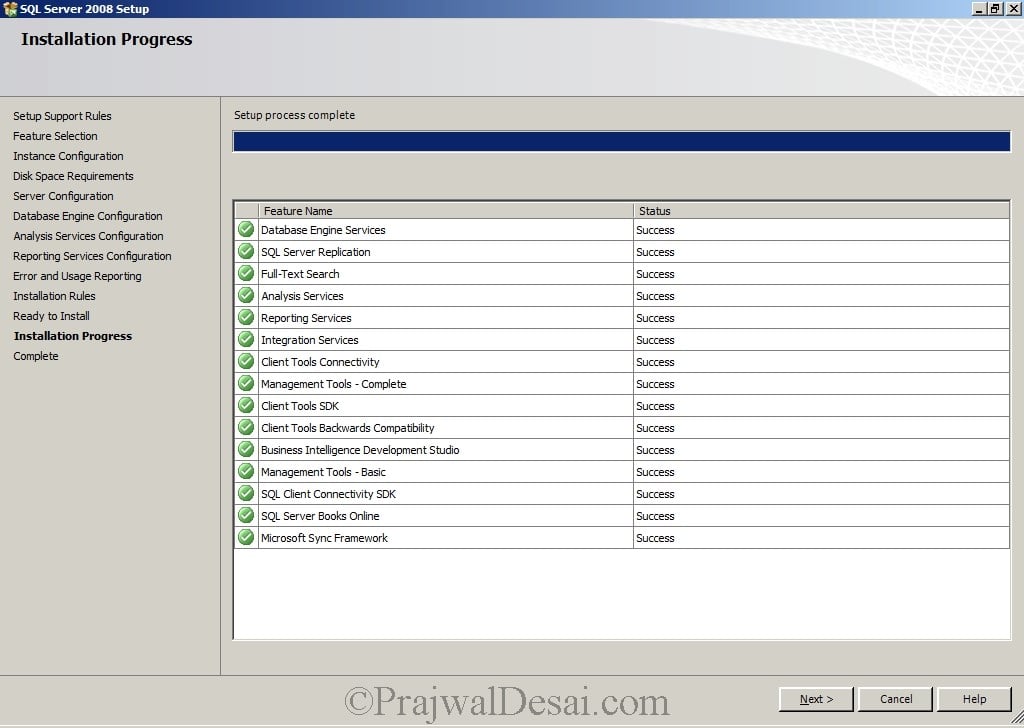
It will take few minutes for SQL server installation. Once the setup process is complete click Next and finish the setup.
Install SQL Server Service Pack 2
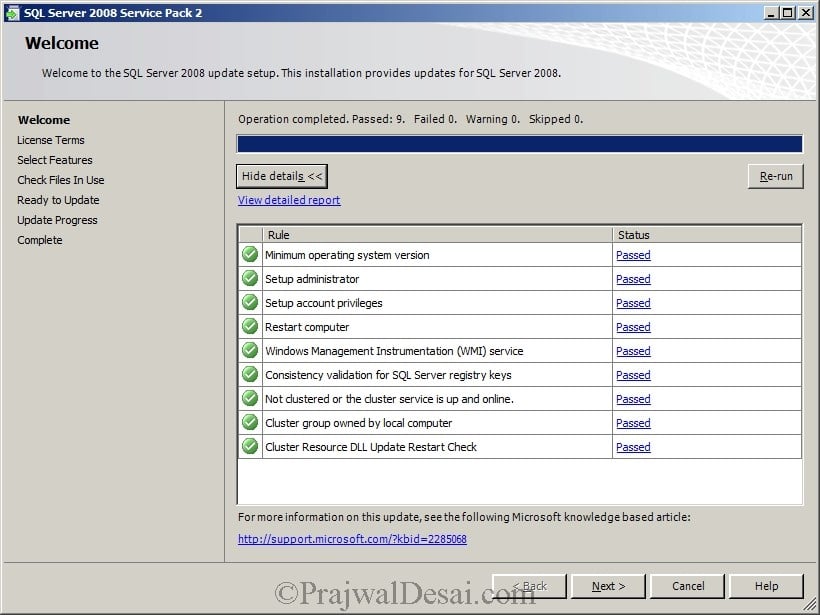
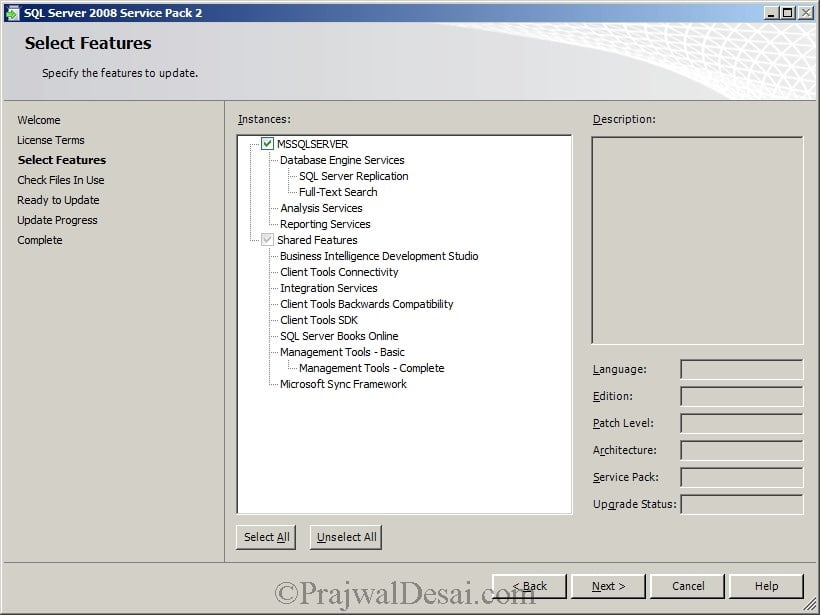
The next task is to install the SQL server Service pack 2. Execute the SQL Server Service Pack 2.
Select MSSQLSERVER Instance and Click Next.
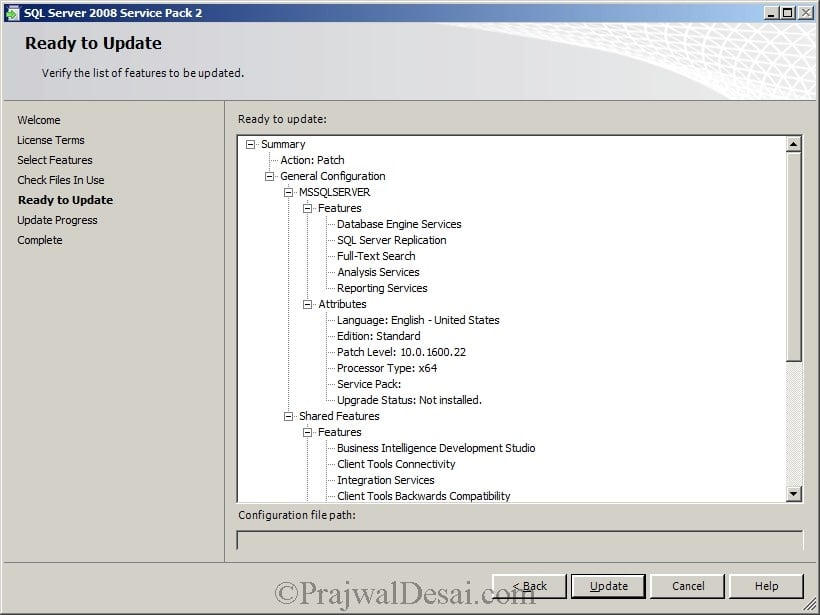
Click Update.
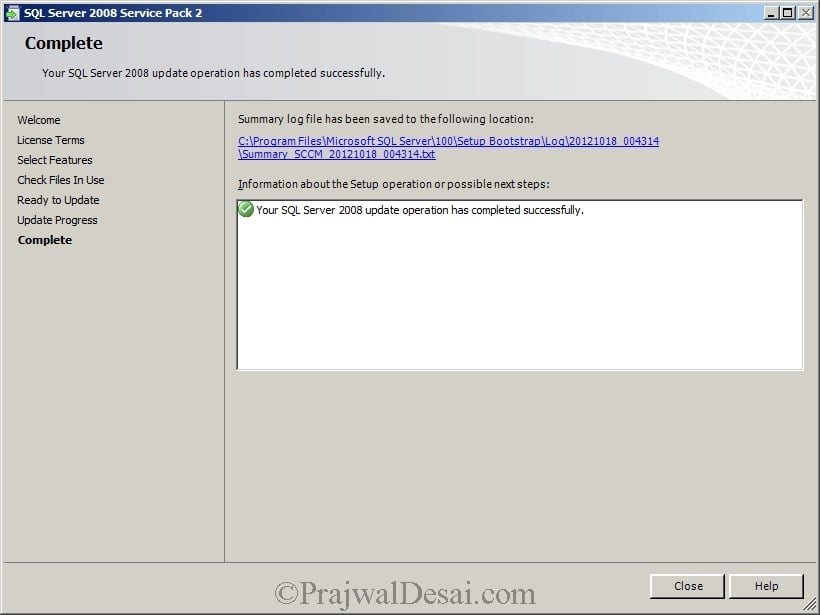
The SQL 2008 SP2 has been installed successfully.
Install Latest Cumulative Update for SQL Server
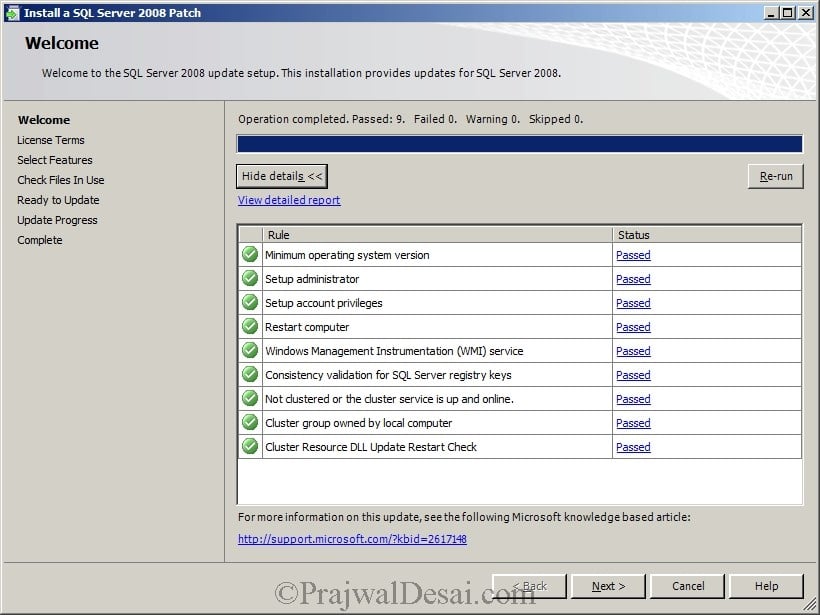
Next we will install Cumulative update for SQL Server SP2. The Cumulative Update is available here : http://support.microsoft.com/kb/2673382. Click Next and complete the setup.
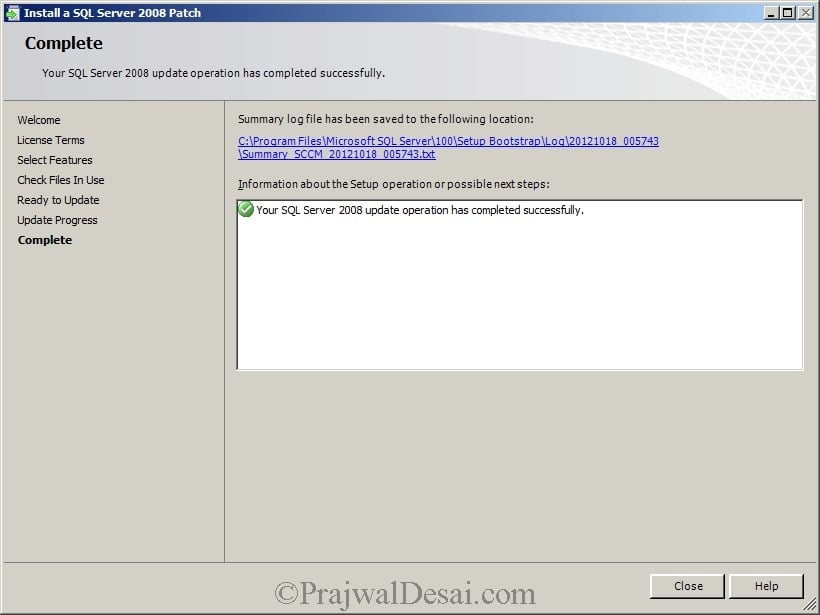
Click Close.


Why on earth are you installing Analysis Services and Integration Services?!
@steoleary – Your question is valid, the Analysis Services and Integration Services is not required for SCCM. I had installed it for my lab purpose.
In the step for SQL server users. Do you recommend using a separate username for the SQL opposed to SCCMAdmin? I installed the way you mentioned above because I figured it would not matter as long as it didn’t run as a built-in service account.
Yes a separate username is recommended. In most of the scenarios SQL is managed by a separate user and sccm by another user.