How to change default banner in SCCM Reports
In this post we will see how to change default banner in SCCM reports. I don’t think changing the banner in the SCCM reports is actually required. The default banner seen in the reports is good. There are few organizations who like to change the default banner to custom one in SCCM reports. Configuration Manager provides report definitions for over 400 reports in over 50 report folders, which are copied to the root report folder in SQL Server Reporting Services during the reporting services point installation process. The reports are displayed in the Configuration Manager console and organized in sub folders based on the report category. When a report retrieves data from a site database, it has access to site data for the current site and child sites, and global data for every site in the hierarchy. Like other Configuration Manager objects, an administrative user must have the appropriate permissions to run or modify reports. To run a report, an administrative user must have the Run Report permission for the object. To create or modify a report, an administrative user must have the Modify Report permission for the object.
How to change default banner in SCCM Reports
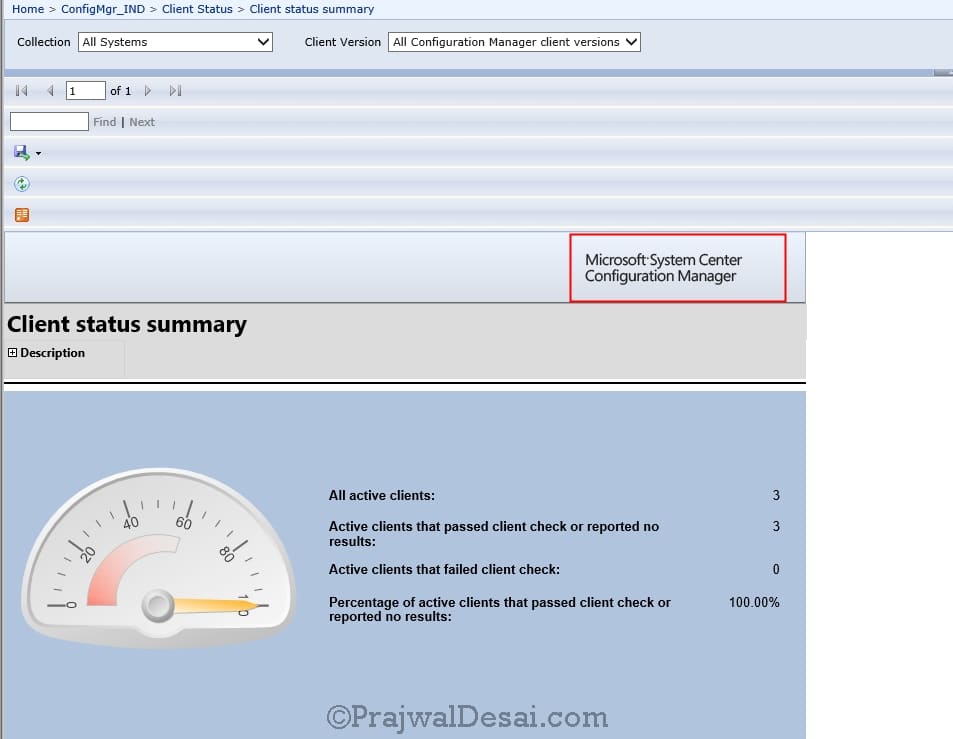
Let’s now see how to change default banner in SCCM reports. When you launch any report, it has got a default banner. There are few organizations who like to change the default banner to custom one.
So where is the file located which is a default banner in SCCM Reports ?. Navigate to “%ProgramFiles% > SMS_SRSRP > style” folder. In the Style folder you will find 3 PNG files and a XML file. If you open the Report_Header_Right file, that’s the default banner seen in the reports.
I am going to replace the banner file with that of a custom one. I have the banner ready with me and this is almost the same resolution as that of original one. Just rename your custom banner as Report_Header_Right (extension is .png) and replace the file in style folder.
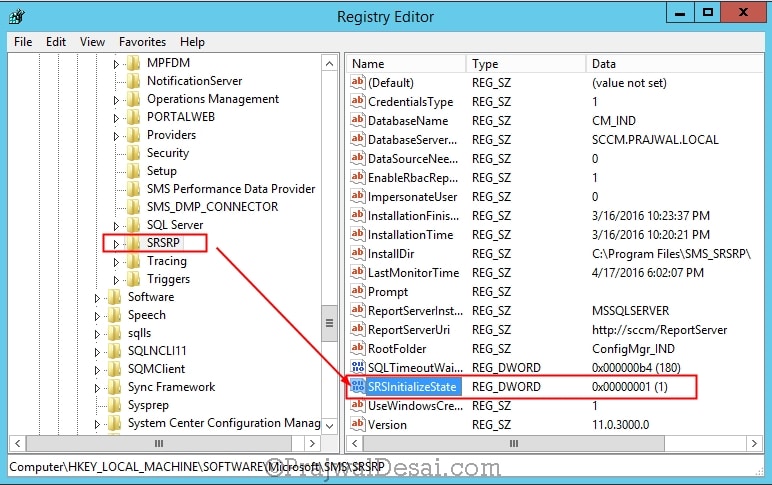
Next, open the registry editor and navigate to HKEY_Local_Machine> Software > Microsoft > SMS>SRSRP.
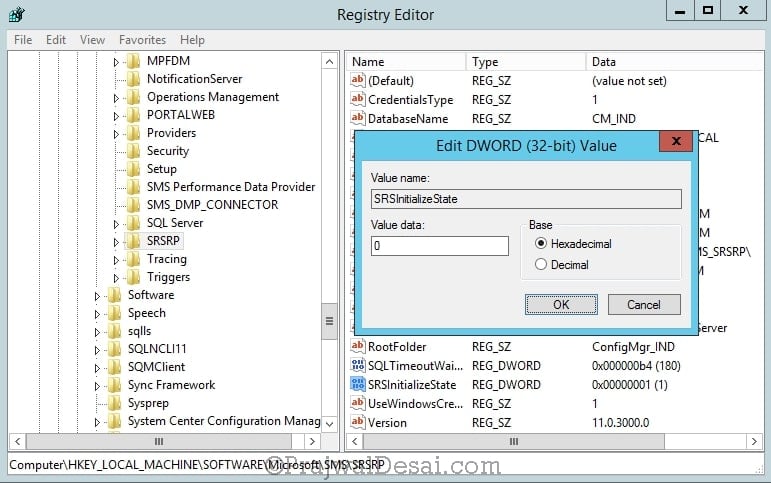
Change the SRSInitializeState key value to 0. The default value is 1. When you change the SRSInitializeState key value to 0, it will re-import the standard reports along with the custom security settings. Note that your custom reports won’t be affected by this change, however if you have modified any of the default reports those settings will be lost.
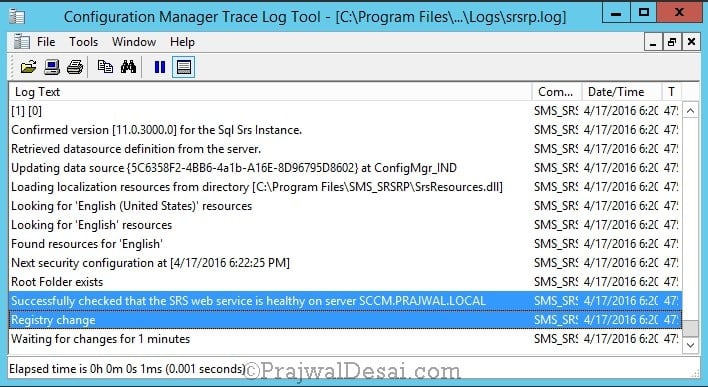
Monitor the srsrp.log file once you do the registry change. You will see that the default reports are imported.
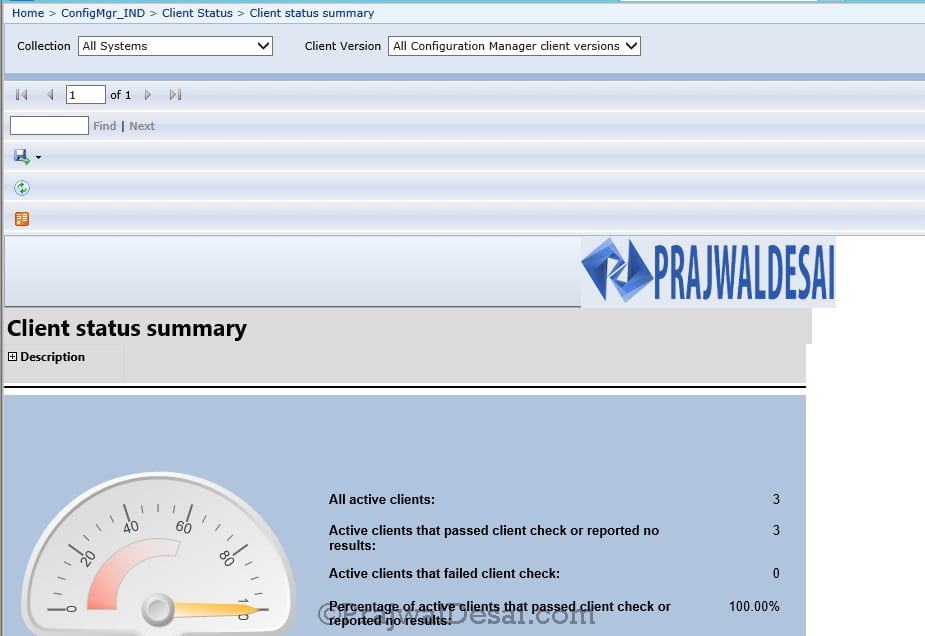
Now launch the report and you will see the banner is changed 🙂



Hi Prajwal,
Thanks for such a useful blog, I have a question regarding New Banner customization in SCCM SC;
The default standards Microsoft have set a 7days threshold for any New deployment created to show up as “NEW” in SC client settings. However for any deployments older than 7days, if any new resource(user/Device) is added, it doesn’t show up as “NEW”.
So the requirement is if any resource (user/Device) is added to the to a collection which has active deployment older than 7days should also see the “NEW” banner tagged to the respective Software in SC.
Can this be achieved by creating a new Custom Client setting for SC? If yes how to do it ?
Hi. Can’t find this folder path “%ProgramFiles% > SMS_SRSRP > style”
SCCM version 1802
have you installed reporting services role ?. If yes, it might be installed on some other server or drive. So please check and perform the steps on server that is running reporting services role.
Can’t find this folder , Registery key or log file ” SCCM CB 1710 “