Installing Windows Server 2012 In Core Mode
In this post we will see the installation of windows server 2012 in core mode. In my previous post we saw the steps to upgrade the windows server 2008 r2 to windows server 2012. During the installation of windows server 2012 you can choose between Server Core Installation and Server with a GUI. Server with a GUI installation option is the Windows Server 2012 equivalent of the full installation option available in Windows Server 2008 R2. Server core is a minimal installation option in windows server 2012 and it can be managed by Windows Powershell or command line instead of GUI based tools. The advantage of installing windows server 2012 in core mode is it reduces the update requirements, server core mode installs fewer components and it has a reduced hardware footprint. It requires less RAM and disk space when compared to Server with GUI mode. The installation of Windows Server 2012 core mode is simple and similar to the installation of server with GUI mode, the only change is the option that you select in installation mode. Lets go ahead and install windows server 2012 in core mode.
Insert the Windows Server 2012 DVD into the DVD-ROM and select the first boot device as your DVD device.
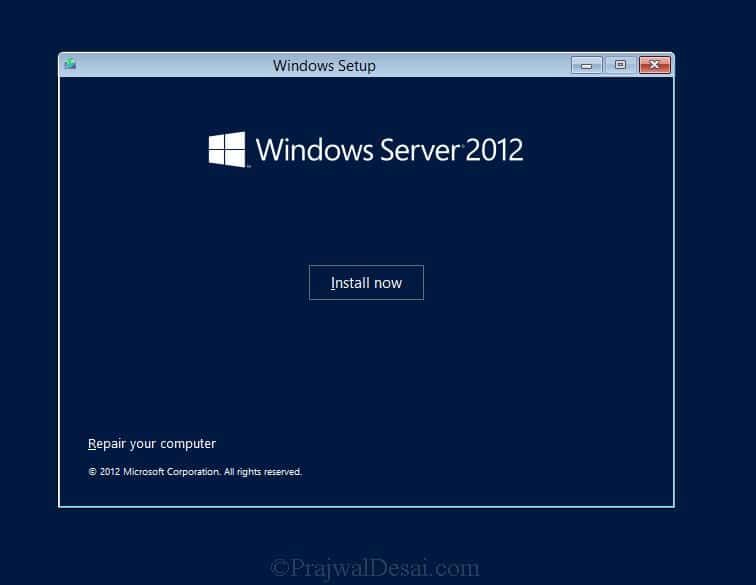
Click on Install now.
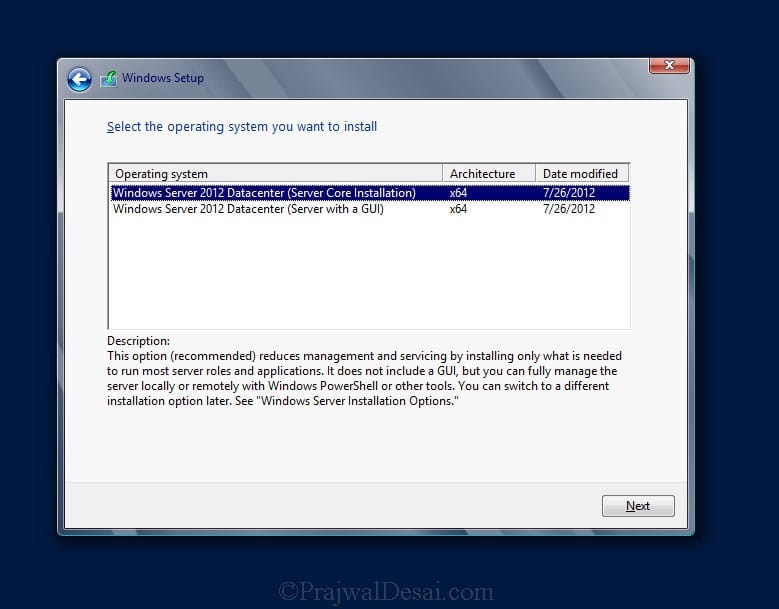
Select Windows Server 2012 Datacenter (Server Core Installation) and click on Next.
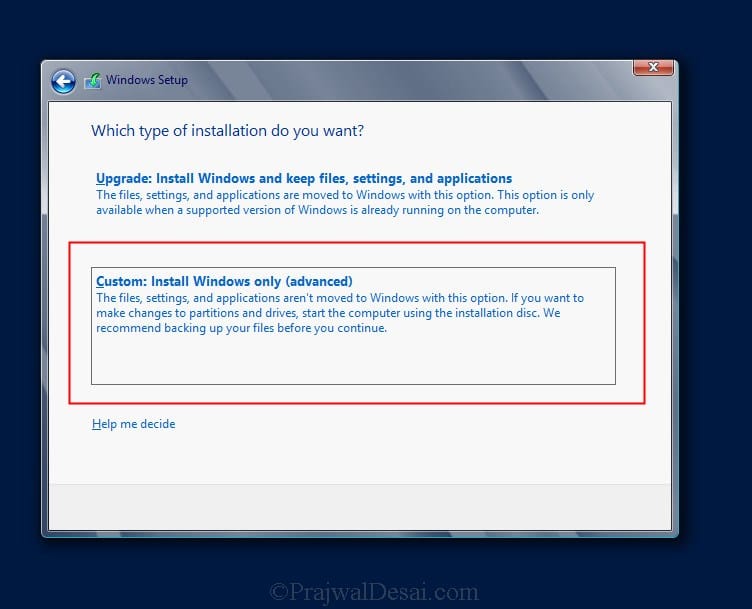
Click on Custom: Install Windows only. This will install a new copy of Windows Server 2012.
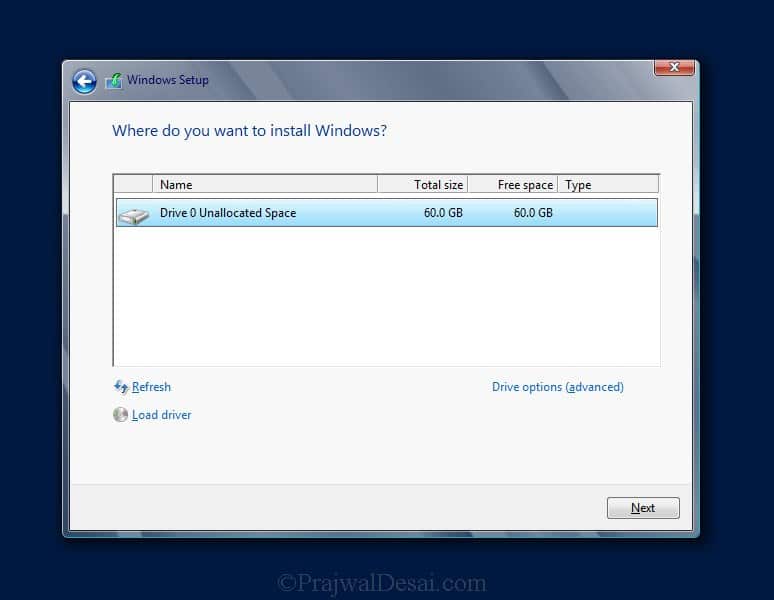
Click on Drive Options and select the space that you want to allocate for the installation of windows server 2012. Once done, click on Next.
The installation takes around 10 -20 minutes to complete. Once the installation is complete, you can see the sign-in screen. Press Ctrl+Alt+Delete to sign in. The default account for logging in to the server is Administrator. For the first time when you login, you will asked to enter the new password. Provide a strong password and login.
What you see after logging in is just a command prompt. There is no Server Manager, no icons, nor any GUI applications.
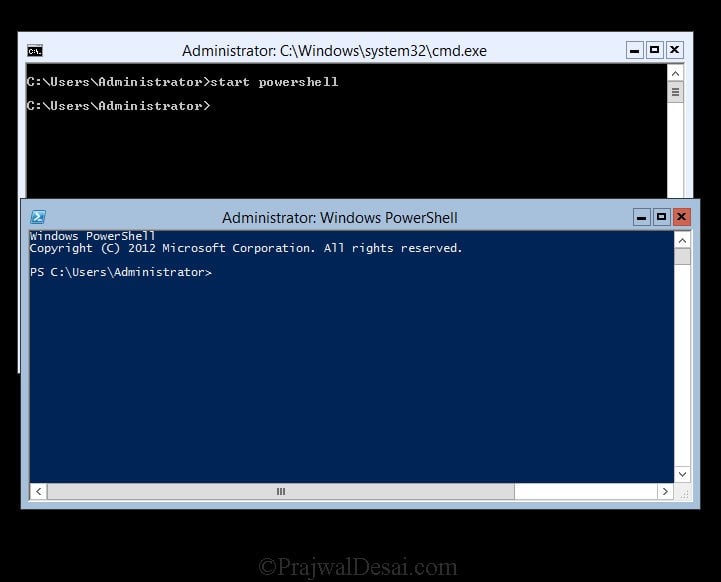
We know that not all the tasks can be done with command prompt, but server core installs PowerShell too. PowerShell is a task-based command-line shell and scripting language used to administer computers running Windows operating systems. To launch the PowerShell type the command Start PowerShell in the command prompt. This brings up the PowerShell.
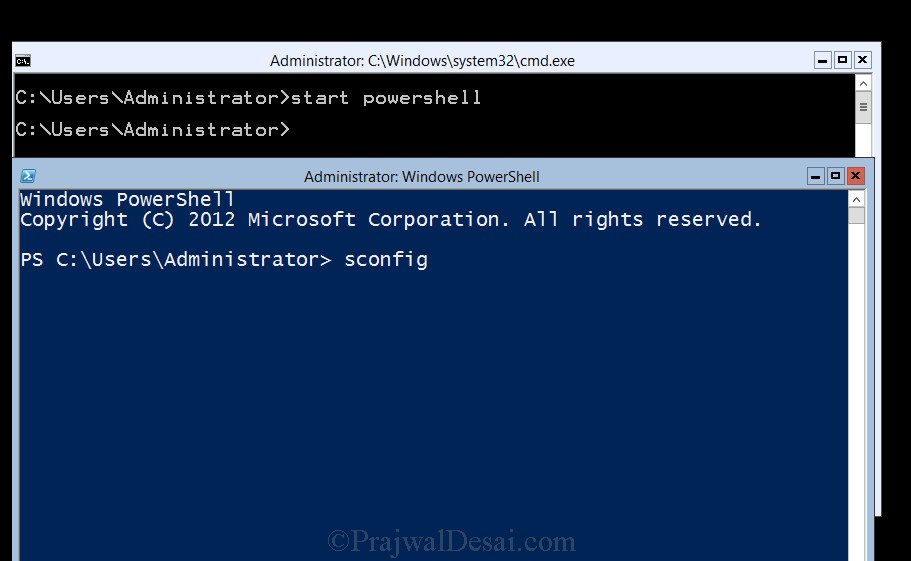
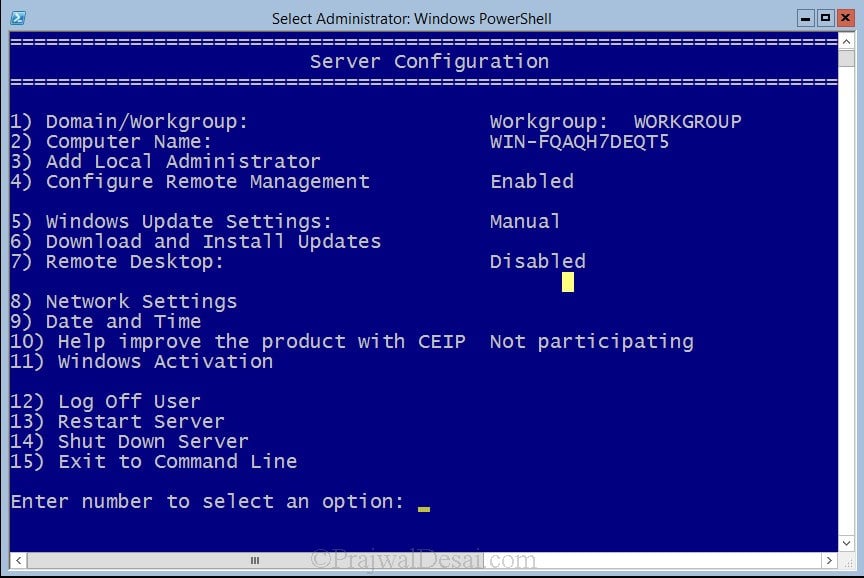
To manage the server we can use the command Sconfig which is a command-line menu-driven administrative tool that allows you to perform most common server administrative tasks. In the powershell window type the command Sconfig.
There are lot of things that can be configured using Sconfig command. With the Sconfig command you can :-
a) Join the computer to a Domain. You can unjoin the computer from the domain and bring it back to Workgroup.
b) Configure Computer Name, Add a local administrator account, configure the computer for Remote Management.
c) Configure Windows Update Settings, Configure Remote Desktop to access the machine remotely, Configure Network Adapters, Set Static IP address to adapters etc.
d) Set date and time, activate the copy of windows, Log off current user from the server, Restart and Shutdown the server as well.
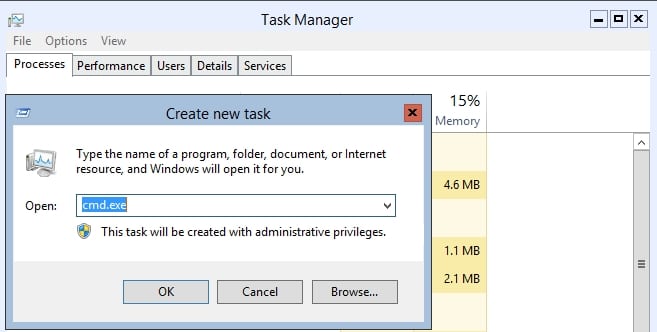
In case if you have closed command prompt and powershell, to bring them back on to the screen, press Ctrl+Alt+Del. Click on Task Manager.
 Click on File, select Run a new task, and type cmd.exe. This will launch the command prompt.




Hello I tried to install server 2012 core in my laptop I pressed installation type as upgrade instead of custom and ruined my laptop with which I can only see command prompt can you help me in fixing this issue
could you do a install and deploy step by step on installing Windows server 2012 R2
When type sconfig, it says No “Active network adapters found, what does it mean?”