How to Create Boot Image Using MDT for SCCM
This post shows you how to create boot image using MDT wizard. When you install SCCM, you get two boot images – Boot Image (x64) and Boot Image(x86). In case you want to create a custom boot image, you can do so.
The steps covered in this post applies to Configuration Manager 2012 R2 and above. My current setup is running SCCM 1902 and I will be installing the latest version of MDT. SCCM allows you to create custom Windows PE boot images using MDT that include extra components and features.
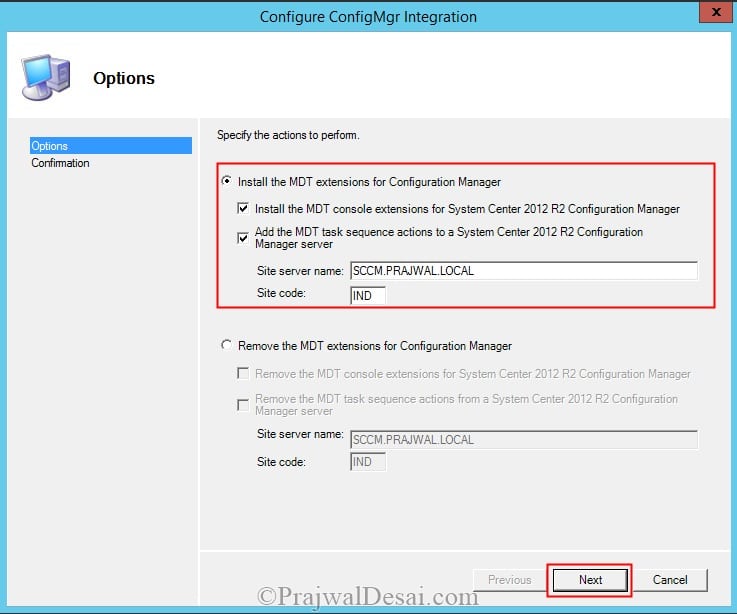
We will create boot image in SCCM 1902 using the MDT wizard. So ensure you download and install the latest version of MDT. In addition to that you should also configure ConfigMgr integration. To know how to integrate SCCM and MDT refer this post.
How to Create Boot Image Using MDT Wizard
Using MDT wizard, lets create a x64 boot image for SCCM.
- Launch Configuration Manager console.
- Navigate to Software Library > Operating Systems > Boot Images.
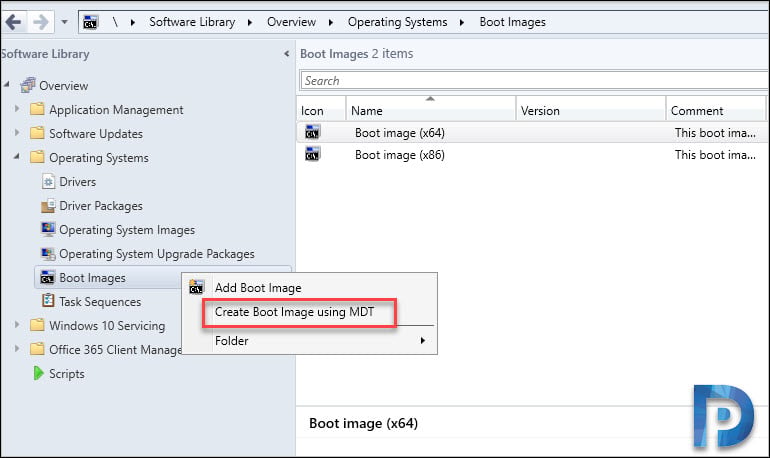
- Right click Boot images and click Create Boot Image using MDT.
Package Source – Specify an UNC path for the boot image. You will find the boot image created in the same path later. Click Next.
On General settings page, specify boot image name, version and comments. Click Next.
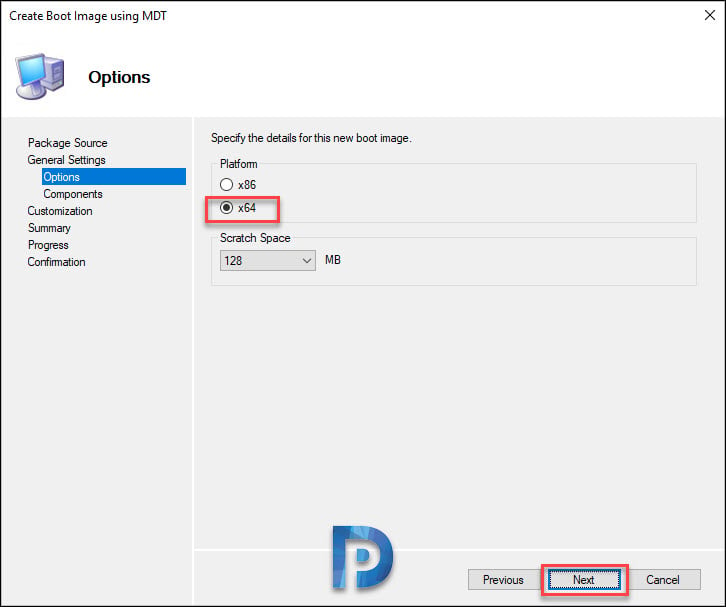
Choose the boot image platform. I am going to select platform as x64 and scratch space as 128 MB. Click Next.
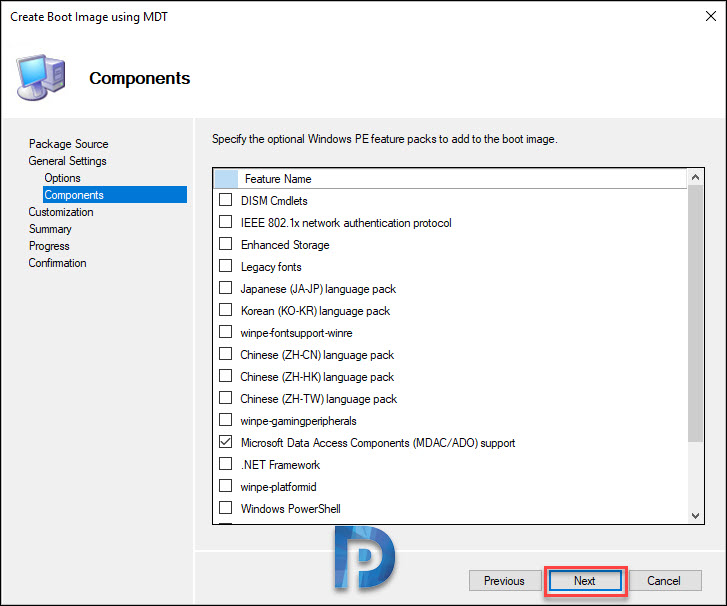
On this page, you can specify optional windows PE features to add to the boot image. Click Next.
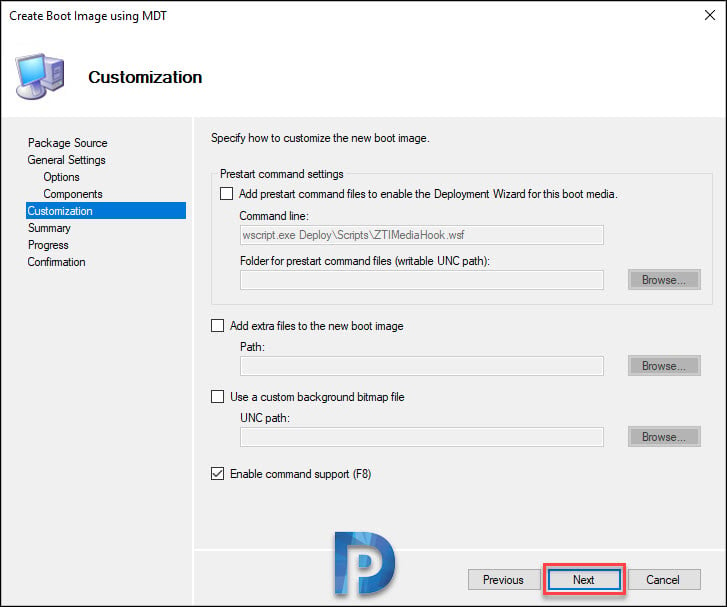
On the Customization page, you get several options to customize this boot image. You can add prestart command files and extra files to boot image. You can use a custom background file for boot image.
I will not be using any of these settings. Enable command support (F8) should be enabled. Click Next.
Click Next on the Summary page.
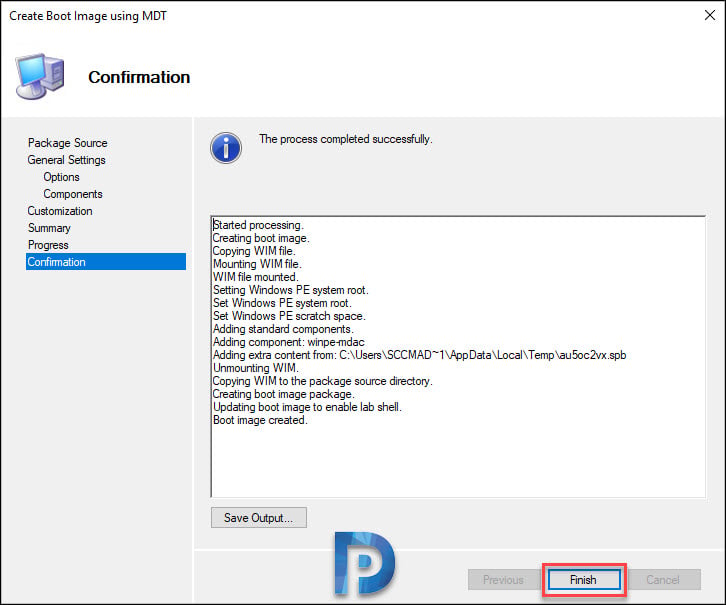
On the Confirmation page, click Finish.
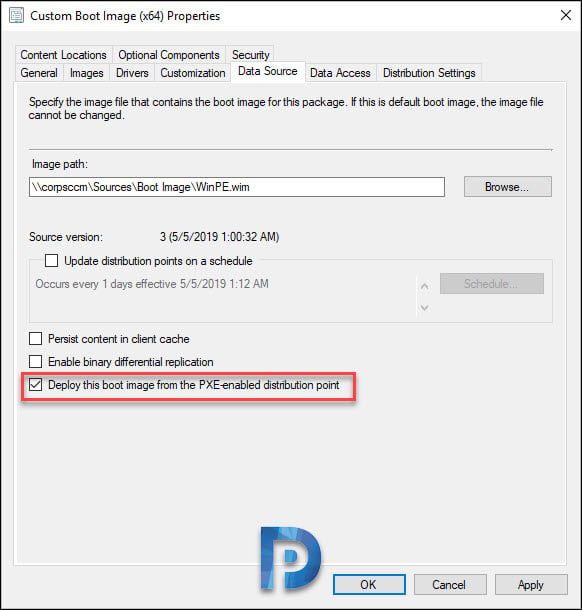
If you are going to use this boot image, you need to perform an additional step. In the Data Source tab, select the Deploy this boot image from the PXE-enabled distribution point check box, and click OK.
You must also distribute the boot image to distribution points in your setup.




I found a solution for this from Microsoft learning site.
Steps Are :-
Open the Administrator (workspace) – Site Configuration – Click on “Sites”. In the ribbon at the top click on “Hierarchy Settings”. UNCHECK “Only allow console extensions approved for the hierarchy”. Click Apply and OK. Close the Config Manager console and re-open it. Create MDT task sequence should show up when you click on task sequence.
Thank you!!
I can’t see the Create Boot Image using MDT option in SCCM console after successful MDT configuration as per your above article .
I am using Microsoft Configuration Manager v2203.
After I installed MDT and did the configuration integration, I’m getting an error PXE-16: No Offer Received. Kindly advice how to solve, thank you.
Exact same issue. created the boot.wim and followed all steps but i have no customisation featured where i can add drivers! any help? please
am getting same issue, how did you solve that
Hi
I once created a Zero Touch WinPE Boot wim with mdt and now i wonder how i can add a given network driver to it. How can I maintain this boot image?
I followed exact process, yet i cant see Customization tab on newly created boot image. I’m running 1902 on Server 2k16 hosting WSUS WDS and SQL