Install and Configure Auto Catalog Scheduler
This post covers the steps to install and configure Auto Catalog Scheduler by Patch Connect Plus . The auto catalog scheduler helps automate the process of publishing the patches into Microsoft SCCM. Patch Connect Plus is a third party patch management tool that can automate patching for 270+ third-party applications.
I am sure patching third party applications in a big enterprise isn’t simple. At-least it wasn’t that simple until we saw third party software patching support in Configuration Manager. Today there are many third party patching tools and one of them is Patch Connect Plus.
Note – Before you install Auto-Catalog Scheduler by PCP, ensure you are running SCCM 1806 and above. I recommend you install the catalog scheduler on primary site server.
Patch Connect Plus helps you automatically import third-party software catalogs to your SCCM server. To download and add catalogs and configure cab on SCCM visit ManageEngine site.
Table of Contents
Purpose of Auto Catalog Scheduler
Before you download and install Auto catalog scheduler, it is important to understand why do we need it or why was it introduced. As I mentioned earlier, there are lot of third-party apps used in big organizations. This includes applications like Google Chrome, Notepad++ and other applications. All these applications get the updates very frequently especially the browsers. The updates include patches to fix vulnerabilities, or a patch for zero day exploits etc.
So it is very important that you patch these updates to prevent chances of further attacks. With PCP Auto catalog scheduler, you can Enable Auto Synchronization of updates and deploy the updates as soon as possible. Whereas with SCCM, the sync happens once a week, so the systems remain unpatched until next synchronization occurs. Hence this is where auto scheduler helps sync patches automatically as and when the 3rd party vendors release patches.
Step 1 – Download Auto Catalog Scheduler
After subscribing to the update catalogs, the first step in setting up the Patch Connect Plus Auto-catalog Scheduler is to download the PCP catalog scheduler.
Step 2 – Install Auto Catalog Scheduler
Let’s now install the Auto Catalog Scheduler. First of all I recommend to close the Configuration Manager console before running the executable. Now right click PCPCatalogScheduler and click run as Administrator.
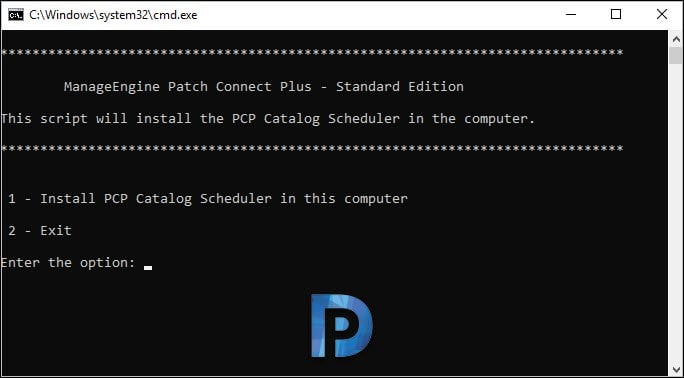
This brings up a Command Prompt window. This executable installs PCP catalog scheduler upon selecting option 1.
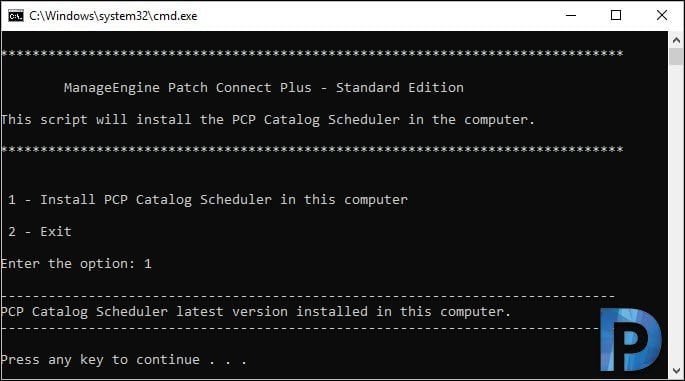
Type 1 and press Enter. You see the message “PCP catalog scheduler latest version installed on this computer“. Press any key to close the command prompt window.
Step 3 – Configuring the Auto Catalog Scheduler
The steps to configure Auto Catalog Scheduler in Patch Connect Plus console includes.
- Launch SCCM console.
- Navigate to Software Library > Software Updates.
- Look for Patch Connect Plus Catalog Scheduler (Auto Catalog Scheduler).
The Enable Auto Synchronization is enabled by default. The synchronization happens every day based on the time you specify. You also get the option to connect to PCP catalog and synchronize it. To initiate manual sync, click Sync now which overrides the auto sync and starts to sync updates immediately.
Finally at the bottom you can check the box to automatically publish full content for previously published updates.
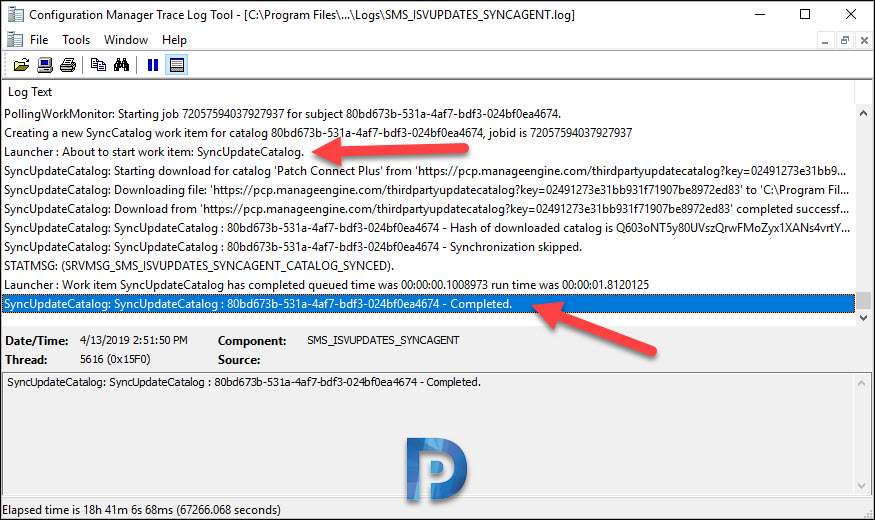
When you perform manual catalog synchronization, you can check the status of updates publishing process in SMS_ISVUPDATES_SYNCAGENT.log file.
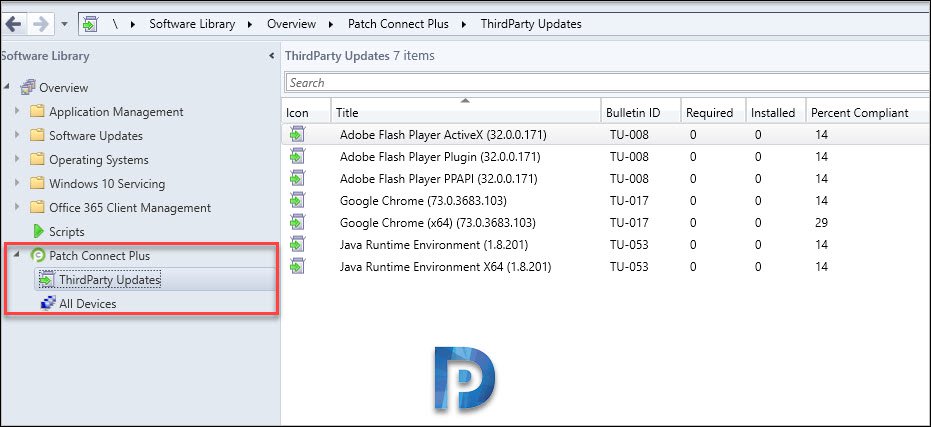
If you have enabled third party updates in SCCM and installed Patch Connect Plus plugin for SCCM, you will see the third party app updates in the console. Note that this refers to the Professional edition(non-catalog edition) and you can include a heading above it, saying “Alternate means of auto-scheduling third-party patches without catalogs” and retain the content.
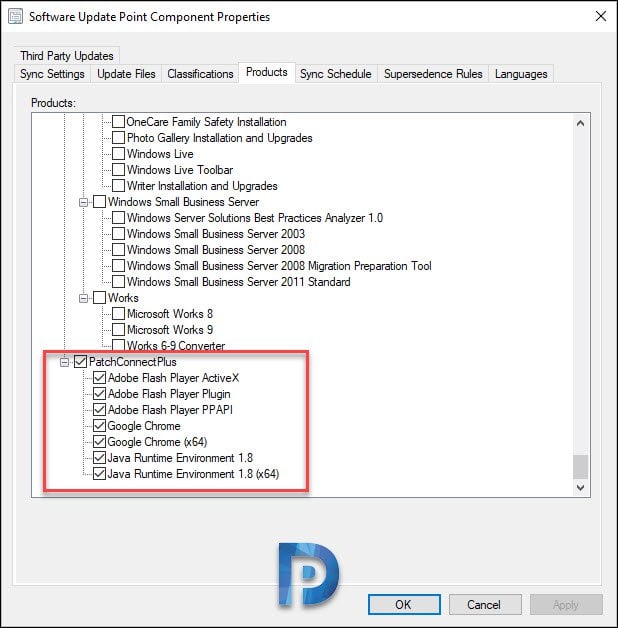
If you don’t see those apps, seems like you haven’t enabled/selected any products. When you enable the third party updates, remember to select the third-party applications under Software update Point > Products.
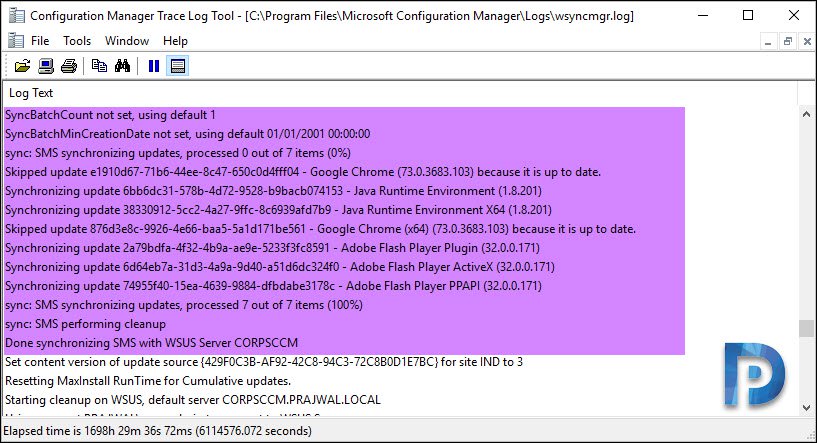
Once you select the required third-party applications, synchronize software updates. Furthermore you can do that either by going to Software Updates section or using the PCP SCCM plugin integrated with SCCM console. To monitor the update sync process, open wsyncmgr.log file.

