Import Captured WIM file into MDT
This post details the steps to import captured WIM file into MDT. In my previous we saw the how to capture an OS successfully using MDT. This post is a continuation of my previous post. We used sysprep and capture option to capture a Windows reference computer. In other words we have a reference computer ready. We install required softwares and patches. This reference computer is the template for deploying new images to the target computers. Since we have captured Windows 7 OS, our next step is to import the WIM file into MDT. We will use Import Operating System wizard and import our captured windows 7 WIM file. Furthermore once we import this WIM file, we can then use it to image other VM’s.
The steps covered in this post are simple. You may skip the steps if you already know how to import WIM file into MDT. To refer my previous post on how to capture Windows 7 using MDT, click here.
Import Captured WIM file into MDT (Microsoft Deployment Toolkit)
To import captured WIM file into MDT, follow these steps. Launch Deployment Workbench and expand Operating Systems. Right click Windows 7 folder and click Import Operating System. You may create a folder and then import the WIM file. It is also recommended to do so. Keep the x64 and x86 images in separate folders so that you can manage it well.
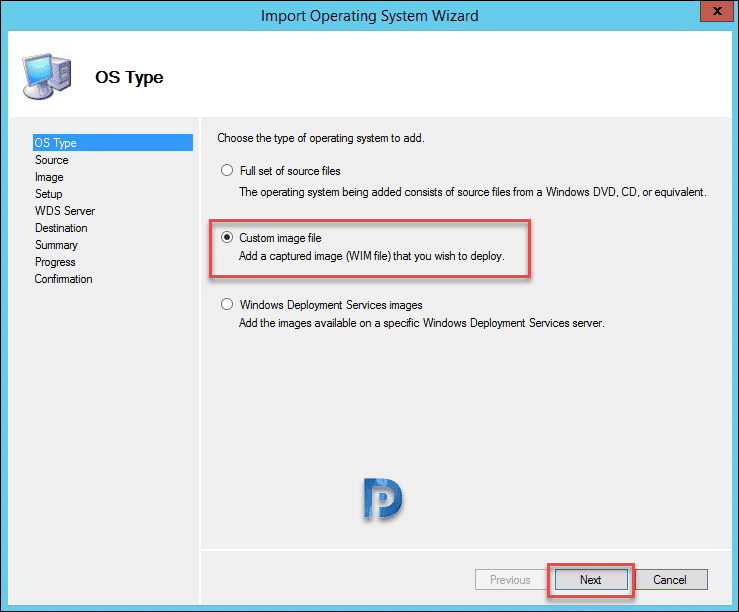
Select Custom image file. Use this option when you have a captured WIM file and you wish to deploy the same. Click Next.
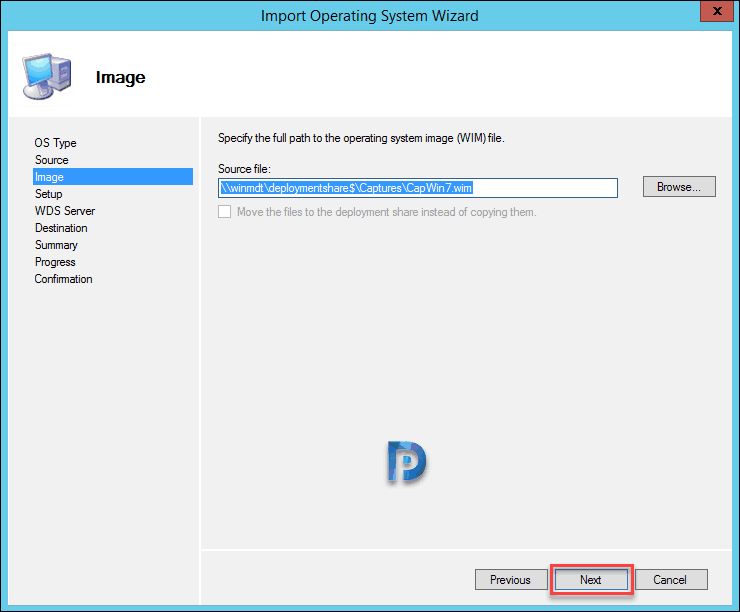
Locate and specify the path to WIM file. Any captured image is located under captures folder. Click Next.
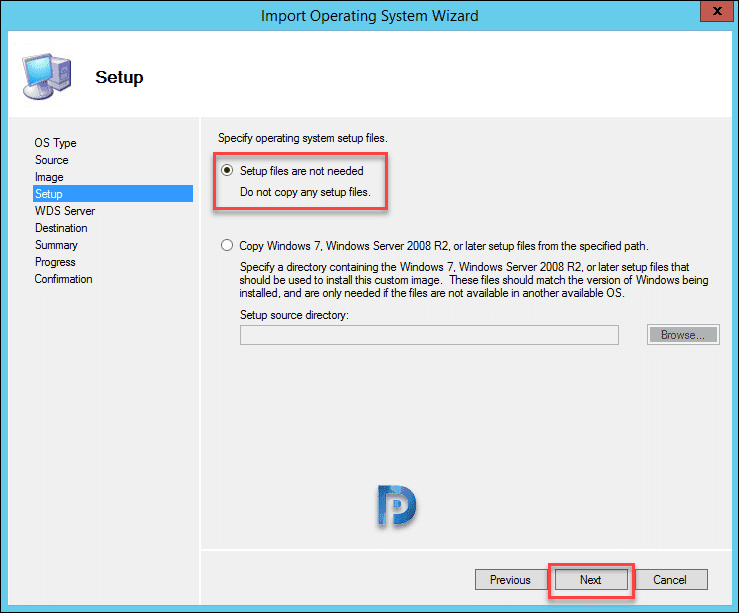
Select Setup files are not needed and click Next.
Specify a valid destination directory name. You will find this directory in deployment share under operating systems folder. Click Next.
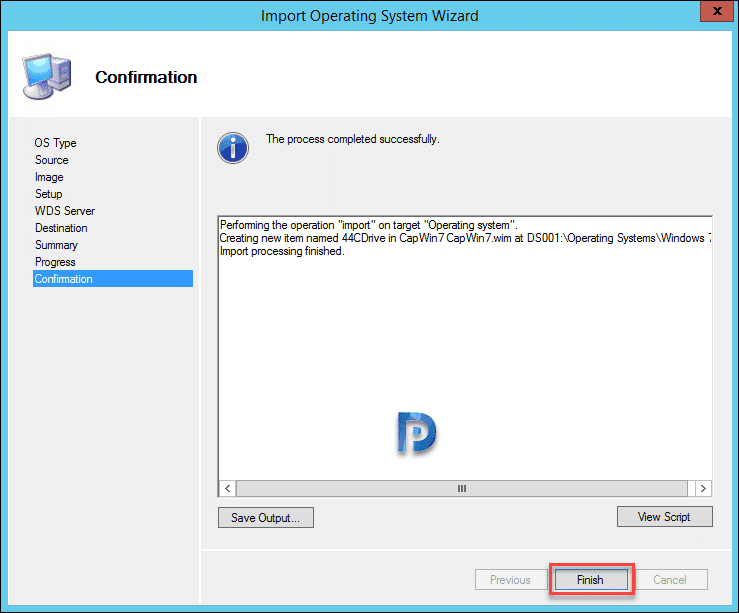
Finally on the confirmation page click Finish. We have successfully imported WIM file.
You should now see WIM file in the deployment share under Operating Systems. In the next post we will look at the steps to deploy the captured WIM file to image a VM.


