How To Use Dell SupportAssist OS Recovery Reset Feature
In this article, you’ll learn what is Dell SupportAssist OS Recovery, it’s features and how to use Dell SupportAssist reset feature to install factory operating system.
Troubleshooting your OS booting issues is now easier with SupportAssist OS Recovery tool by Dell. We will use the Dell SupportAssist reset feature to reinstall dell recovery factory image.
We have another tool called Dell command update to install the latest drivers, BIOS, firmware, and Dell software applications.
When your computer is unable to boot to the operating system even after repeated attempts, it automatically starts SupportAssist OS Recovery.
If you do not have Dell SupportAssist tool installed on your computer, refer to the Dell SupportAssist OS Recovery User’s Guide for information on how to install it.
What is Dell SupportAssist OS Recovery?
The Dell SupportAssist OS Recovery environment enables you to diagnose hardware issues, repair your computer, back up your files, or restore your computer to its factory state.
The Dell SupportAssist OS Recovery is only available on certain Dell laptops that run a Dell factory-installed Microsoft Windows 10/ Windows 11 operating system.
When you purchase a new Dell laptop, check if it has the Dell SupportAssist OS Recovery tool preinstalled along with operating system.
Dell SupportAssist OS Recovery Features
The Dell SupportAssist OS Recovery includes the following features:
- Dell System Repair: This feature allows you to roll back your computer to a previous point in time to resolve boot issues or any other performance problems.
- Scan Hardware: Runs diagnostic tests on your computer to detect any hardware issues.
- Startup Repair: Use this feature to troubleshoot common issues that may occur before your computer boots to the operating system. This option enables you to avoid the need to reset your computer to its factory state.
- Back up Files: This feature allows you to back up your personal files on a local hard drive or on an external hard drive. This is useful when are running a factory reset and want to save the files.
- Reset: Dell SupportAssist reset feature downloads and installs the factory operating system or upgrade to the latest operating system.
Dell Reset Process Steps
The Dell Reset process consists of 4 major step, and they are as follows:
- Step 1 – Boot to SupportAssist OS Recovery
- Step 2 – Repair or Reset System
- Step 3 – Repair Windows
- Step 4 – Finalize Recovery with SupportAssist Recovery Assistant
Use Dell SupportAssist OS Recovery Reset Feature
Now that you are aware of Dell SupportAssist OS Recovery features, let’s go ahead and see how to use Dell SupportAssist reset feature to reset your computer.
When your computer is unable to boot to the operating system, it automatically starts SupportAssist OS Recovery.
However, you can manually start the Dell SupportAssist OS Recovery Tool with following steps:
1. Power on the Dell laptop and press F12 key. This should be done once the Dell logo appears and not after the logo has disappeared.
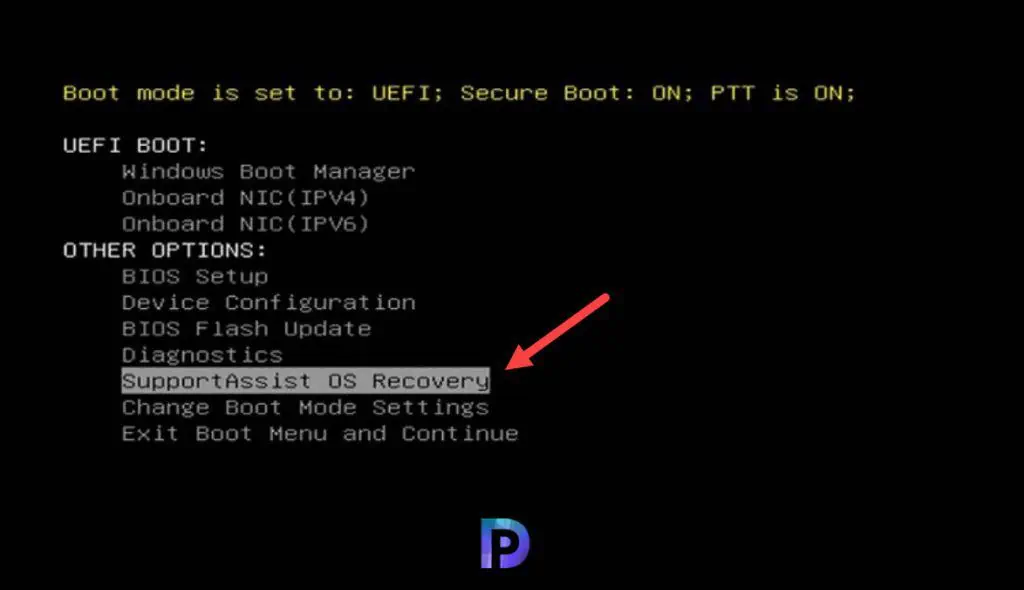
2. From the list of boot options, select SupportAssist OS Recovery.
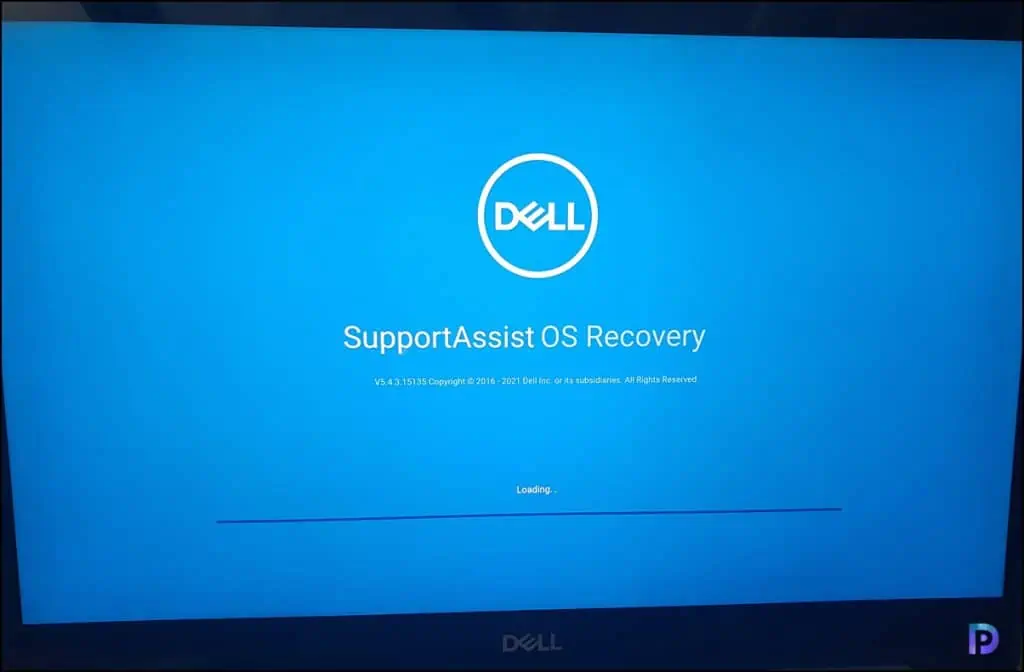
3. The main interface of SupportAssist OS Recovery appears on the screen. Wait while the tool loads and provides the recovery options.
4. We now see four SupportAssist OS Recovery options by Dell. All these features are discussed in the above section.
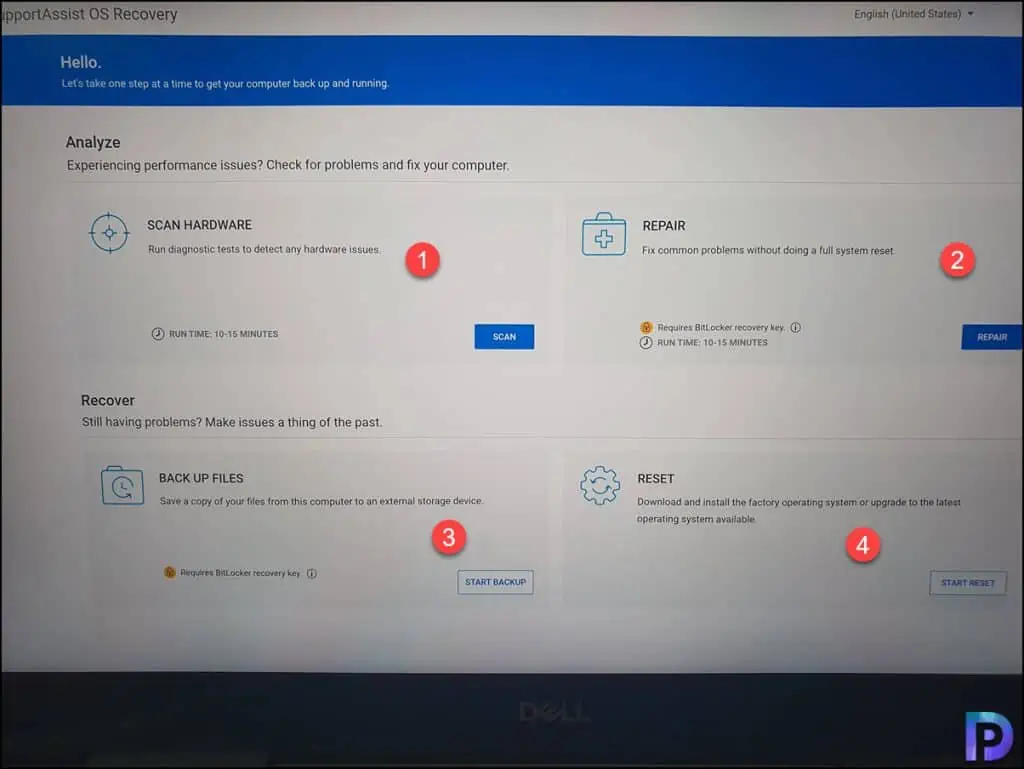
5. From the list of features, we are going to use the Reset feature. The reset feature allows you to download and install the factory operating system.
You can also upgrade to the latest operating system that’s available. This option will be presented along with the default OS upgrade.
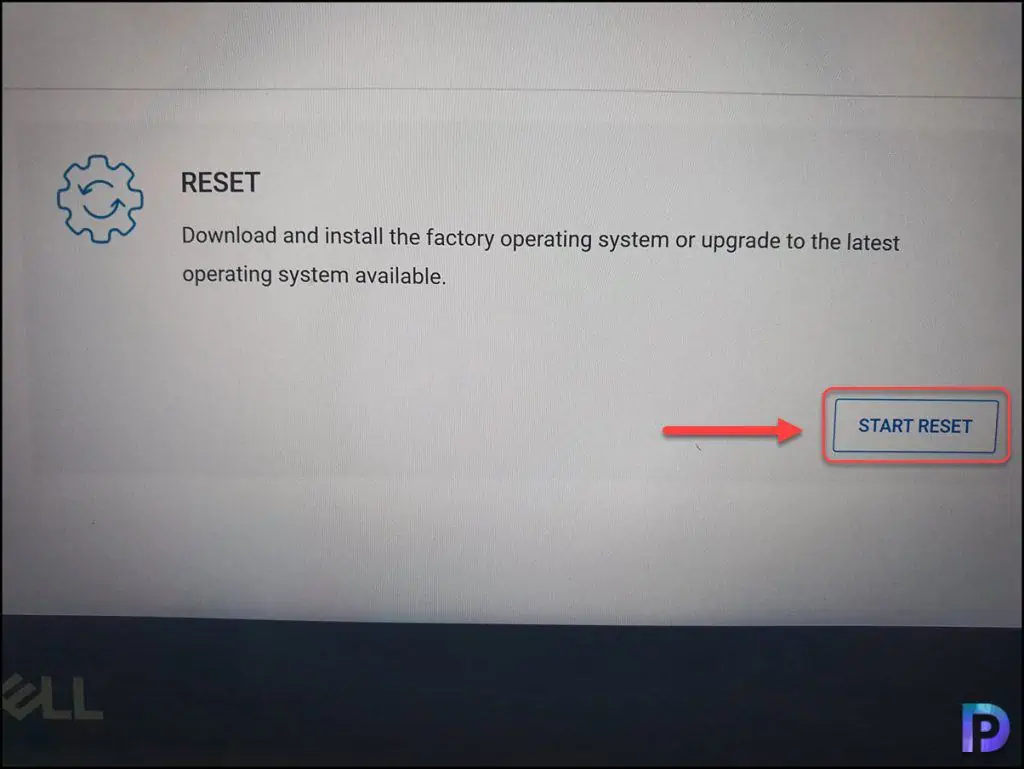
To proceed with using the reset option, click Start Reset.
6. There are two options when you want to reset your operating system to factory defaults
- Reset to Factory Settings – Selecting this option will reset your device to factory settings and install the operating system that came preinstalled.
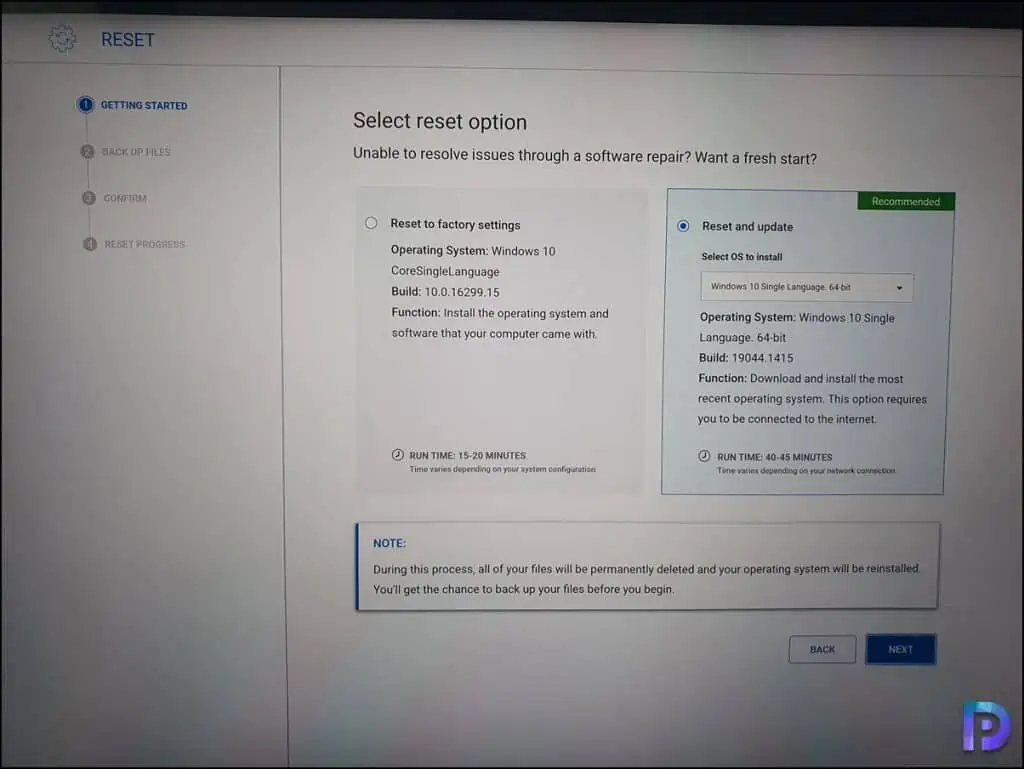
- Reset and Update – This is the recommended option by Dell when you want to make a fresh start. Selecting this option will reset your laptop, install the latest available operating system and installs the updates too.
If you select Reset and Update, and if your laptop is eligible for Windows 11 upgrade, you get that option too. This option also ensures the latest Windows updates are installed after the reset has been done.
The Reset and Update option requires the device to be connected to internet. In the below screenshot, the Reset and Update option is greyed out because the laptop isn’t connected to internet.
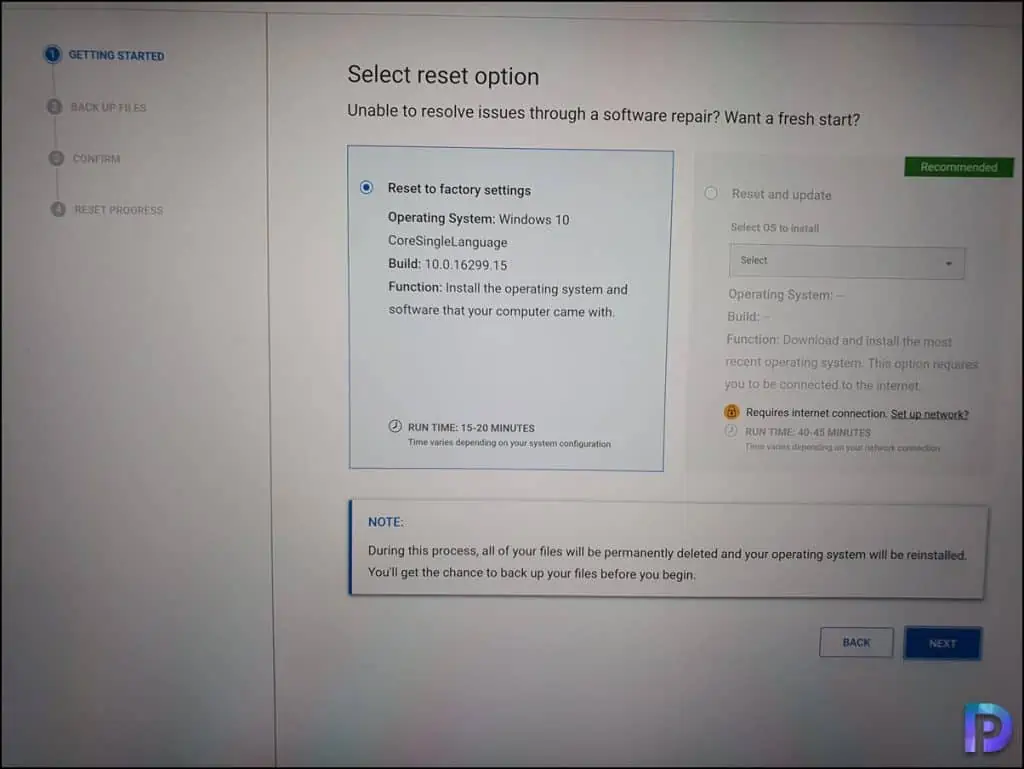
7. Once the laptop is connected to the internet (Wireless), the Reset and Update option is available to choose. Click Next.
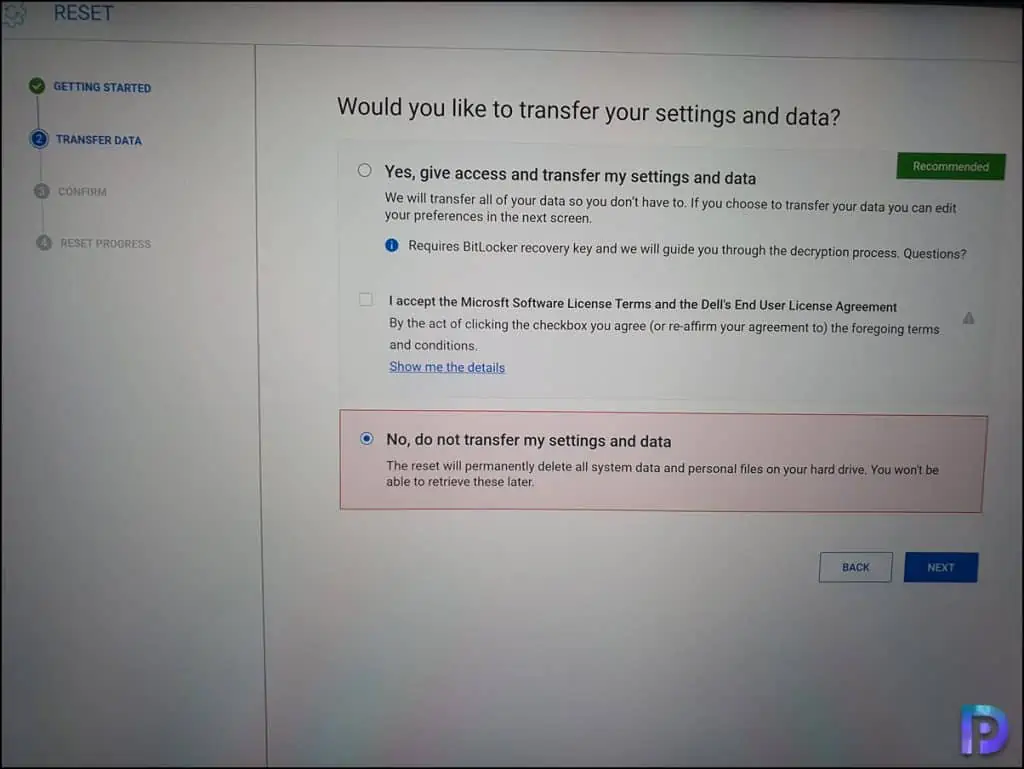
8. On Transfer Data window, you have two options supplied by Dell SupportAssist OS recovery tool for transferring your settings and data.
- Yes, give access and transfer my settings and data – Select this option to transfer all your data and settings. You can edit the preferences on the next screen.
- No, do not transfer my settings and data – The reset will permanently delete all system data and personal files on your hard drive. You won’t be able to retrieve these later. Select this option if you have already backed up your files to cloud storage such as Google Drive, OneDrive etc.
Since I have backed up files to OneDrive, I am going to select No, do not transfer my settings and data. Click Next to continue.
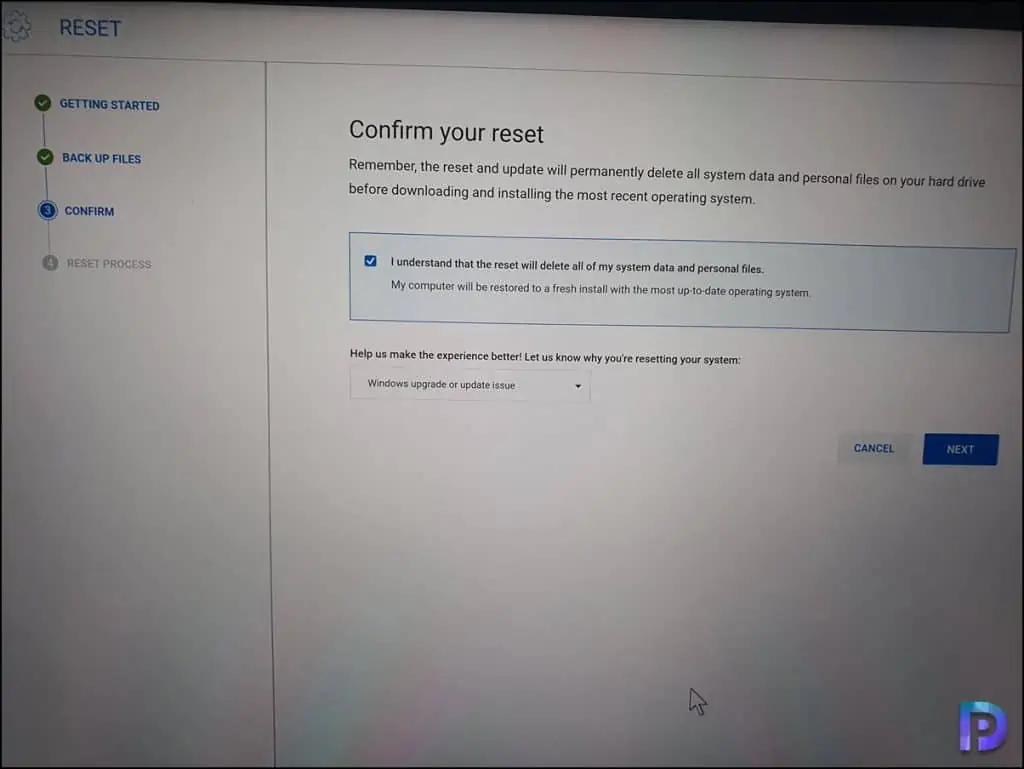
9. On Confirm your reset window, read the details and check the box “I understand that the reset will delete all of my system data and personal files“. Additionally, you have to select a reason for using the Dell SupportAssist reset feature.
Select an appropriate reason and click Next.
10. The Reset and update begins now, depending upon the connection speed, the latest Windows OS image is downloaded and installed.
Following steps are performed during the Dell SupportAssist reset process.
- Downloading Recovery contents
- Operating system recovery
- Cleaning Disk
- Recovery Operating System
- Creating Local SupportAssist OS Recovery
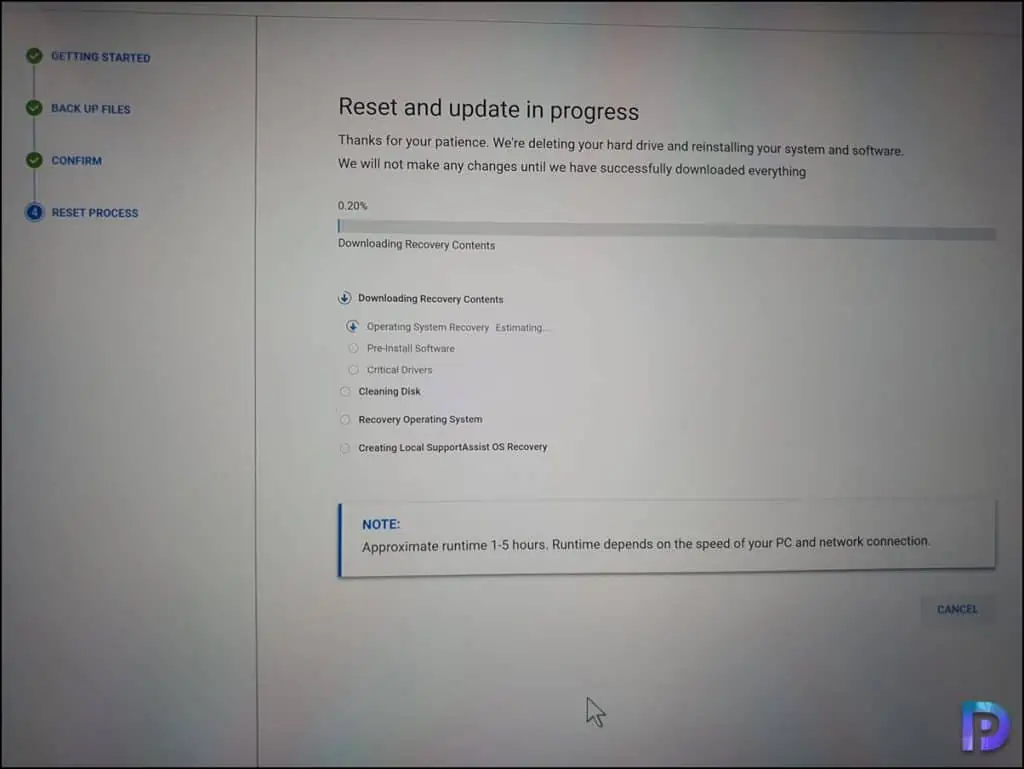
The Dell support assist reset can take approximate 1-5 hours to complete the operation. The total runtime depends on the speed of your PC and network connection.
Once the Dell Support Assist reset process is complete, you see the following details on the screen.
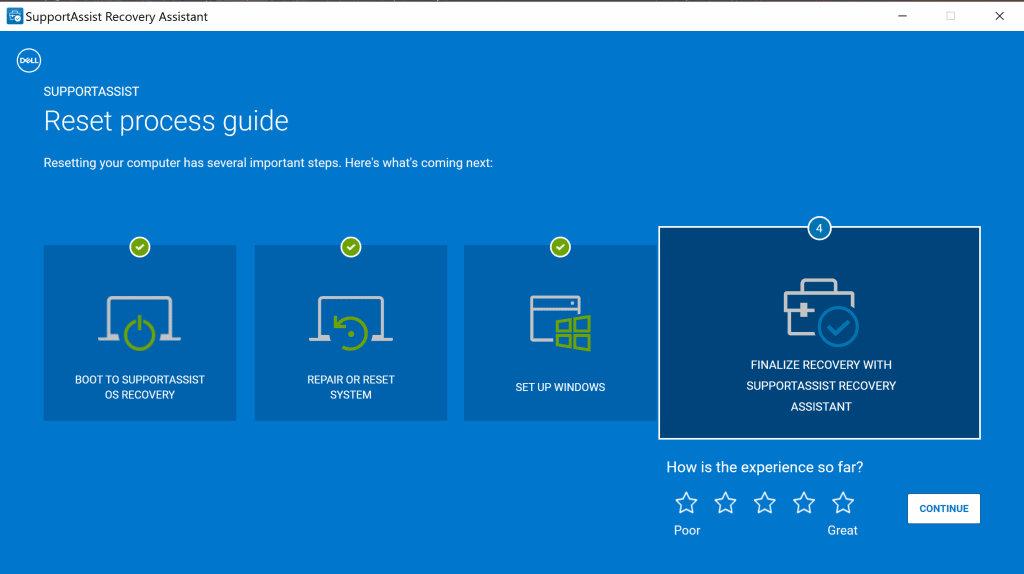
The SupportAssist OS recovery after its completion helps you to troubleshoot your system issues. This is optional but I recommend using this wizard.
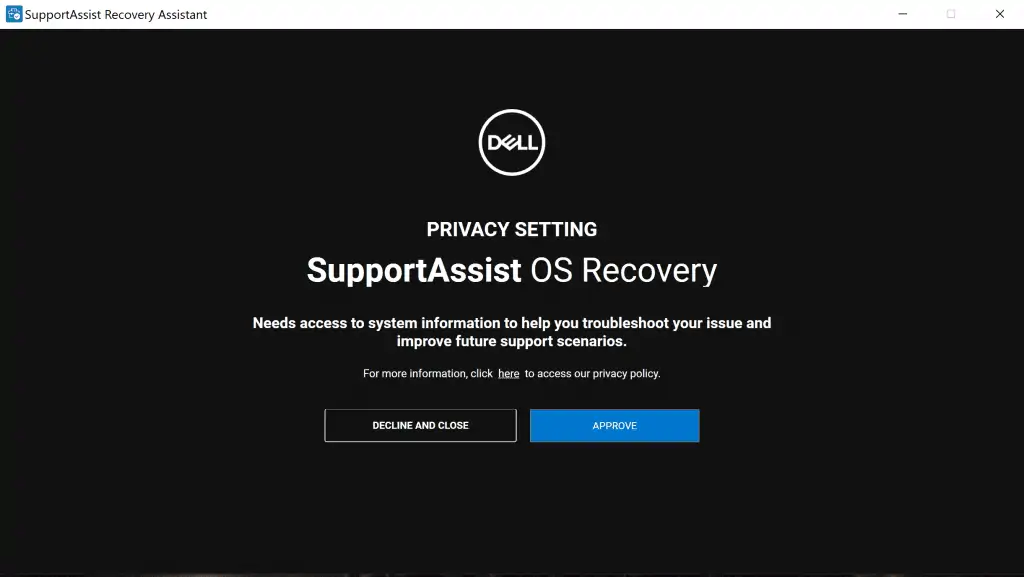
After the Dell reset process is complete, your device will get with latest Windows operating system and Windows Updates. Yes, the drivers are also installed along with the updates.
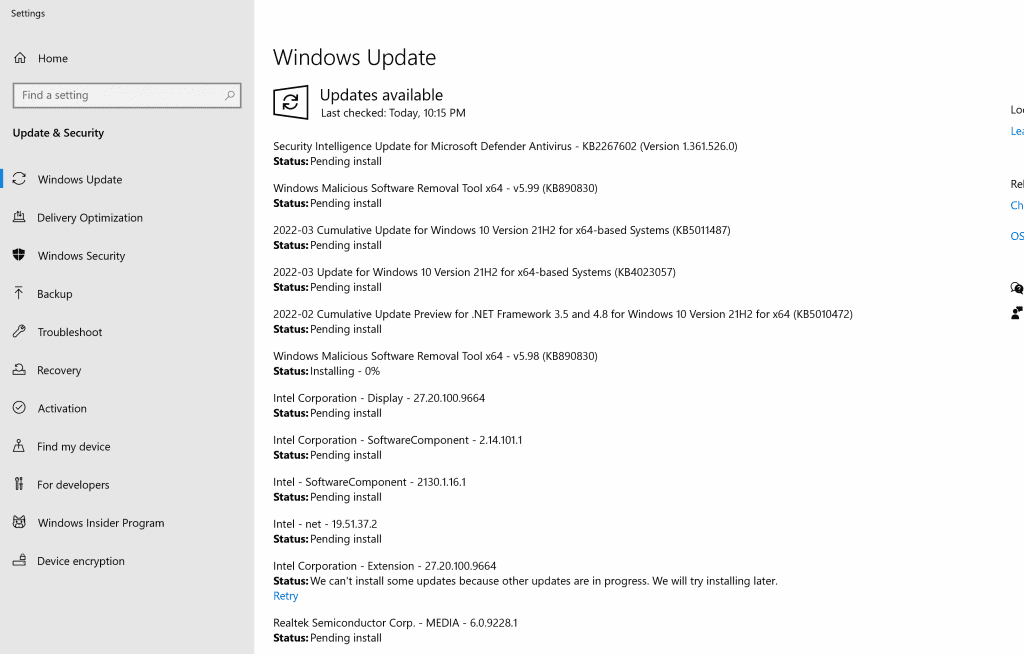
In case, the dell SupportAssist OS recovery tools get stuck on installing for long time, you can contact the Dell support and report the issue to get assistance.

it is saying wait 48 hours and my internet connecton is not that bad how am i supposed to do that.
Only if once the internet connection is disturbed it askes us to do it all over again.
No network how to do a reset. My screen is full black